Every food blogger knows the struggle: you cook something beautiful, snap a photo, and it vanishes into the scroll. This Pinterest image recipe is built around a dish that is genuinely as stunning as it is delicious, so your pin earns the saves and the clicks.
We are making a golden, bubbly, herb-flecked savory galette, a rustic free-form tart that photographs like a dream and comes together with pantry staples. The dough is forgiving, the filling is flexible, and the finished tart has that irresistible homemade look that makes people stop scrolling.
Whether you are shooting for your blog, your Pinterest board, or just want a dinner that looks impressive with minimal fuss, this recipe delivers. Read on for the exact temperatures, timing cues, and pro tips that make it foolproof.
Why You'll Love This Recipe
About the Ingredients
2 1/4 cups (280g) all-purpose flour
Use a kitchen scale for accuracy; too much flour makes the crust tough. Substitute half whole-wheat pastry flour for a nuttier flavor.
1 cup (226g) cold unsalted butter, cubed
Keep the butter ice-cold; frozen butter grated on a box grater works even better. Substitute European-style butter for extra flakiness.
1 teaspoon (6g) fine sea salt
Fine sea salt dissolves evenly into the dough. Substitute kosher salt in the same amount by weight.
1/3 cup (80ml) ice water
Add just enough to bring the dough together; too much water makes it sticky. Substitute vodka for a flakier crust.
2 medium (400g) red onions, thinly sliced
Red onions caramelize into sweet, jammy ribbons. Substitute yellow onions for a milder sweetness.
2 tablespoons (28g) unsalted butter, for the filling
This butter helps the onions soften and caramelize. Substitute olive oil for a lighter, vegan-friendly option.
1 tablespoon (15ml) balsamic vinegar
Balsamic adds depth and a glossy finish to the onions. Substitute aged sherry vinegar for a brighter tang.
1 cup (120g) crumbled goat cheese
Goat cheese gives a creamy, tangy contrast. Substitute feta or ricotta salata if you prefer a saltier bite.
1 tablespoon (3g) fresh thyme leaves
Fresh thyme perfumes the tart beautifully. Substitute 1 teaspoon dried thyme if fresh is unavailable.
1 large (50g) egg, beaten, for egg wash
The egg wash gives the crust its glossy golden sheen. Substitute heavy cream brushed on top for a matte finish.
Tips & Tricks
Keep Everything Cold
Warm butter melts into the flour and creates a dense crust instead of flaky layers. Chill your bowl, your butter, and even your flour before starting.
Do Not Overwork the Dough
Stop mixing as soon as the dough holds together when squeezed. Overmixing develops gluten and makes the crust chewy rather than tender.
Watch the Edges, Not the Clock
Ovens vary, so rely on visual cues. The tart is done when the crust is deep golden brown and the filling bubbles at the edges, even if that takes a few minutes longer than the recipe suggests.
Pro Tips
Step-by-Step Instructions
1. Make the Dough
Whisk flour and salt in a large bowl, then cut in the cold butter with a pastry blender until pea-sized pieces remain. Drizzle in ice water one tablespoon at a time, tossing with a fork, until the dough holds together when squeezed.
2. Chill the Dough
Shape the dough into a disk, wrap it in plastic, and refrigerate for at least 30 minutes. Chilling relaxes the gluten and re-solidifies the butter so the crust bakes up flaky.
3. Caramelize the Onions
Melt butter in a large skillet over medium heat (about 350F/175C). Add onions and cook, stirring occasionally, for 18 to 22 minutes until deep golden brown and jammy. Stir in balsamic vinegar and thyme, then cool completely.
4. Roll and Shape
Roll the chilled dough on a floured surface into a 13-inch round, about 1/8 inch thick. Transfer to a parchment-lined baking sheet and spread the cooled onion mixture over the center, leaving a 2-inch border.
5. Add the Cheese
Scatter the crumbled goat cheese evenly over the onions. Fold the dough border up and over the filling, pleating as you go, to create a rustic free-form edge.
6. Brush and Bake
Brush the crust with beaten egg wash. Bake at 400F (200C) for 30 to 35 minutes, until the crust is deep golden brown and the filling bubbles at the edges. The internal temperature of the filling should reach 165F (74C).
7. Cool and Serve
Let the tart cool on the baking sheet for 10 minutes before slicing. Serve warm or at room temperature, garnished with extra thyme if desired.
Delicious Variations
Mushroom and Gruyere
Swap the onions for 3 cups of sauteed mushrooms and use shredded Gruyere instead of goat cheese.
Butternut and Sage
Replace the onions with roasted butternut squash cubes and use sage instead of thyme for a fall-inspired tart.
Tomato and Ricotta
Use a layer of ricotta and sliced heirloom tomatoes in place of the onion filling for a summer version.
How to Store Pinterest image
Refrigerator
Store leftover tart in an airtight container in the refrigerator for up to 4 days. Reheat in a 350F (175C) oven for 8 to 10 minutes to re-crisp the crust.
Freezer
Wrap slices tightly in plastic wrap and foil, then freeze for up to 2 months. Thaw overnight in the refrigerator before reheating.
Reheating
Reheat in a 350F (175C) oven for 8 to 10 minutes, or until warmed through and the crust is crisp again. Avoid the microwave, which makes the crust soggy.
Frequently Asked Questions
Q: Can I make this savory galette dough ahead of time?
Yes, the dough can be made up to 3 days in advance and stored wrapped in the refrigerator. You can also freeze the dough disk for up to 2 months; just thaw it overnight in the fridge before rolling.
Q: What is the best cheese to use in a savory galette?
Goat cheese is ideal because its tangy creaminess balances the sweet caramelized onions. Feta, ricotta salata, or even shredded Gruyere all work well as substitutes depending on the flavor profile you want.
Q: Why is my galette crust soggy?
A soggy crust usually means the filling was too wet or the dough was not chilled enough before baking. Make sure your onion mixture is fully cooled and not watery, and chill the shaped tart for 15 minutes before it goes into the oven.
Q: Can I use store-bought pie crust for this recipe?
Yes, store-bought pie crust or puff pastry works as a shortcut, though the texture will be slightly different. If using puff pastry, reduce the baking time by about 5 minutes and watch for a deep golden color.
Q: How do I know when the galette is fully baked?
The tart is done when the crust is deep golden brown and the filling bubbles at the edges, about 30 to 35 minutes at 400F (200C). If you have an instant-read thermometer, the filling should register 165F (74C).
If you make this Pinterest-ready savory galette, snap a photo and tag me so I can see your beautiful bake. Save this pin for later and share it with a friend who loves a show-stopping, fuss-free tart.
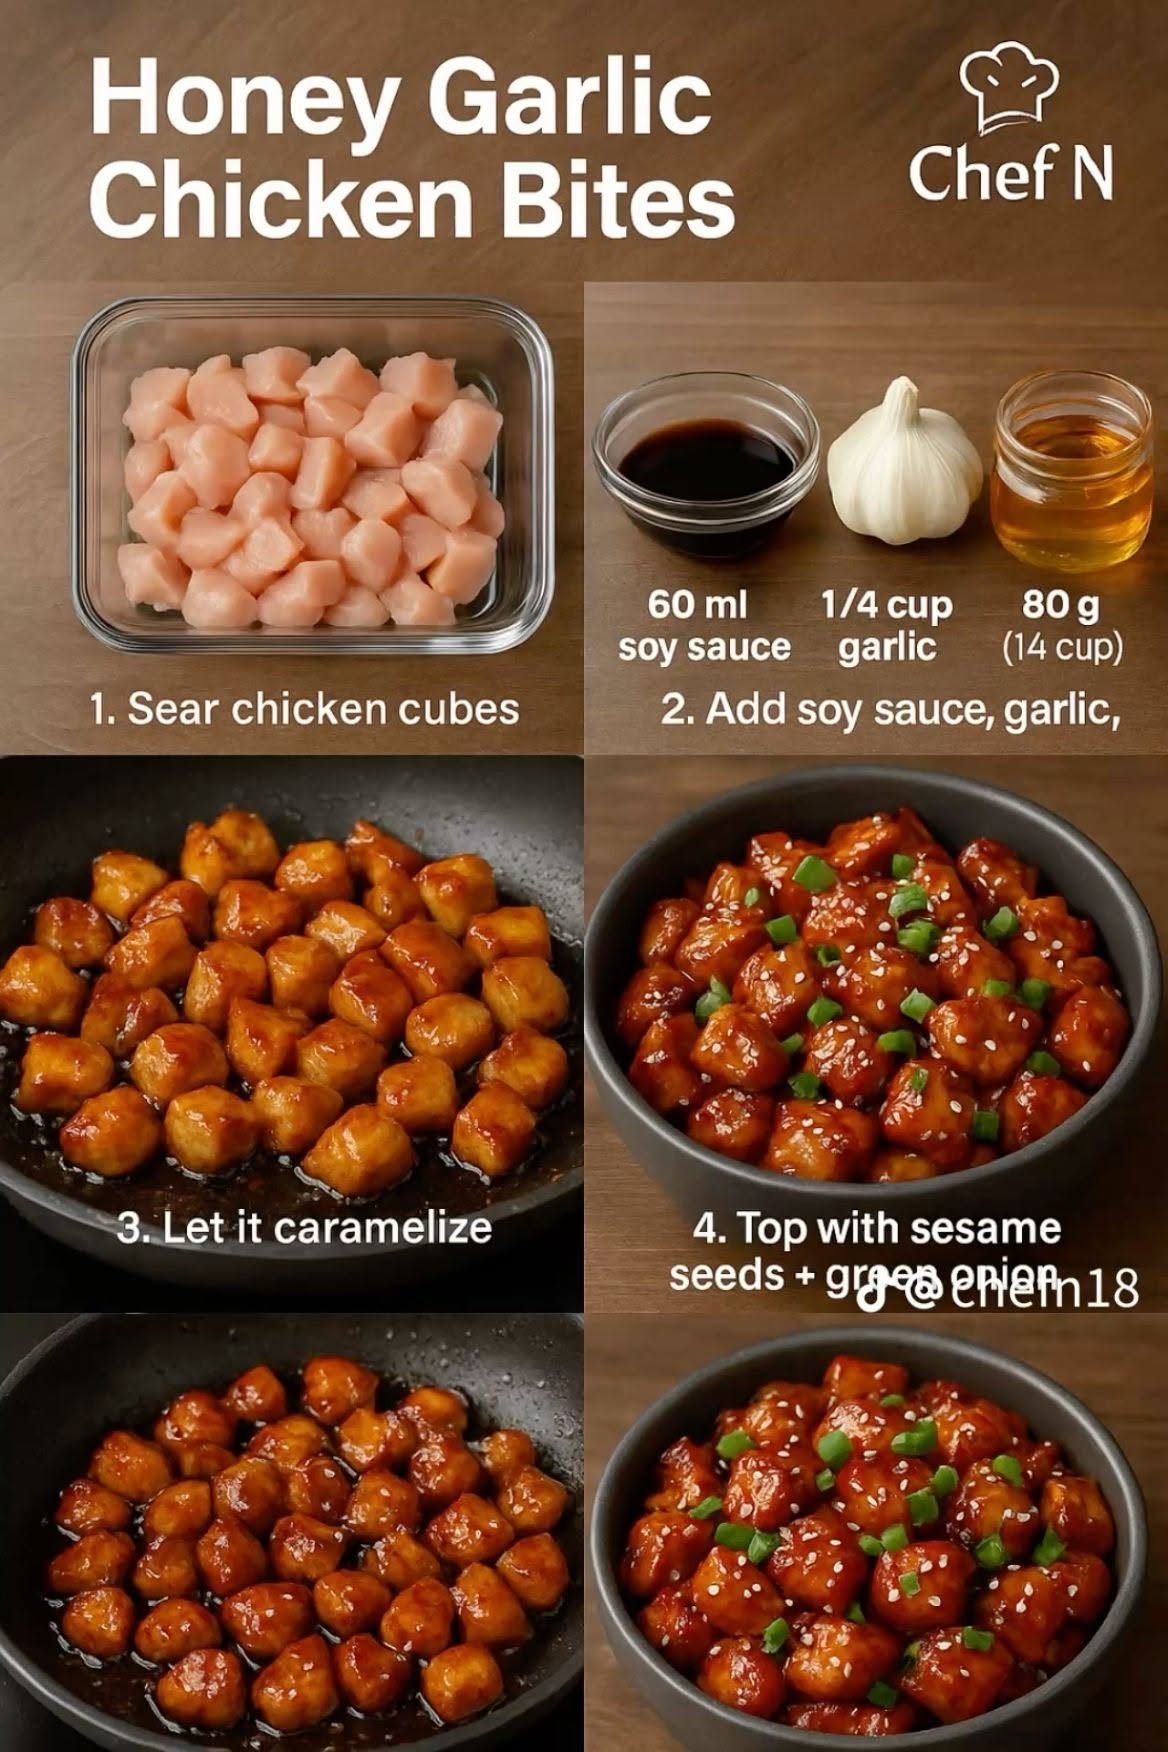
Pinterest image
Pinterest image recipe delivers a show-stopping, pin-worthy dish that tastes as good as it looks and gets saved again and again.
🧂 Ingredients
- 2 1/4 cups (280g) all-purpose flour
- 1 cup (226g) cold unsalted butter, cubed
- 1 teaspoon (6g) fine sea salt
- 1/3 cup (80ml) ice water
- 2 medium (400g) red onions, thinly sliced
- 2 tablespoons (28g) unsalted butter, for the filling
- 1 tablespoon (15ml) balsamic vinegar
- 1 cup (120g) crumbled goat cheese
- 1 tablespoon (3g) fresh thyme leaves
- 1 large (50g) egg, beaten, for egg wash
📋 Instructions
- 1Make the Dough — Whisk flour and salt in a large bowl, then cut in the cold butter with a pastry blender until pea-sized pieces remain. Drizzle in ice water one tablespoon at a time, tossing with a fork, until the dough holds together when squeezed.
- 2Chill the Dough — Shape the dough into a disk, wrap it in plastic, and refrigerate for at least 30 minutes. Chilling relaxes the gluten and re-solidifies the butter so the crust bakes up flaky.
- 3Caramelize the Onions — Melt butter in a large skillet over medium heat (about 350F/175C). Add onions and cook, stirring occasionally, for 18 to 22 minutes until deep golden brown and jammy. Stir in balsamic vinegar and thyme, then cool completely.
- 4Roll and Shape — Roll the chilled dough on a floured surface into a 13-inch round, about 1/8 inch thick. Transfer to a parchment-lined baking sheet and spread the cooled onion mixture over the center, leaving a 2-inch border.
- 5Add the Cheese — Scatter the crumbled goat cheese evenly over the onions. Fold the dough border up and over the filling, pleating as you go, to create a rustic free-form edge.
- 6Brush and Bake — Brush the crust with beaten egg wash. Bake at 400F (200C) for 30 to 35 minutes, until the crust is deep golden brown and the filling bubbles at the edges. The internal temperature of the filling should reach 165F (74C).
- 7Cool and Serve — Let the tart cool on the baking sheet for 10 minutes before slicing. Serve warm or at room temperature, garnished with extra thyme if desired.