
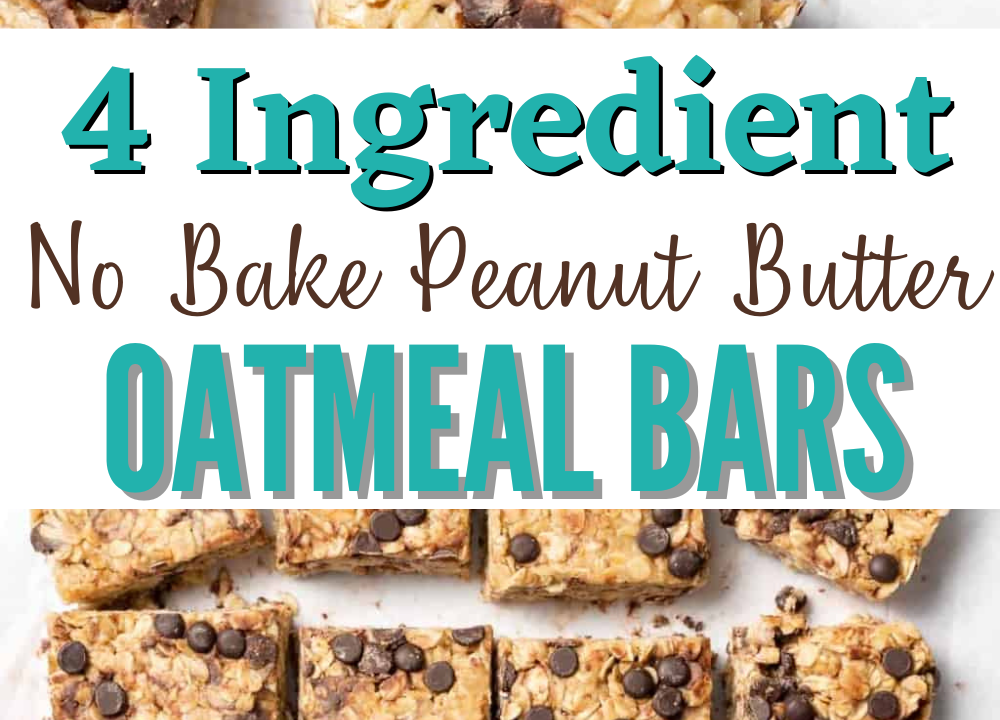
These bars need four things: peanut butter, honey, rolled oats, and a pinch of salt. Nothing is baked. Nothing is melted over a stove. The mixture firms in the refrigerator while you do something else.
Weigh the peanut butter first. A 250 g jar of conventional peanut butter behaves differently from a natural one that separates, and the difference shows in the final set. The recipe below assumes the conventional kind.
The bars hold their shape at room temperature for about four hours. Beyond that, keep them cold. Weigh, watch, repeat.
Why You'll Love This Recipe
About the Ingredients
250 g (1 cup) conventional creamy peanut butter
Use a no-stir brand such as Skippy or Jif; natural peanut butter that separates makes a looser bar. Stir the jar well before measuring if you only have natural.
170 g (1/2 cup) honey
Honey gives the firmest set; maple syrup works but produces a softer, stickier bar. Warm the jar in hot water for 2 minutes if the honey is thick.
200 g (2 cups) rolled oats
Use old-fashioned rolled oats, not instant or steel-cut. Instant oats turn mushy and steel-cut never soften enough to bind.
2 g (1/4 teaspoon) fine sea salt
Salt sharpens the peanut flavor; skip it only if your peanut butter is salted and you taste the mixture first. Kosher salt works at the same weight.
Tips & Tricks
Warm the peanut butter gently
Cold peanut butter will not combine with honey; 20 seconds in the microwave at full power is enough.
Press firmly, then press again
Loose packing leaves air pockets, and air pockets become crumbly bars when you slice.
Chill before slicing
Cutting at room temperature tears the surface; 35 minutes in the refrigerator gives a clean edge.
Line the pan with overhang
A parchment sling with 5 cm (2 in) overhang lifts the whole slab out for even cutting.
Pro Tips
Step-by-Step Instructions
1. Line the pan
Line a 20 x 20 cm (8 x 8 in) metal pan with parchment, leaving a 5 cm (2 in) overhang on two sides. The overhang becomes handles for lifting the slab later.
2. Warm the peanut butter
Microwave 250 g (1 cup) peanut butter and 170 g (1/2 cup) honey in a large bowl for 20 seconds at full power. Stop when the mixture stirs smooth and glossy, with no streaks of honey visible.
3. Stir in salt
Add 2 g (1/4 teaspoon) fine sea salt and stir for 10 seconds. Salt dissolves faster in the warm mixture than in the finished bars.
4. Fold in the oats
Add 200 g (2 cups) rolled oats in two additions, folding with a spatula until no dry oats remain. The mixture is ready when it pulls away from the bowl sides in one mass.
5. Press into the pan
Scrape the mixture into the lined pan and press with a flat spatula or the base of a measuring cup. Press until the surface is level and firm to the touch, about 60 seconds of steady pressure.
6. Chill until set
Refrigerate uncovered for 35 minutes. The slab is set when the surface feels cool and firm and the parchment peels away without sticking.
7. Lift and slice
Lift the slab out by the parchment overhang and place it on a cutting board. Cut into 12 bars with a sharp chef's knife, wiping the blade between cuts.
Delicious Variations
Chocolate Peanut Butter Bars
Fold 80 g (1/2 cup) mini chocolate chips into the warm mixture before the oats.
Crunchy Seed Bars
Replace 40 g (1/2 cup) of the oats with sunflower seeds for a firmer, crunchier bite.
Coconut Almond Bars
Swap 30 g (1/3 cup) of the oats for shredded coconut and use almond butter in place of peanut butter.
How to Store 4 Ingredient No Bake Peanut Butter Oatmeal Bars
Refrigerator
Store in an airtight container with parchment between layers for up to 10 days.
Freezer
Wrap individual bars in parchment, then freeze in a bag for up to 3 months; thaw at room temperature for 20 minutes.
Reheating
No reheating needed; let cold bars sit at room temperature for 10 minutes to soften slightly before eating.
Frequently Asked Questions
Q: Can I use quick oats instead of rolled oats?
Yes, but the bars come out softer and less chewy. Use the same 200 g (2 cups) weight and add 20 g (2 tablespoons) more oats to absorb the extra moisture.
Q: Why are my no bake peanut butter oatmeal bars crumbly?
The mixture was not pressed firmly enough or the honey was under-measured. Press the mixture until it feels solid under your palm and weigh the honey rather than scooping it.
Q: How long do these bars last in the refrigerator?
Up to 10 days in an airtight container. Keep parchment between layers so the bars do not fuse together.
Q: Can I make these bars without honey?
Maple syrup or agave work, but the bars set softer. Use the same 170 g (1/2 cup) and chill for 50 minutes instead of 35.
Q: Are these bars healthy enough for breakfast?
They work as a snack or light breakfast at about 285 calories per bar. Pair one with yogurt or an egg to add protein.
Make one batch this week and note how firmly you pressed the mixture. Adjust the pressure, not the ingredients, and the bars will repeat perfectly. Weigh, watch, repeat.
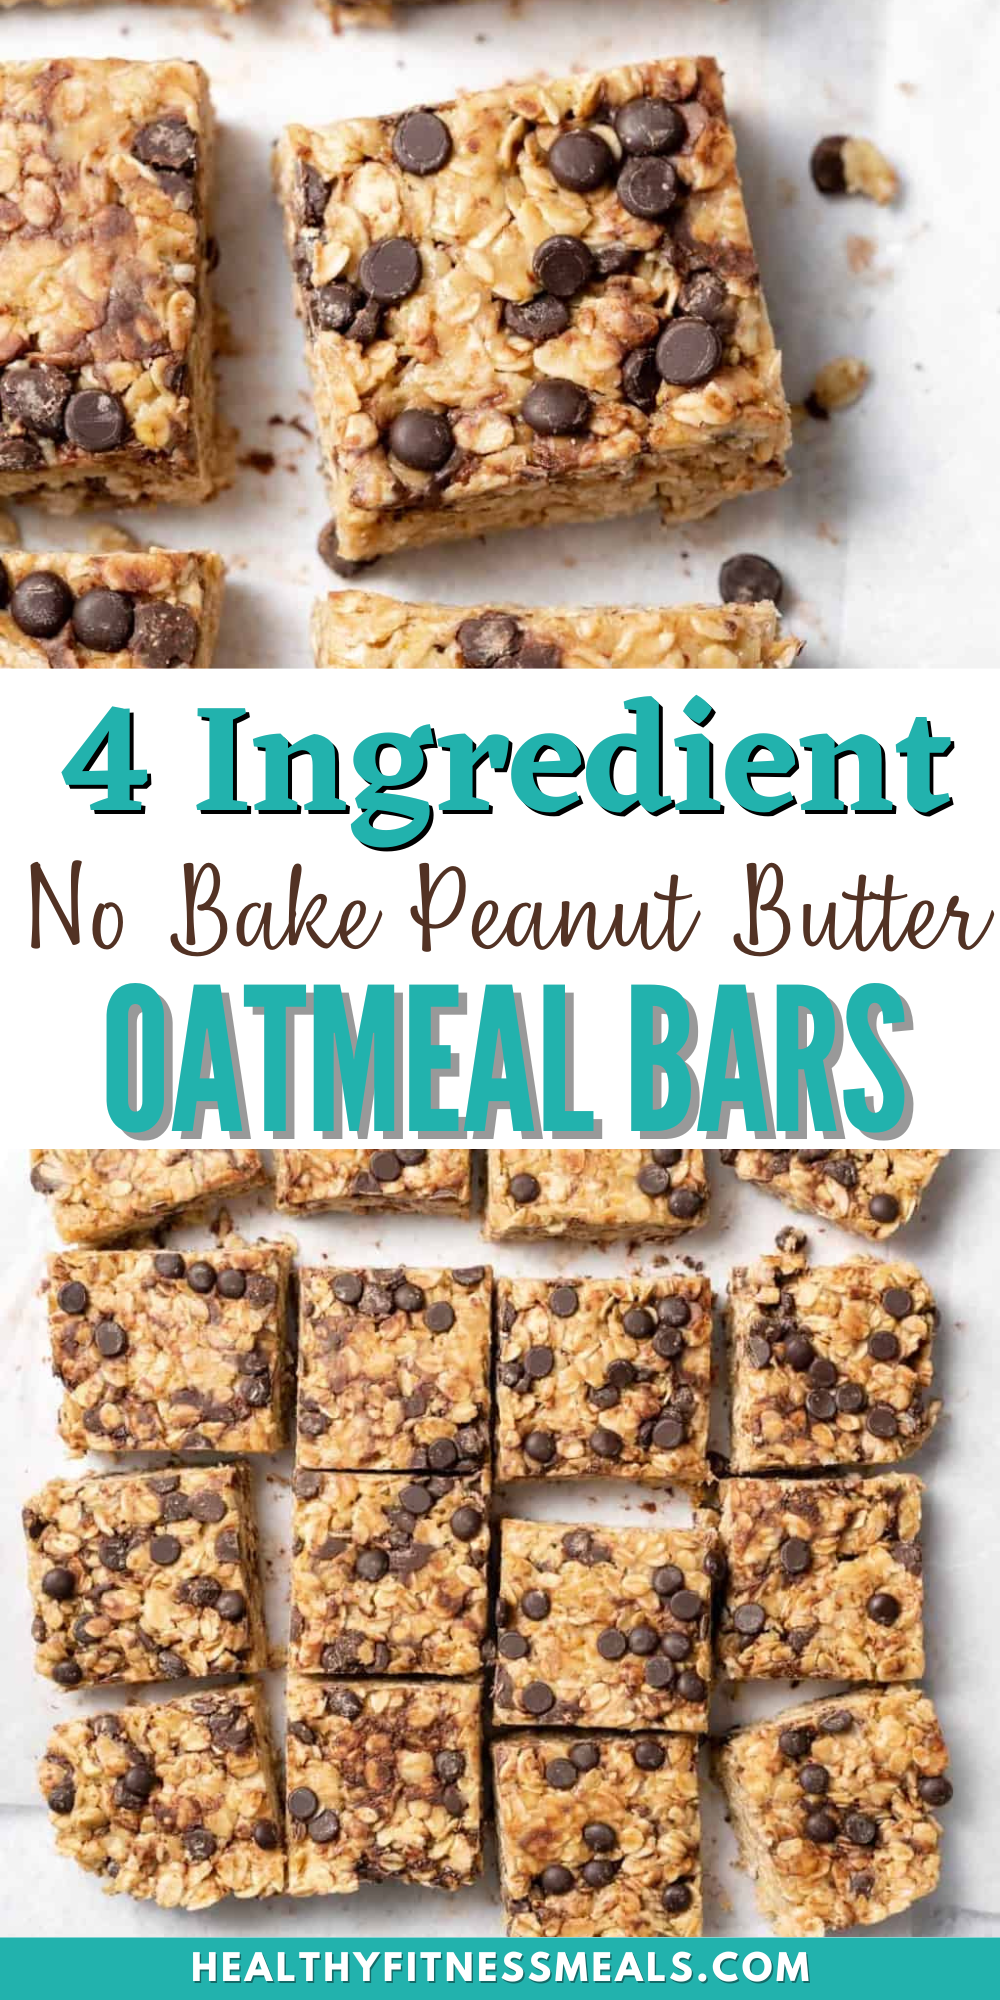
4 Ingredient No Bake Peanut Butter Oatmeal Bars
These 4 ingredient no bake peanut butter oatmeal bars set firm in 35 minutes with no oven, no flour and no fuss, for a chewy snack you can make tonight.
🧂 Ingredients
- 250 g (1 cup) conventional creamy peanut butter
- 170 g (1/2 cup) honey
- 200 g (2 cups) rolled oats
- 2 g (1/4 teaspoon) fine sea salt
📋 Instructions
- 1Line the pan — Line a 20 x 20 cm (8 x 8 in) metal pan with parchment, leaving a 5 cm (2 in) overhang on two sides. The overhang becomes handles for lifting the slab later.
- 2Warm the peanut butter — Microwave 250 g (1 cup) peanut butter and 170 g (1/2 cup) honey in a large bowl for 20 seconds at full power. Stop when the mixture stirs smooth and glossy, with no streaks of honey visible.
- 3Stir in salt — Add 2 g (1/4 teaspoon) fine sea salt and stir for 10 seconds. Salt dissolves faster in the warm mixture than in the finished bars.
- 4Fold in the oats — Add 200 g (2 cups) rolled oats in two additions, folding with a spatula until no dry oats remain. The mixture is ready when it pulls away from the bowl sides in one mass.
- 5Press into the pan — Scrape the mixture into the lined pan and press with a flat spatula or the base of a measuring cup. Press until the surface is level and firm to the touch, about 60 seconds of steady pressure.
- 6Chill until set — Refrigerate uncovered for 35 minutes. The slab is set when the surface feels cool and firm and the parchment peels away without sticking.
- 7Lift and slice — Lift the slab out by the parchment overhang and place it on a cutting board. Cut into 12 bars with a sharp chef's knife, wiping the blade between cuts.

Tomasz writes precise, method-first recipes for breads, ferments, and slow braises, drawing on Polish and Central European home cooking. He cares about weights, temperatures, and timing, and explains the reason behind each step so cooks can repeat results. His angle is turning fussy techniques into clear, checkable instructions.