

A proper English scone is not a sweet cake or a dry biscuit: it is a tender, barely-sweet, buttery round that splits cleanly in half, holds a generous spoon of strawberry jam and a cloud of clotted cream, and disappears in three bites. This recipe keeps the dough cold, handles it as little as possible and bakes hot so the scones rise tall with a visible side split – the mark of a well-made batch.
The method is genuinely simple, but the details matter. Cold butter rubbed into self-raising flour, a splash of milk, a quick pat into a thick slab and a sharp cutter pressed straight down without twisting – that is the whole secret. From mixing bowl to cooling rack takes under an hour, and most of that is oven time.
Serve them still slightly warm with jam first and cream on top (the Cornish way) or cream first and jam on top (the Devon way) – both are correct, and both are delicious. This makes 8 generous scones, enough for a full afternoon tea for four to six people.
Why You'll Love This Recipe
About the Ingredients
3 1/2 cups (450g) self-raising flour, plus extra for dusting
Self-raising flour already contains baking powder, which is what gives scones their lift. If you only have plain flour, use 450g plain flour plus 4 teaspoons baking powder and 1/2 teaspoon fine salt.
1/4 cup (50g) caster sugar
Caster sugar dissolves quickly into the dough; granulated sugar works fine but gives a slightly crunchier crust. Do not use brown sugar here – its moisture makes the scones spread.
1/2 cup (115g) cold unsalted butter, cubed
The butter must be fridge-cold, straight from the fridge, not softened. Salted butter can be substituted – just omit the pinch of salt in the recipe.
2 teaspoons baking powder
An extra lift insurance policy, especially with supermarket flour. Check the date on your tin – expired baking powder is the number one cause of flat scones.
1/4 teaspoon fine salt
Balances the sweetness and strengthens the gluten just enough. Omit if you use salted butter.
3/4 cup (180ml) whole milk, plus 2 tablespoons for glazing
Whole milk gives the richest crumb; semi-skimmed works, and buttermilk gives an extra-tender, slightly tangy scone. Keep it cold from the fridge.
1 teaspoon vanilla extract (optional)
A subtle background note that rounds out the flavour. Vanilla bean paste is a lovely upgrade if you have it.
1/2 cup (120g) strawberry jam, to serve
Good-quality jam with visible fruit pieces makes a real difference. Raspberry or blackcurrant jam are classic alternatives; avoid thin, jelly-like jams that soak into the scone.
1 cup (240ml) clotted cream, to serve
Clotted cream is the traditional choice; if unavailable, use extra-thick double cream or whipped heavy cream with a little mascarpone folded in for body.
Tips & Tricks
Keep everything cold
Warm butter melts into the flour instead of coating it, which makes heavy, flat scones. Chill your bowl, cube the butter and work quickly with cool hands.
Do not twist the cutter
Press the cutter straight down and lift straight up. Twisting seals the edges and stops the scones rising evenly with that classic side split.
Rest before baking
Let the cut scones sit for 10 minutes on the tray before they go in the oven – the gluten relaxes and they hold their shape better.
Do not overwork the dough
Stop mixing the moment it comes together. A shaggy dough that is patted, not kneaded, gives the flakiest result.
Pro Tips
Step-by-Step Instructions
1. Heat the oven and prepare
Preheat the oven to 425F (220C) and line a large baking tray with parchment paper. Having the oven fully hot before the scones go in is essential for the initial rise.
2. Mix the dry ingredients
Sift the self-raising flour, baking powder, caster sugar and salt into a large cold bowl and stir to combine evenly.
3. Rub in the cold butter
Add the cubed cold butter and rub it into the flour with your fingertips until the mixture looks like fine breadcrumbs with no butter lumps larger than a pea. Work quickly so the butter stays cold.
4. Add the wet ingredients
Pour in the cold milk and vanilla, then bring the mixture together with a round-bladed knife, then your hands, until it forms a soft, slightly shaggy dough. Stop as soon as it holds together – do not knead.
5. Pat and cut
Turn the dough onto a lightly floured surface and pat it gently into a slab about 1 inch (2.5cm) thick. Dip a 2 1/2-inch (6cm) round cutter in flour and press straight down, lifting straight up, to cut 8 scones, re-patting scraps once only.
6. Glaze and rest
Place the scones on the lined tray, brush the tops only with the extra milk and let them rest for 10 minutes. They should look slightly puffed before baking.
7. Bake until golden
Bake at 425F (220C) for 12 to 15 minutes, until risen tall and golden brown on top with a visible split around the sides. They are done when the bases sound hollow when tapped and an instant-read thermometer in the centre reads 200F (93C).
8. Cool and serve
Transfer to a wire rack and cool for 5 to 10 minutes – warm is ideal. Split each scone with your fingers, spread with jam and top with a generous spoon of clotted cream.
Delicious Variations
Raisin Scones
Fold 2/3 cup (100g) of plump raisins or sultanas into the dry mixture before adding the milk for a classic tea-time version.
Cheese and Chive Scones
Omit the sugar, add 1 cup (100g) grated mature cheddar and 2 tablespoons chopped chives, and skip the vanilla for a savoury scone perfect with soup.
Lemon and Blueberry Scones
Add the zest of 1 lemon to the dry ingredients and fold in 3/4 cup (110g) fresh blueberries at the end, handling the dough as little as possible to avoid purple streaks.
How to Store Classic English Scones with Jam the Proper British Way
Refrigerator
Store cooled scones in an airtight container at room temperature for up to 2 days; for longer storage, refrigerate for up to 4 days and refresh in a low oven.
Freezer
Freeze baked scones in a sealed bag for up to 2 months. Freeze unbaked cut scones on a tray, then bag them – bake from frozen at 400F (200C) for 18 to 20 minutes.
Reheating
Reheat at 350F (175C) for 5 to 6 minutes, or split and toast the cut sides under a grill for 1 to 2 minutes until just warm.
Frequently Asked Questions
Q: What is the difference between English scones and American biscuits?
English scones are lightly sweetened with sugar and often served with jam and cream, while American biscuits are savoury and usually served with gravy or butter. Scones also typically contain a little more sugar and are baked a touch cooler for a softer crumb.
Q: Why did my scones not rise?
The most common causes are expired baking powder, warm butter or overworking the dough. Use fresh leavening, keep the butter fridge-cold and handle the dough as little as possible for a tall rise.
Q: Should you put jam or cream first on a scone?
There is no single right answer – Devon tradition puts cream first and jam on top, while Cornwall puts jam first and cream on top. Both are considered proper; choose whichever you prefer.
Q: Can I make scones with plain flour instead of self-raising?
Yes – use 450g plain flour plus 4 teaspoons baking powder and 1/2 teaspoon salt in place of the self-raising flour. Sift them together twice so the leavening is evenly distributed.
Q: How do I know when scones are fully baked?
They are ready when they are golden brown on top, have a visible split around the sides and sound hollow when tapped on the base. An instant-read thermometer should read about 200F (93C) in the centre.
Make a batch this weekend, warm the jam slightly and serve them the proper British way with a pot of strong tea – then tell me in the comments whether you are team jam-first or cream-first.
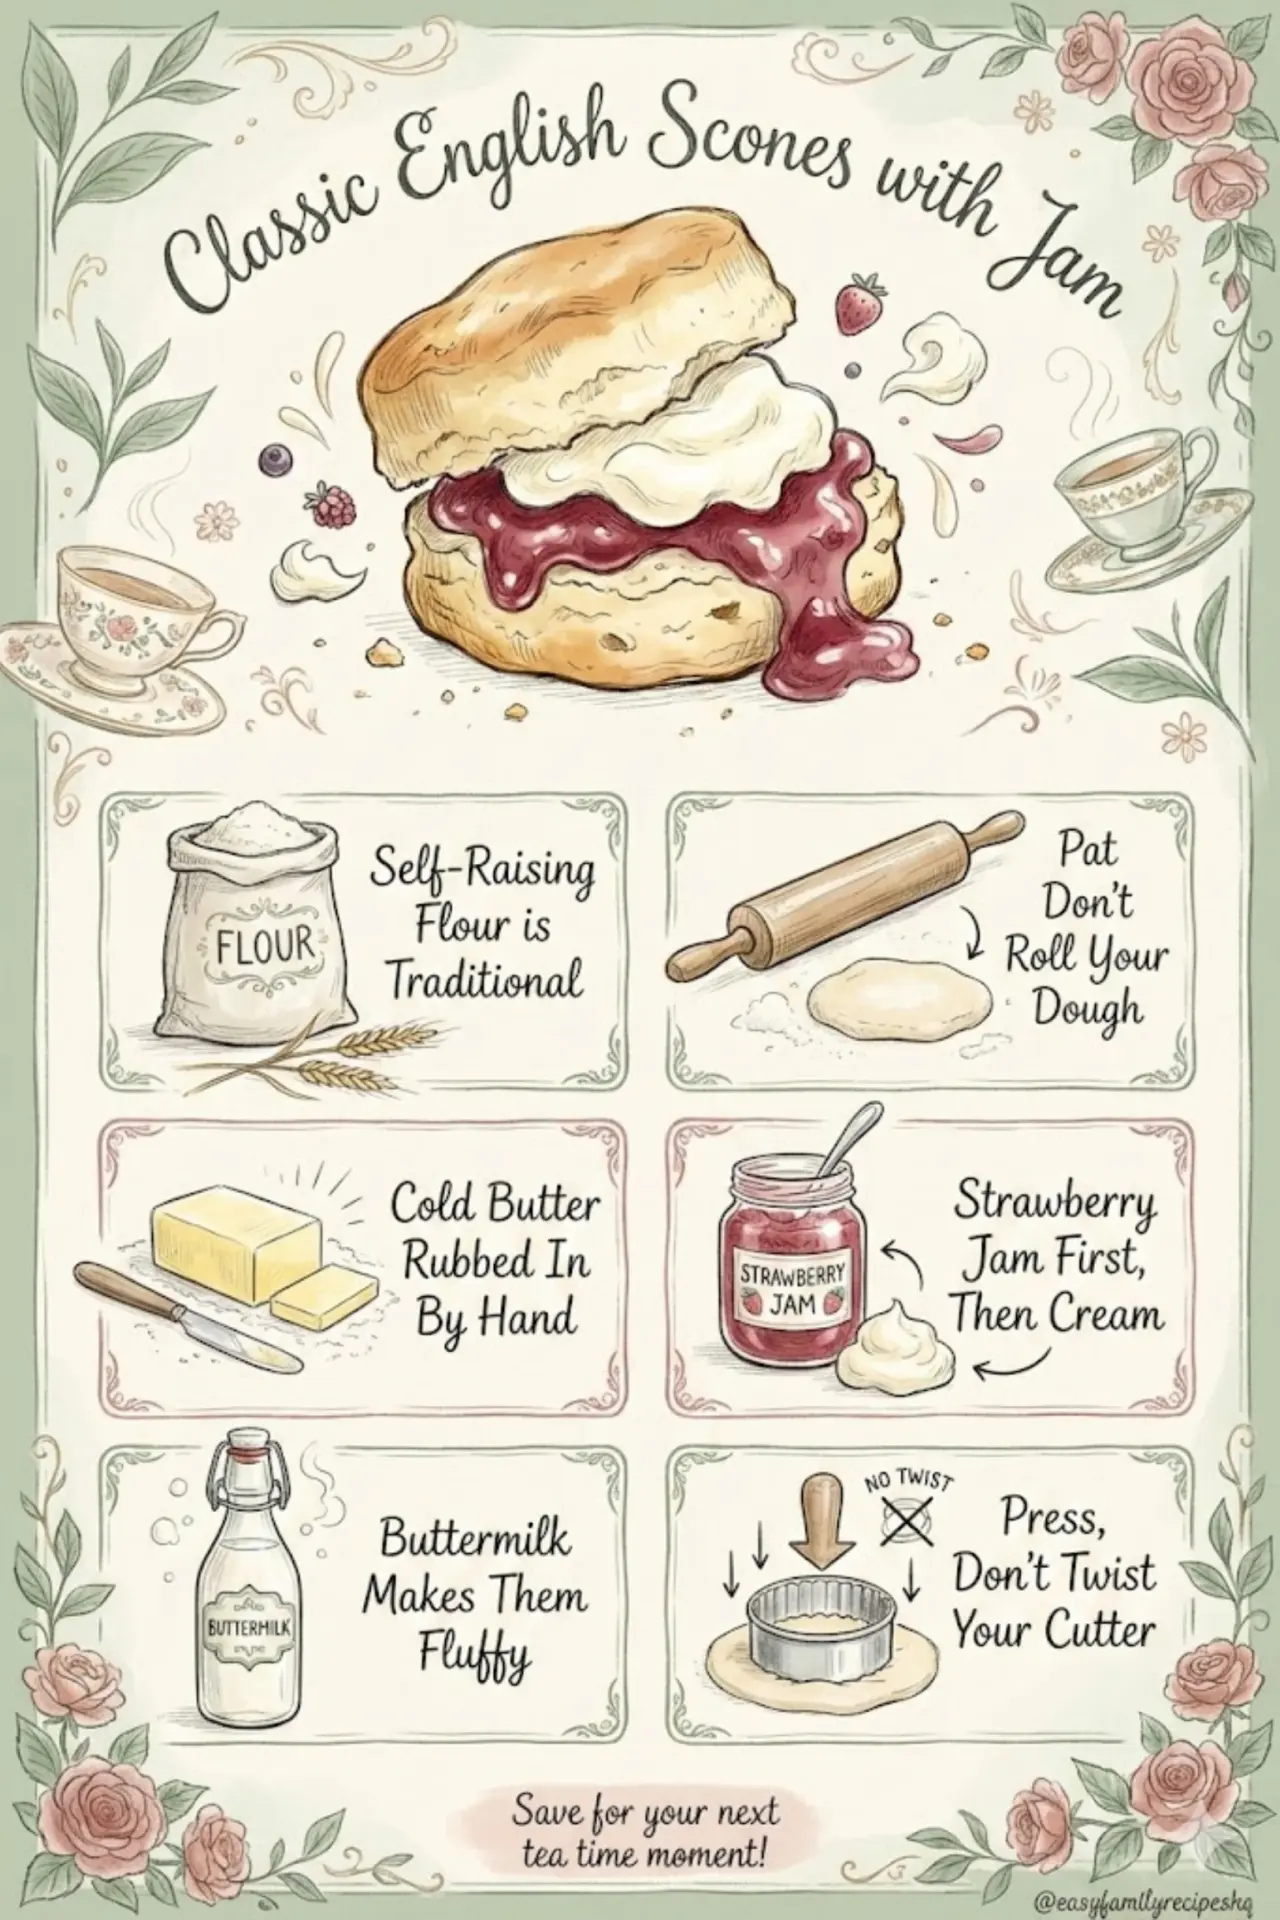
Classic English Scones with Jam the Proper British Way
Classic English scones with jam are tall, buttery and ready in 50 minutes – the proper British way for a flawless afternoon tea every time.
🧂 Ingredients
- 3 1/2 cups (450g) self-raising flour, plus extra for dusting
- 1/4 cup (50g) caster sugar
- 1/2 cup (115g) cold unsalted butter, cubed
- 2 teaspoons baking powder
- 1/4 teaspoon fine salt
- 3/4 cup (180ml) whole milk, plus 2 tablespoons for glazing
- 1 teaspoon vanilla extract (optional)
- 1/2 cup (120g) strawberry jam, to serve
- 1 cup (240ml) clotted cream, to serve
📋 Instructions
- 1Heat the oven and prepare — Preheat the oven to 425F (220C) and line a large baking tray with parchment paper. Having the oven fully hot before the scones go in is essential for the initial rise.
- 2Mix the dry ingredients — Sift the self-raising flour, baking powder, caster sugar and salt into a large cold bowl and stir to combine evenly.
- 3Rub in the cold butter — Add the cubed cold butter and rub it into the flour with your fingertips until the mixture looks like fine breadcrumbs with no butter lumps larger than a pea. Work quickly so the butter stays cold.
- 4Add the wet ingredients — Pour in the cold milk and vanilla, then bring the mixture together with a round-bladed knife, then your hands, until it forms a soft, slightly shaggy dough. Stop as soon as it holds together – do not knead.
- 5Pat and cut — Turn the dough onto a lightly floured surface and pat it gently into a slab about 1 inch (2.5cm) thick. Dip a 2 1/2-inch (6cm) round cutter in flour and press straight down, lifting straight up, to cut 8 scones, re-patting scraps once only.
- 6Glaze and rest — Place the scones on the lined tray, brush the tops only with the extra milk and let them rest for 10 minutes. They should look slightly puffed before baking.
- 7Bake until golden — Bake at 425F (220C) for 12 to 15 minutes, until risen tall and golden brown on top with a visible split around the sides. They are done when the bases sound hollow when tapped and an instant-read thermometer in the centre reads 200F (93C).
- 8Cool and serve — Transfer to a wire rack and cool for 5 to 10 minutes – warm is ideal. Split each scone with your fingers, spread with jam and top with a generous spoon of clotted cream.