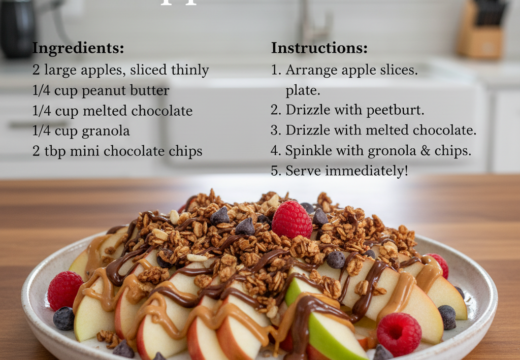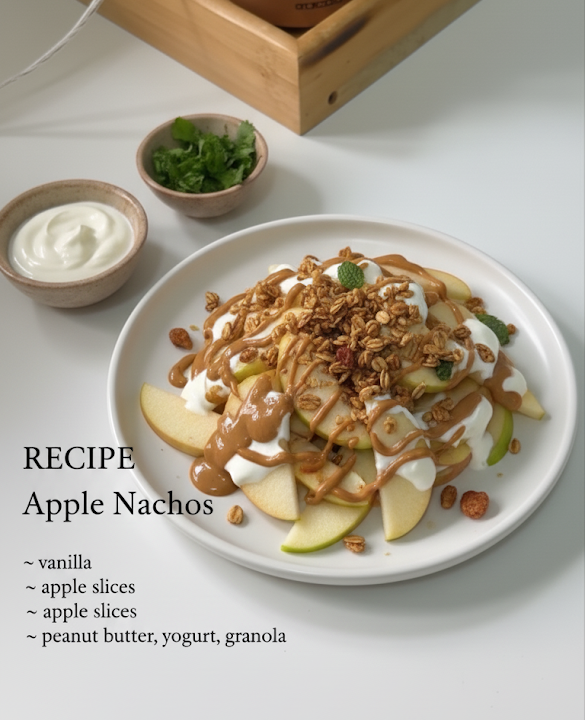
The first thing you hear is the knife snapping through a cold Honeycrisp, that crisp crack that promises crunch. Then the peanut butter goes into the microwave and the whole kitchen smells like a warm cookie somebody forgot about.
This is the snack board I bring out when the kids circle the counter like sharks and I have exactly zero interest in turning on the oven. Sliced apples stand in for chips, yogurt and peanut butter do the drizzle, and granola brings the crunch.
You build it right on the platter, hand everyone a plate, and let them fight over the granola clusters. Taste as you go, then taste again.
Why You'll Love This Recipe
About the Ingredients
3 large crisp apples (Honeycrisp, Fuji or Pink Lady), about 1 1/2 pounds (680g)
Firm, tart-sweet apples hold their shape and resist browning. If Honeycrisp is pricey, Fuji or Braeburn work beautifully; skip soft varieties like Red Delicious.
1 tablespoon fresh lemon juice mixed with 2 cups cold water
This quick bath keeps slices pale for up to 2 hours. Bottled lemon juice works in a pinch, but fresh tastes cleaner.
1/2 cup (130g) creamy peanut butter
Natural peanut butter needs a good stir so it drizzles instead of clumps. Swap in almond butter or sunflower seed butter for a nut-free board.
1/3 cup (80g) plain Greek yogurt
Full-fat Greek yogurt gives the creamiest drizzle and a gentle tang. Use vanilla yogurt if you want it sweeter, or coconut yogurt for dairy-free.
1 tablespoon honey
Honey loosens both drizzles and adds floral sweetness. Maple syrup is a perfect one-to-one swap.
2 to 3 tablespoons milk of choice
Any milk thins the peanut butter to a pourable ribbon. Start with 2 tablespoons and add more a teaspoon at a time.
1 cup (120g) granola clusters
Look for big clusters rather than dusty crumbs, they stay crunchy on top. Honey-almond or oat-and-seed granola both work great.
2 tablespoons mini chocolate chips
Mini chips scatter more evenly than regular ones. Cacao nibs or dried cranberries are a lovely less-sweet swap.
1 tablespoon shredded coconut, optional
Toast it for 3 minutes in a dry pan for deeper flavor. Unsweetened flakes keep the sugar down.
Pinch of flaky sea salt
Just a few flakes make the peanut butter taste more like itself. Skip it if your peanut butter is already salted.
Tips & Tricks
Slice apples right before serving
Cut them no more than 30 minutes ahead and dunk in lemon water, or they'll brown and soften at the edges.
Warm the peanut butter gently
20 to 30 seconds in the microwave is plenty. Overheated peanut butter seizes up and turns stiff instead of drizzling.
Drizzle at the table
Add yogurt, granola and chips just before everyone digs in, so the granola stays loud and crunchy rather than soggy.
Pro Tips
Step-by-Step Instructions
1. Slice the apples
Core the apples and cut them into 1/4-inch wedges, leaving the skin on for color and crunch. You should hear a clean snap with each cut; if the knife squishes, the apple is past its prime.
2. Bath the slices
Drop the wedges into the lemon water and swish for 30 seconds, then drain and pat dry with a clean towel. Dry slices are key, because water makes the yogurt slide right off.
3. Warm the peanut butter
Spoon the peanut butter and honey into a microwave-safe bowl and heat in 20-second bursts, stirring between each, until it flows off the spoon in a ribbon. That's roughly 40 to 60 seconds total; do not let it bubble.
4. Loosen the yogurt
Stir the Greek yogurt with 1 tablespoon of milk until it's pourable but still thick, like heavy cream. Add the second tablespoon only if it fights the spoon.
5. Build the board
Fan the apple slices across a large platter in an overlapping pile, skin edges facing out. Leave a few gaps so the drizzles can pool in the crevices.
6. Drizzle and scatter
Zigzag the warm peanut butter over the apples, then the yogurt, using a light hand so the slices stay visible. Scatter the granola clusters, mini chocolate chips and coconut over the top.
7. Finish and serve
Sprinkle with flaky salt and serve immediately, while the granola still crackles under the fork. If you're prepping ahead, hold the toppings until the last minute.
Delicious Variations
Fall Harvest Board
Swap granola for toasted pecans and dried cranberries, and drizzle with maple syrup instead of honey.
Chocolate-Banana Twist
Add sliced bananas and a spoonful of cocoa powder whisked into the yogurt for a dessert-leaning version.
Savory Snack Board
Skip the honey, use plain yogurt, and top with sharp cheddar crumbles and toasted pumpkin seeds.
How to Store Apple Nachos with Peanut Butter, Yogurt and Granola
Refrigerator
Store undressed apple slices in a sealed container in lemon water for up to 2 days, or assembled leftovers covered for 1 day, though the granola will soften.
Freezer
Not recommended, as the apples turn mushy and the yogurt separates. Freeze extra granola separately for up to 3 months instead.
Reheating
No reheating needed. If the peanut butter firms up, warm the whole plate for 10 seconds or simply let it sit at room temperature for 5 minutes.
Frequently Asked Questions
Q: How do you keep apple nachos from turning brown?
Toss the slices in lemon water for 30 seconds and pat them dry before building the board. The citric acid slows oxidation, so the apples stay pale for about 2 hours. Assembling right before serving is the safest bet.
Q: Can I make apple nachos ahead of time?
You can slice and store the apples in lemon water up to a day ahead, but assemble the board just before serving. Granola and yogurt sitting on wet apples turn soft within 30 minutes. Keep toppings in small bowls if you're prepping for a party.
Q: Are apple nachos healthy?
They're a balanced snack, with fiber and vitamin C from the apples, protein from the Greek yogurt and peanut butter, and whole grains from the granola. Portion control is mostly about the chocolate chips and honey, so use them sparingly if you're watching sugar.
Q: What kind of apples are best for apple nachos?
Firm, crisp apples like Honeycrisp, Fuji, Pink Lady or Braeburn hold up best under toppings. Avoid soft or mealy varieties, which collapse under the weight of the drizzles. Leave the skin on for color and extra fiber.
Q: Can I make apple nachos nut-free?
Yes, swap the peanut butter for sunflower seed butter or a creamy seed-based spread and use a nut-free granola. Check labels carefully, since granola often contains almonds or walnuts. The drizzle texture stays almost identical.
Grab your sharpest knife, pick the crispest apples you can find, and build this board tonight. It's the kind of snack that disappears before you've put the jars away, so make a little extra. Taste as you go, then taste again.
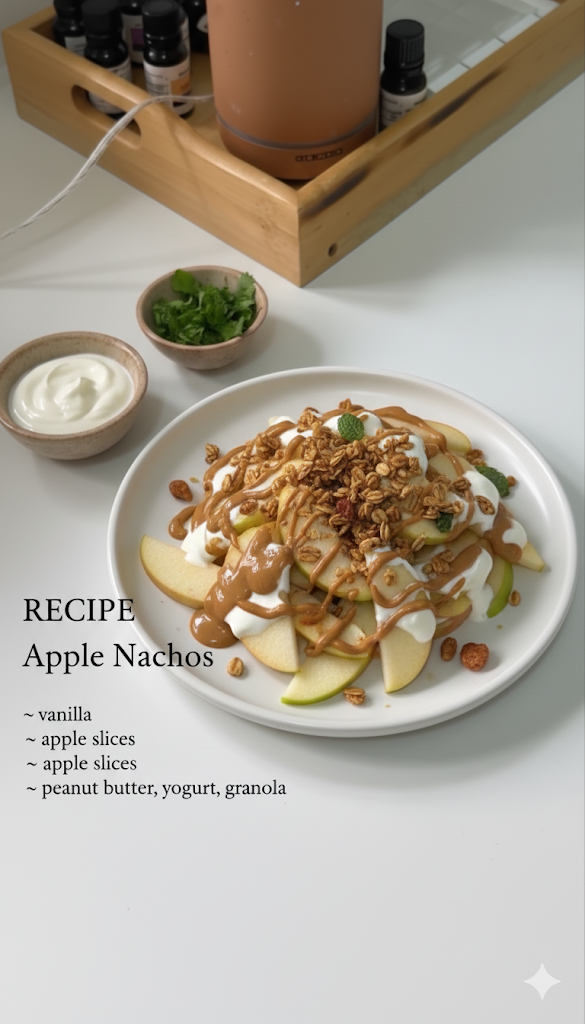
Apple Nachos with Peanut Butter, Yogurt and Granola
Apple nachos pile crisp sliced apples with creamy peanut butter, tangy yogurt and crunchy granola for a 15-minute snack everyone builds themselves.
🧂 Ingredients
- 3 large crisp apples (Honeycrisp, Fuji or Pink Lady), about 1 1/2 pounds (680g)
- 1 tablespoon fresh lemon juice mixed with 2 cups cold water
- 1/2 cup (130g) creamy peanut butter
- 1/3 cup (80g) plain Greek yogurt
- 1 tablespoon honey
- 2 to 3 tablespoons milk of choice
- 1 cup (120g) granola clusters
- 2 tablespoons mini chocolate chips
- 1 tablespoon shredded coconut, optional
- Pinch of flaky sea salt
📋 Instructions
- 1Slice the apples — Core the apples and cut them into 1/4-inch wedges, leaving the skin on for color and crunch. You should hear a clean snap with each cut; if the knife squishes, the apple is past its prime.
- 2Bath the slices — Drop the wedges into the lemon water and swish for 30 seconds, then drain and pat dry with a clean towel. Dry slices are key, because water makes the yogurt slide right off.
- 3Warm the peanut butter — Spoon the peanut butter and honey into a microwave-safe bowl and heat in 20-second bursts, stirring between each, until it flows off the spoon in a ribbon. That's roughly 40 to 60 seconds total; do not let it bubble.
- 4Loosen the yogurt — Stir the Greek yogurt with 1 tablespoon of milk until it's pourable but still thick, like heavy cream. Add the second tablespoon only if it fights the spoon.
- 5Build the board — Fan the apple slices across a large platter in an overlapping pile, skin edges facing out. Leave a few gaps so the drizzles can pool in the crevices.
- 6Drizzle and scatter — Zigzag the warm peanut butter over the apples, then the yogurt, using a light hand so the slices stay visible. Scatter the granola clusters, mini chocolate chips and coconut over the top.
- 7Finish and serve — Sprinkle with flaky salt and serve immediately, while the granola still crackles under the fork. If you're prepping ahead, hold the toppings until the last minute.

Priya writes about South Indian home cooking and the improvisation that happens in real kitchens, from quick weekday tiffins to slow weekend spreads. She is interested in how a single tempering of spices changes a dish and in adapting familiar recipes to what a cook has on hand. Her angle is playful, sensory recipe writing that treats cooking as something to tinker with.