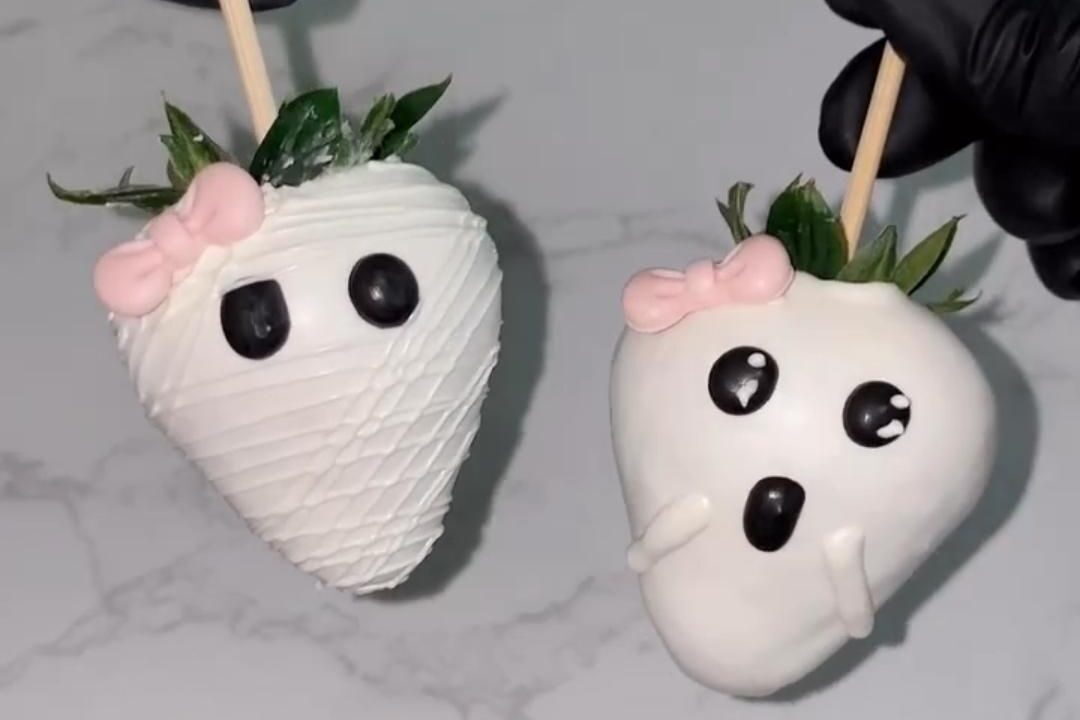
The first thing you'll hear is the snap of a white chocolate shell cracking between your fingers, and then the sweet vanilla smell drifts up and you know the kids are already circling the counter. These little mummies and ghosts are just pretzel rods and marshmallows dipped in white chocolate, and they come together faster than you can say boo.
You don't need a piping bag or a steady hand here. A zip-top bag with the tiniest corner snipped off makes those wobbly bandage stripes look charmingly handmade, which is exactly the point. The googly eyes go on while the chocolate is still tacky, so they stick without any glue or fuss.
Make a tray for a class party, a Halloween movie night, or just because your Tuesday needs a tiny ghost in it. Either way, you'll end up with a plate of the cutest little mummy & ghost 👻💗 that vanishes before the credits roll.
Why You'll Love This Recipe
About the Ingredients
12 pretzel rods (about 5 inches long)
Look for straight, unbroken rods so the mummies stand tall; if you only have thin pretzel sticks, bundle three together per mummy and dip as one.
12 large marshmallows
Standard full-size marshmallows give you plump ghosts; jumbo marshmallows work too but need an extra 30 seconds of dipping time.
12 oz (340g) white chocolate chips or white candy melts
Candy melts set firmer and shinier than chips; if using chips, stir in 1 teaspoon coconut oil to loosen the coating.
1/2 cup (60g) powdered sugar
A quick dusting keeps the ghosts looking soft and matte; cornstarch works as a substitute if you're out.
48 mini candy eyeballs
Find them in the baking aisle near sprinkles; if you can't, a dot of black icing from a tube works in a pinch.
2 tablespoons black decorating icing
Use a fine-tip tube for the mummy mouth lines; melted dark chocolate in a zip bag is an easy swap.
1 teaspoon coconut oil (optional)
Helps thin the white chocolate for smoother dipping; vegetable shortening does the same job.
Tips & Tricks
Melt Gently
White chocolate seizes if it gets too hot, so keep the heat low and stir constantly until just smooth.
Dry Your Dippers
Pat the pretzels and marshmallows dry first, because any moisture makes the coating streak and slide.
Work in Small Batches
Dip three or four pieces at a time so the chocolate is still tacky when you add the eyes.
Tap Off the Excess
A gentle tap on the bowl rim stops pooling at the base and gives you a clean, even shell.
Pro Tips
Step-by-Step Instructions
1. Line your tray
Line a baking sheet with parchment paper and set it near your work space so you can move fast once the chocolate is melted.
2. Melt the chocolate
Melt the white chocolate with the coconut oil in a heatproof bowl over barely simmering water (about 180°F / 82°C) or in the microwave in 20-second bursts, stirring until smooth and glossy with no lumps.
3. Dip the mummies
Hold each pretzel rod by the tip and dip about two-thirds of the way into the white chocolate, letting the excess drip back into the bowl. Lay it on the parchment and repeat with six rods.
4. Dip the ghosts
Spear each marshmallow with a toothpick and dip it fully, then lift and let it drip for a few seconds. Slide it onto the parchment and gently twist out the toothpick, smoothing the hole with a fingertip.
5. Add the eyes
While the coating is still tacky, press two candy eyeballs onto each ghost and onto the exposed top of each mummy. Work quickly, because once the chocolate skins over the eyes won't grip.
6. Pipe the bandages
Spoon the remaining white chocolate into a zip-top bag, snip a tiny corner, and zigzag thin stripes across each mummy, leaving a small gap for the face. Pipe a tiny squiggle mouth on each ghost with the black icing.
7. Chill to set
Slide the tray into the refrigerator for 20 minutes at 40°F (4°C) until the coating is fully firm and snaps cleanly when you tap it with a fingernail.
8. Dust and serve
Sift a light veil of powdered sugar over the ghosts for a soft spooky look, then arrange everything on a platter and serve.
Delicious Variations
Dark Chocolate Mummies
Swap half the white chocolate for melted dark chocolate and drizzle it over the bandages for a creepier look.
Peppermint Ghosts
Add 1/4 teaspoon peppermint extract to the white chocolate for a cool, candy-cane finish.
Strawberry Ghosts
Dip fresh strawberries instead of marshmallows for a fruity, juicy version that's best eaten the same day.
How to Store The cutest little mummy & ghost 👻💗
Refrigerator
Store in an airtight container in a single layer at 40°F (4°C) for up to 5 days; the pretzels soften slightly after day three.
Freezer
Freeze on a tray for 1 hour, then transfer to a freezer bag for up to 2 months; the coating may bloom slightly but tastes fine.
Reheating
No reheating needed; let them sit at room temperature for 10 minutes before serving so the chocolate isn't rock hard.
Frequently Asked Questions
Q: How do I keep white chocolate from seizing when melting?
Keep the heat low and never let water touch the chocolate, stirring constantly until just melted. If it does seize, stir in 1 teaspoon of coconut oil or shortening to bring it back.
Q: Can I make these mummy and ghost treats ahead of time?
Yes, you can make them up to 5 days ahead and keep them chilled in an airtight container. Add the candy eyes the same day you serve if you want them perfectly crisp.
Q: What can I use instead of candy eyeballs?
A small dot of black decorating icing or melted dark chocolate makes a fine stand-in for candy eyes. Pipe it on after the white chocolate has set so it doesn't bleed.
Q: Why is my white chocolate coating streaky?
Streaks usually mean the chocolate was overheated or a drop of moisture got in. Melt in short bursts, stir patiently, and make sure your pretzels and marshmallows are completely dry.
Q: Are these Halloween treats gluten-free?
Not as written, because pretzel rods contain wheat. Use gluten-free pretzel rods and check that your white chocolate and sprinkles are certified gluten-free.
Grab your pretzels and marshmallows and let the kids loose with the piping bag, because wobbly stripes are half the charm. Make a batch tonight and watch the plate empty before the movie even starts. Taste as you go, then taste again.
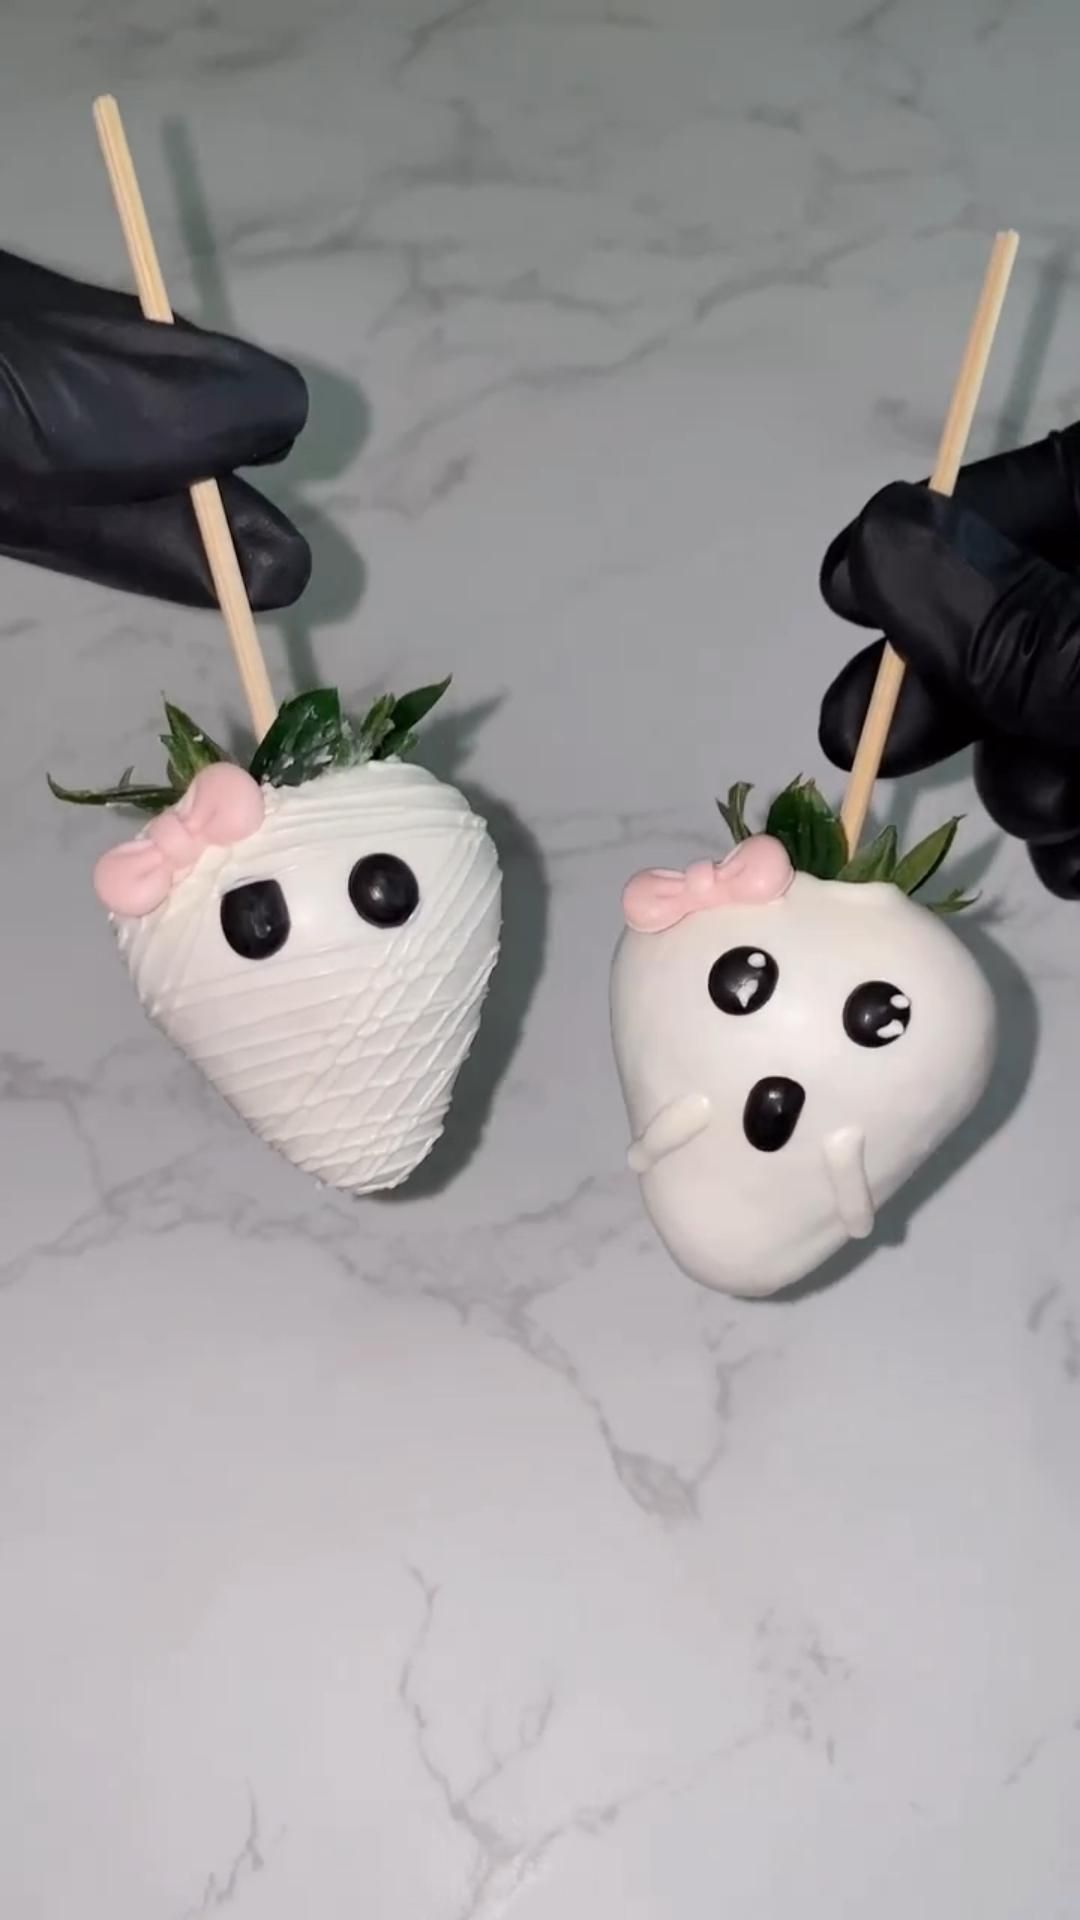
The cutest little mummy & ghost 👻💗
The cutest little mummy & ghost 👻💗 are buttery pretzel-and-white-chocolate bites you can decorate in 20 minutes for Halloween.
🧂 Ingredients
- 12 pretzel rods (about 5 inches long)
- 12 large marshmallows
- 12 oz (340g) white chocolate chips or white candy melts
- 1/2 cup (60g) powdered sugar
- 48 mini candy eyeballs
- 2 tablespoons black decorating icing
- 1 teaspoon coconut oil (optional)
📋 Instructions
- 1Line your tray — Line a baking sheet with parchment paper and set it near your work space so you can move fast once the chocolate is melted.
- 2Melt the chocolate — Melt the white chocolate with the coconut oil in a heatproof bowl over barely simmering water (about 180°F / 82°C) or in the microwave in 20-second bursts, stirring until smooth and glossy with no lumps.
- 3Dip the mummies — Hold each pretzel rod by the tip and dip about two-thirds of the way into the white chocolate, letting the excess drip back into the bowl. Lay it on the parchment and repeat with six rods.
- 4Dip the ghosts — Spear each marshmallow with a toothpick and dip it fully, then lift and let it drip for a few seconds. Slide it onto the parchment and gently twist out the toothpick, smoothing the hole with a fingertip.
- 5Add the eyes — While the coating is still tacky, press two candy eyeballs onto each ghost and onto the exposed top of each mummy. Work quickly, because once the chocolate skins over the eyes won't grip.
- 6Pipe the bandages — Spoon the remaining white chocolate into a zip-top bag, snip a tiny corner, and zigzag thin stripes across each mummy, leaving a small gap for the face. Pipe a tiny squiggle mouth on each ghost with the black icing.
- 7Chill to set — Slide the tray into the refrigerator for 20 minutes at 40°F (4°C) until the coating is fully firm and snaps cleanly when you tap it with a fingernail.
- 8Dust and serve — Sift a light veil of powdered sugar over the ghosts for a soft spooky look, then arrange everything on a platter and serve.

Priya writes about South Indian home cooking and the improvisation that happens in real kitchens, from quick weekday tiffins to slow weekend spreads. She is interested in how a single tempering of spices changes a dish and in adapting familiar recipes to what a cook has on hand. Her angle is playful, sensory recipe writing that treats cooking as something to tinker with.