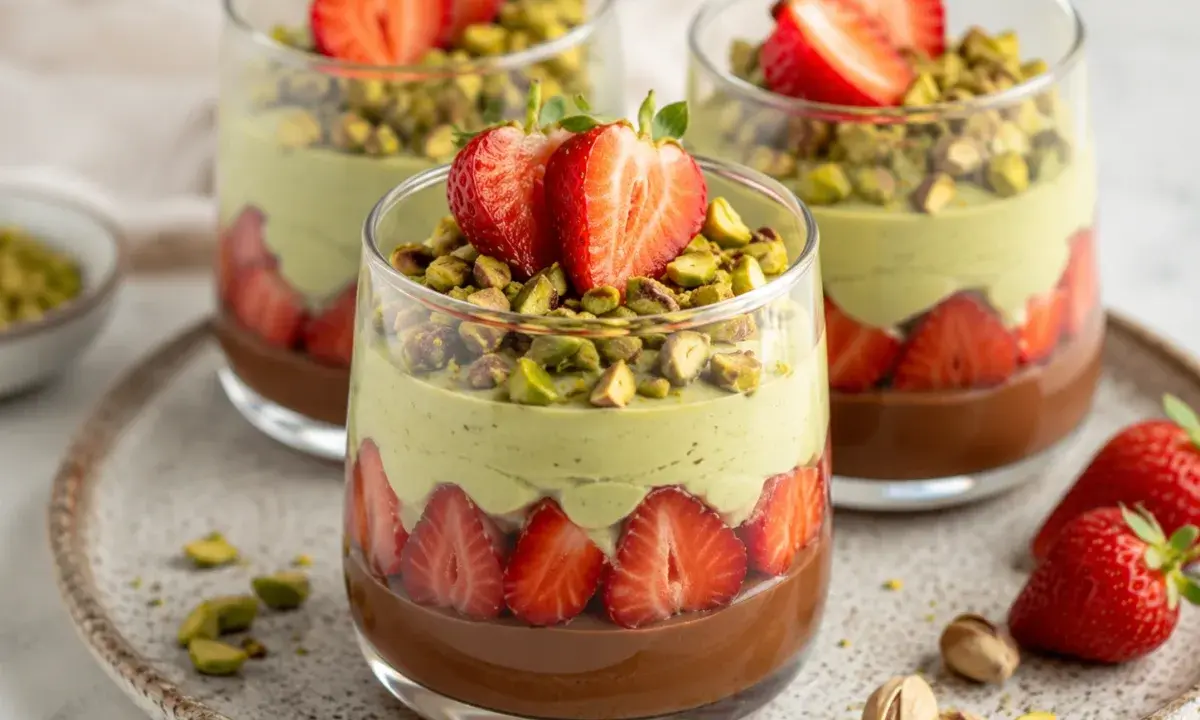
Pistachio chocolate strawberry cups are layered, no-bake desserts with dark chocolate cream, fresh berries, and a pistachio-ricotta layer. The cleanest result comes from managing temperature and thickness so each layer supports the next instead of blending together.
Prepare Stable Cream Layers
Soften cream cheese fully before mixing, and drain very wet ricotta. Melt chocolate, then cool it until fluid but not hot before adding it to the dairy mixture. Hot chocolate can create a loose layer; chocolate that has started to set forms small hard pieces.
Keep the Pistachio Flavor Clear
Use unsalted pistachios so salt does not compete with the chocolate and berries. Chop most very finely for the cream and reserve coarser pieces for the top. This recipe uses real nuts rather than artificial color, so the pistachio layer will be naturally pale.
Whip cold cream only to soft peaks. Fold half into each base with broad strokes to retain air. Overwhipped cream creates a grainy filling and is harder to spread neatly.
Layer Without Smearing
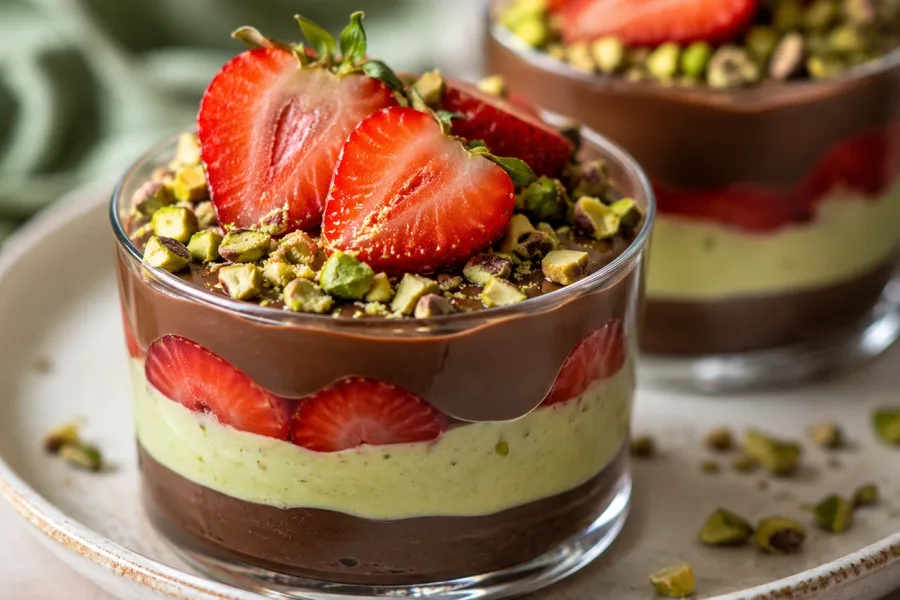
Pipe or spoon the chocolate layer into the bottom, wipe the glass if needed, then chill for 10 minutes. Arrange dry strawberry slices against the sides and add the pistachio layer gently. Cover and chill for at least two hours before garnishing.
- Loose filling: chill the base briefly and check that the cream reached soft peaks.
- Watery cups: dry strawberries thoroughly and avoid frozen fruit.
- Grainy chocolate: bring the melted chocolate and dairy closer in temperature.
- Nut allergy: this recipe is not suitable without a complete pistachio-free redesign; avoid cross-contact.
For another chilled chocolate dessert, try Greek yogurt chocolate mousse. More options are under Dessert Recipes, including fresh peach cobbler. Wash and dry berries before cutting; see the FDA’s produce safety guidance.
Pistachio Chocolate Strawberry Cups
Individual no-bake dessert cups with chocolate cream, fresh strawberries, and a smooth pistachio layer.
Prep Time: 25 minutes
Cook Time: 0 minutes
Total Time: 2 hours 25 minutes
Servings: 6 cups
Ingredients
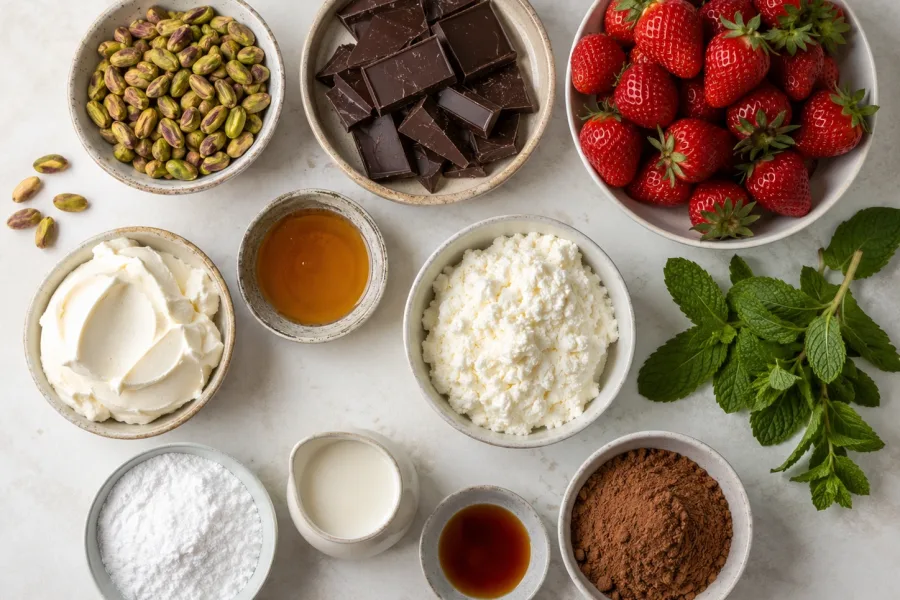
- 1 cup shelled unsalted pistachios, divided
- 6 ounces dark or semisweet chocolate, chopped
- 2 cups fresh strawberries, sliced
- 8 ounces cream cheese, softened
- 1 cup ricotta cheese
- 1 cup heavy whipping cream, divided
- 1/2 cup powdered sugar, divided
- 2 tablespoons unsweetened cocoa powder
- 2 tablespoons honey
- 1 teaspoon vanilla extract
- 2 to 3 tablespoons milk, as needed
- Fresh mint, optional for garnish
Instructions
- Prepare the pistachios: Finely chop 3/4 cup pistachios for the filling and reserve the remaining pistachios for topping.
- Make the chocolate layer: Melt the chocolate until smooth. Beat half of the cream cheese with half of the ricotta, 1/4 cup powdered sugar, cocoa powder, and enough milk to make a smooth cream. Mix in the melted chocolate and set aside.
- Make the pistachio layer: Beat the remaining cream cheese and ricotta with the honey, vanilla, remaining powdered sugar, and finely chopped pistachios until creamy.
- Whip the cream: Whip the heavy cream until soft peaks form. Fold half into the chocolate mixture and half into the pistachio mixture.
- Assemble the cups: Spoon a chocolate layer into each glass, add sliced strawberries around the sides, then add the pistachio layer. Repeat if your glasses are tall enough.
- Chill: Cover and refrigerate for at least 2 hours so the layers can firm up.
- Finish and serve: Top with chopped pistachios, extra strawberries, chocolate shavings, and mint if desired.
Notes
For the neatest presentation, chill each layer for 10 minutes before adding the next one.