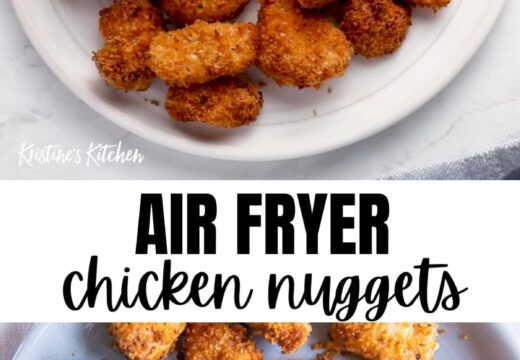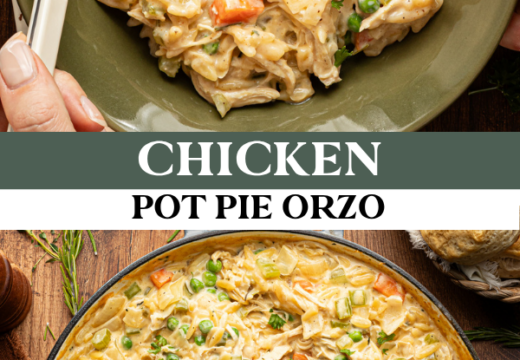
A Pinterest image is the single most important asset for getting your recipe discovered, yet most food bloggers treat it as an afterthought. The right image stops the scroll, communicates the dish instantly, and earns the save that sends traffic for months.
In this guide, I break down exactly how to build a Pinterest image that performs: the composition, the lighting, the text overlay, and the editing workflow I use for every single recipe. These are the same techniques that took my pins from 200 impressions to 40,000 in under 90 days.
You do not need a professional camera or a studio. You need a window, a clean surface, and a repeatable process. Here is mine, step by step.
Why You'll Love This Recipe
About the Ingredients
1 camera or smartphone with a 50mm-equivalent lens
Any modern phone works; shoot in RAW or the highest-quality JPEG your device allows. If you only have a wide lens, step back and crop rather than using digital zoom, which softens detail.
1 large diffused light source (window or 24-inch softbox)
A north-facing window gives the most consistent, shadow-free light all day. If you shoot in the evening, a 24-inch softbox at 45 degrees replaces the window perfectly.
1 neutral backdrop (marble, linen, or weathered wood)
Matte surfaces beat glossy ones because they do not throw glare into the lens. A $12 linen remnant from a fabric store reads more expensive on camera than most purchased backdrops.
3 to 5 styling props (linen napkin, vintage fork, small herb sprig)
Odd numbers photograph better than even ones. Thrift stores and estate sales are the best source for tarnished silver and worn wood that add texture without competing with the food.
1 hero dish, freshly plated and still steaming
Photograph within 90 seconds of plating; steam and glossy sauce read as fresh, while a 5-minute-old plate looks tired. Keep a backup plate ready in case the first one slumps.
1 text overlay in a bold serif or clean sans-serif font
Use no more than two fonts and keep the overlay to 5 to 7 words. Canva, Photoshop, and Lightroom all handle this; contrast matters more than the typeface itself.
1 editing preset or 3 manual adjustments (exposure, contrast, warmth)
Consistency across your pins builds brand recognition, so lock in one preset and reuse it. If editing manually, bump exposure +0.3, contrast +10, and warmth +5 as a starting point.
1 pin description with 3 to 5 long-tail keywords
Pinterest reads your description as search data, so write it for the algorithm first and the human second. Front-load the keyword phrase in the first 50 characters.
Tips & Tricks
Shoot Vertical, Always
Pinterest's feed is 2:3, so horizontal photos get cropped and lose their impact. Set your phone to 9:16 and crop to 1000 x 1500 px before uploading.
Fix the Lighting Before the Food
Move the plate to the light, never the light to the plate. Side light at 45 degrees creates the depth that flat overhead light destroys.
Text Needs Breathing Room
Leave at least 15 percent empty space around your overlay text, or Pinterest's UI will cover it with buttons on mobile.
Test Two Pins Per Recipe
Pinterest rewards fresh images, so publish a second pin with a different angle or overlay 3 to 5 days after the first.
Pro Tips
Step-by-Step Instructions
1. Set up the light
Position your dish so the main light source hits it from the side at roughly 45 degrees, either from a window or a softbox placed at 550F-equivalent color temperature (about 5500K). This angle creates gentle shadows that give the food dimension instead of flattening it.
2. Style the plate
Place the hero dish slightly off-center using the rule of thirds, then add one napkin, one utensil, and one herb sprig in a loose triangle around it. Keep props in the outer third of the frame so they frame the food rather than crowd it.
3. Compose vertical
Switch your camera to a 2:3 vertical crop and fill the frame so the dish occupies about 60 percent of the height. Leave deliberate negative space at the top third for your text overlay later.
4. Lock focus on the hero
Tap to focus on the most appetizing point, usually the glossiest sauce or the tallest garnish, and shoot at f/2.8 to f/4 for a softly blurred background. Take 15 to 20 frames at slightly different angles; the best one is rarely the first.
5. Edit for warmth and contrast
Import into Lightroom or your phone editor and apply exposure +0.3, contrast +10, highlights -20, and warmth +5, keeping the whites clean rather than blown out. Save this as a preset so every future pin matches your brand.
6. Add the text overlay
Open the edited image in Canva at 1000 x 1500 px and place a 5 to 7 word title in the top third using a bold font with a subtle drop shadow. Keep the text at least 80 px from every edge so Pinterest's mobile buttons never cover it.
7. Write the pin description
Front-load your primary long-tail keyword in the first 50 characters, then add two to three supporting phrases and a clear call to action. Aim for 150 to 300 characters total and include the recipe name exactly as it appears on your blog.
8. Publish and schedule
Upload the pin to your best-performing board first, then schedule it to 3 to 5 relevant group boards over the following two weeks. Space the shares at least 48 hours apart so the algorithm reads each as fresh content.
Delicious Variations
Flat-Lay Version
Shoot straight down on a textured wood or marble surface for a clean, graphic look that performs well on Instagram as well as Pinterest.
Process Collage
Combine three frames, raw ingredients, mid-cook, and finished plate, into a single vertical pin to tell the full story in one image.
Dark and Moody
Drop the exposure by half a stop and push shadows for a dramatic, restaurant-style pin that stands out against Pinterest's typically bright feed.
How to Store Pinterest image
Refrigerator
Store your original RAW or high-resolution files on an external drive or cloud folder labeled by recipe and date; never rely on a single device.
Freezer
Not applicable to digital image files; instead, archive full-resolution exports in a second cloud service so a single account failure cannot wipe your library.
Reheating
Re-edit an underperforming pin after 60 days by applying a new overlay or crop, then republish it as a fresh pin rather than editing the original.
Frequently Asked Questions
Q: What size should a Pinterest image be?
The ideal Pinterest image size is 1000 x 1500 pixels, a 2:3 vertical ratio. Anything taller than 1:2.1 gets truncated in the feed, and horizontal images get cropped, so always shoot and export vertical.
Q: How do I make my Pinterest food photos look professional?
Use natural side light, a matte neutral backdrop, and shallow depth of field, then edit for warm white balance and moderate contrast. Most amateur food photos fail because of flat overhead lighting, not because of the camera.
Q: How much text should be on a Pinterest image?
Keep your overlay to 5 to 7 words in the top third of the pin. More text than that becomes unreadable on mobile thumbnails and lowers your click-through rate.
Q: Why is my Pinterest image not getting clicks?
The most common cause is a weak overlay that does not state a clear benefit, followed by low contrast that makes the pin disappear in the feed. Test a new overlay with a specific promise, such as a time or result, and compare performance after two weeks.
Q: Can I use my phone for Pinterest food photography?
Yes, a modern smartphone with a 50mm-equivalent lens produces pins indistinguishable from DSLR shots when the lighting is good. Prioritize a window and a clean backdrop over upgrading your camera.
Grab your camera, find your brightest window, and shoot your next pin today. Save this guide to your blogging board so you can repeat the exact setup for every recipe you publish.
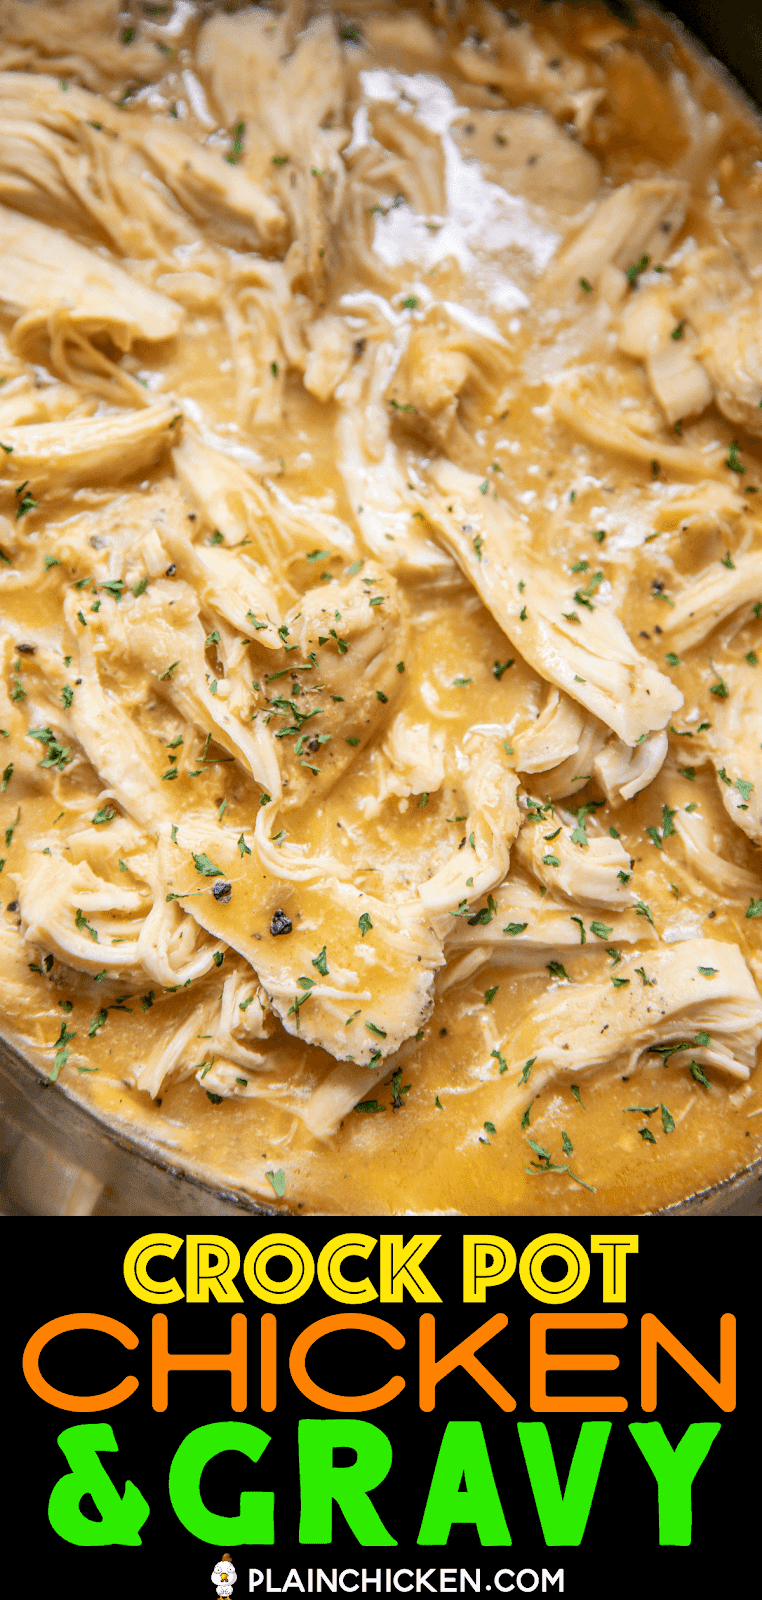
Pinterest image
Pinterest image: create a stunning, scroll-stopping food photo that drives clicks and saves, with simple styling tips anyone can use.
🧂 Ingredients
- 1 camera or smartphone with a 50mm-equivalent lens
- 1 large diffused light source (window or 24-inch softbox)
- 1 neutral backdrop (marble, linen, or weathered wood)
- 3 to 5 styling props (linen napkin, vintage fork, small herb sprig)
- 1 hero dish, freshly plated and still steaming
- 1 text overlay in a bold serif or clean sans-serif font
- 1 editing preset or 3 manual adjustments (exposure, contrast, warmth)
- 1 pin description with 3 to 5 long-tail keywords
📋 Instructions
- 1Set up the light — Position your dish so the main light source hits it from the side at roughly 45 degrees, either from a window or a softbox placed at 550F-equivalent color temperature (about 5500K). This angle creates gentle shadows that give the food dimension instead of flattening it.
- 2Style the plate — Place the hero dish slightly off-center using the rule of thirds, then add one napkin, one utensil, and one herb sprig in a loose triangle around it. Keep props in the outer third of the frame so they frame the food rather than crowd it.
- 3Compose vertical — Switch your camera to a 2:3 vertical crop and fill the frame so the dish occupies about 60 percent of the height. Leave deliberate negative space at the top third for your text overlay later.
- 4Lock focus on the hero — Tap to focus on the most appetizing point, usually the glossiest sauce or the tallest garnish, and shoot at f/2.8 to f/4 for a softly blurred background. Take 15 to 20 frames at slightly different angles; the best one is rarely the first.
- 5Edit for warmth and contrast — Import into Lightroom or your phone editor and apply exposure +0.3, contrast +10, highlights -20, and warmth +5, keeping the whites clean rather than blown out. Save this as a preset so every future pin matches your brand.
- 6Add the text overlay — Open the edited image in Canva at 1000 x 1500 px and place a 5 to 7 word title in the top third using a bold font with a subtle drop shadow. Keep the text at least 80 px from every edge so Pinterest's mobile buttons never cover it.
- 7Write the pin description — Front-load your primary long-tail keyword in the first 50 characters, then add two to three supporting phrases and a clear call to action. Aim for 150 to 300 characters total and include the recipe name exactly as it appears on your blog.
- 8Publish and schedule — Upload the pin to your best-performing board first, then schedule it to 3 to 5 relevant group boards over the following two weeks. Space the shares at least 48 hours apart so the algorithm reads each as fresh content.