
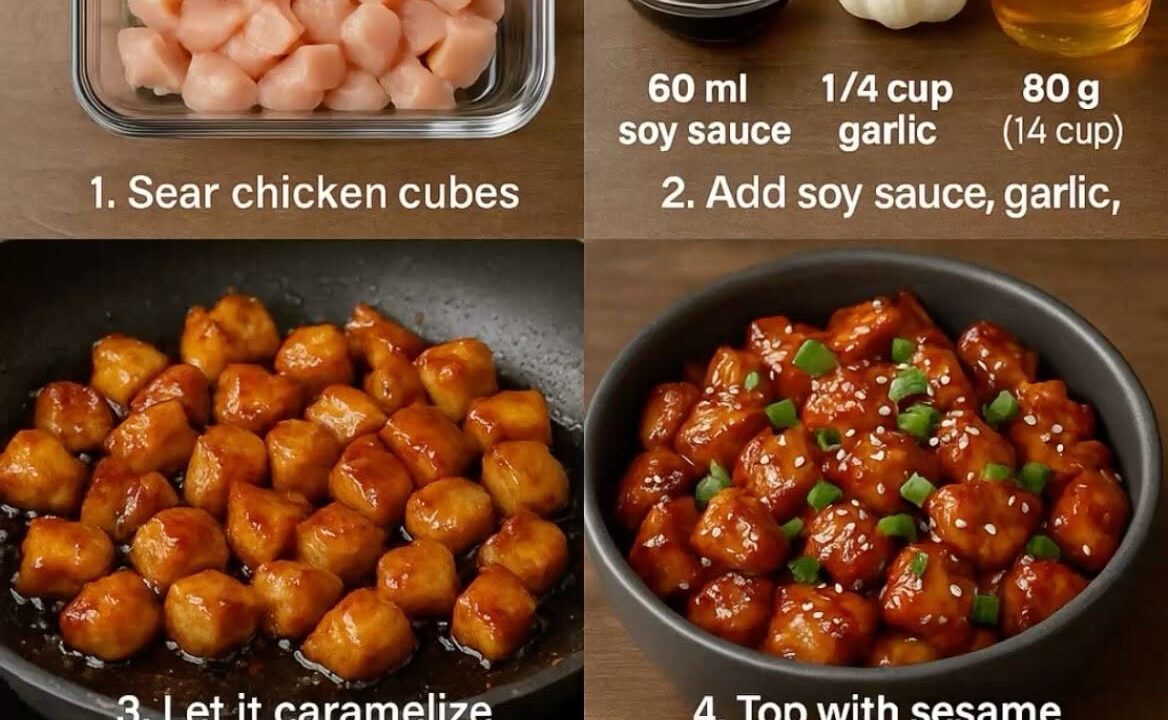
The moment that honey-garlic sauce hits the hot pan, your kitchen fills with a sweet, sharp, mouth-watering hiss you can hear from the next room. That sound means the glaze is caramelizing, and dinner is about ten minutes away.
These little chicken bites are the answer to the question every cook asks around 5 p.m.: what can I make that feels like takeout but comes from my own stove? Bite-size pieces sear fast, stay juicy, and get coated in a syrup-thick sauce that clings to every crevice.
You do not need a deep fryer or a wok. A skillet, a bowl of cornstarch, and a whisked sauce get you there, and the whole thing lands on the table before the rice finishes steaming.
Why You'll Love This Recipe
About the Ingredients
2 pounds (900g) boneless, skinless chicken thighs, cut into 1-inch pieces
Thighs stay juicier than breast under high heat. If you only have chicken breast, cut it the same size and pull it off the heat a minute earlier so it does not dry out.
3 tablespoons cornstarch
Cornstarch is what gives the bites their crackly edges. Potato starch or arrowroot work as a one-to-one swap if that is what your pantry holds.
1 teaspoon kosher salt
Use half the amount if you only have fine table salt. Kosher flakes season more gently and evenly across the chicken.
3 tablespoons olive oil, divided
Any neutral high-smoke oil works here, like avocado or canola. Save the good finishing olive oil for drizzling at the end, not for searing.
6 cloves garlic, finely minced
Fresh garlic is non-negotiable for this sauce; jarred paste turns bitter when it hits high heat. Mince it fine so it melts into the glaze instead of burning.
1/3 cup (113g) honey
Clover or wildflower honey gives a clean sweetness. If your honey is crystallized, set the jar in warm water for five minutes before measuring.
1/4 cup (60ml) low-sodium soy sauce
Low-sodium lets you control the salt level. Tamari is a great gluten-free substitute and tastes slightly richer.
1 tablespoon rice vinegar
The acid cuts through the honey so the sauce does not taste flat. Apple cider vinegar is a fine stand-in in a pinch.
1 teaspoon toasted sesame oil
A little goes a long way for that nutty finish. Do not substitute regular sesame oil; it is not toasted and tastes much milder.
1/2 teaspoon red pepper flakes, plus more to taste
Optional but recommended for a gentle background heat. Leave them out entirely for a kid-friendly batch.
1 tablespoon toasted sesame seeds, for garnish
Toast raw seeds in a dry pan for two minutes until they smell nutty. Pre-toasted seeds save a step and work just as well.
2 scallions, thinly sliced, for garnish
Slice on a sharp bias for pretty green curls. Chives are a good substitute if scallions are not in the fridge.
Tips & Tricks
- Pat the chicken very dry before tossing in cornstarch. Wet chicken steams instead of searing, and you lose the crispy edges that make this dish special.
- Sear in two batches so the pan stays hot. Crowding the skillet drops the temperature and the bites turn pale and soft instead of deeply golden.
- Add the garlic only after the chicken comes out of the pan. Garlic burns in seconds at high heat, and burnt garlic makes the whole sauce taste acrid.
- Let the sauce bubble and thicken for a full minute before returning the chicken. It should coat the back of a spoon and smell like caramelized honey.
Pro Tips
Step-by-Step Instructions
1. Prep the chicken
Pat the chicken pieces bone dry with paper towels, then toss them in a bowl with the cornstarch and salt until every piece wears a thin white coat. Let them sit for 5 minutes while you whisk the sauce; the coating hydrates and clings better.
2. Whisk the sauce
In a small bowl, stir together the honey, soy sauce, rice vinegar, sesame oil, and red pepper flakes until the honey dissolves completely. Set it beside the stove, because once the pan is hot you will not have time to measure.
3. Sear the first batch
Heat 2 tablespoons of olive oil in a large skillet over medium-high heat, about 375F (190C), until it shimmers. Add half the chicken in a single layer and cook for 4 to 5 minutes per side, until deeply golden brown and the internal temperature reads 165F (74C).
4. Sear the second batch
Move the first batch to a plate and add the remaining oil and chicken. Cook the same way, 4 to 5 minutes per side, until golden and crisp at the edges. Listen for a steady sizzle; a quiet pan means the heat is too low.
5. Bloom the garlic
Lower the heat to medium and add the minced garlic to the empty pan. Stir constantly for 30 to 45 seconds, just until it smells fragrant and turns pale gold, not brown. This is the moment your kitchen starts to smell like the best takeout spot in town.
6. Build the glaze
Pour in the whisked sauce and let it bubble for 1 to 2 minutes, stirring, until it thickens enough to coat the back of a spoon. It should look glossy and syrupy, with bubbles forming at the edges of the pan.
7. Toss and coat
Return all the chicken and any resting juices to the pan and toss for 1 to 2 minutes over medium-low heat until every bite is slicked with glaze. The sauce should cling, not pool, at the bottom of the skillet.
8. Garnish and serve
Scatter the sesame seeds and scallions over the top and serve immediately over steamed rice or tucked into warm tortillas. The glaze tightens as it cools, so bring it to the table while it is still sticky.
Delicious Variations
Spicy Honey Garlic
Add 1 tablespoon of sriracha or gochujang to the sauce for a fiery kick that plays well with the honey.
Lemon-Herb Twist
Swap the rice vinegar for fresh lemon juice and finish with chopped parsley for a brighter, springier version.
Air Fryer Batch
Cook the cornstarch-coated bites at 400F (200C) for 12 to 14 minutes, shaking halfway, then toss in the stovetop sauce.
How to Store Honey Garlic Chicken Bites
Refrigerator
Store leftovers in an airtight container in the refrigerator for up to 4 days. The glaze will thicken when cold, which is completely normal.
Freezer
Freeze the cooled bites in a single layer on a sheet pan, then transfer to a freezer bag for up to 2 months. Freeze the sauce separately if you have extra.
Reheating
Reheat in a skillet over medium heat with a splash of water for 3 to 4 minutes, or microwave in 30-second bursts, until hot and glossy again.
Frequently Asked Questions
Q: How do I make honey garlic chicken bites crispy?
Toss the chicken in cornstarch and sear it in a hot pan without crowding it. The cornstarch coating fries into a thin, crackly shell, and cooking in two batches keeps the pan hot enough to brown instead of steam.
Q: Can I use chicken breast instead of thighs?
Yes, chicken breast works well if you cut it into even 1-inch pieces and watch the internal temperature closely. Pull it at 165F (74C) and it stays tender under the sticky glaze.
Q: Why did my honey garlic sauce burn?
Honey scorches fast above medium heat, so lower the flame before adding the sauce and stir constantly. Add the garlic only after the chicken is out of the pan, and let the glaze bubble gently rather than hard.
Q: Is honey garlic chicken bites gluten-free?
It can be gluten-free if you use tamari or a gluten-free soy sauce and confirm your cornstarch is certified gluten-free. Everything else in the recipe is naturally gluten-free.
Q: What do you serve with honey garlic chicken bites?
Steamed jasmine rice and a pile of green vegetables like broccoli or snap peas make the classic pairing. The extra glaze is excellent spooned over the rice.
Grab your skillet and get that honey-garlic sizzle going tonight. Taste as you go, then taste again.
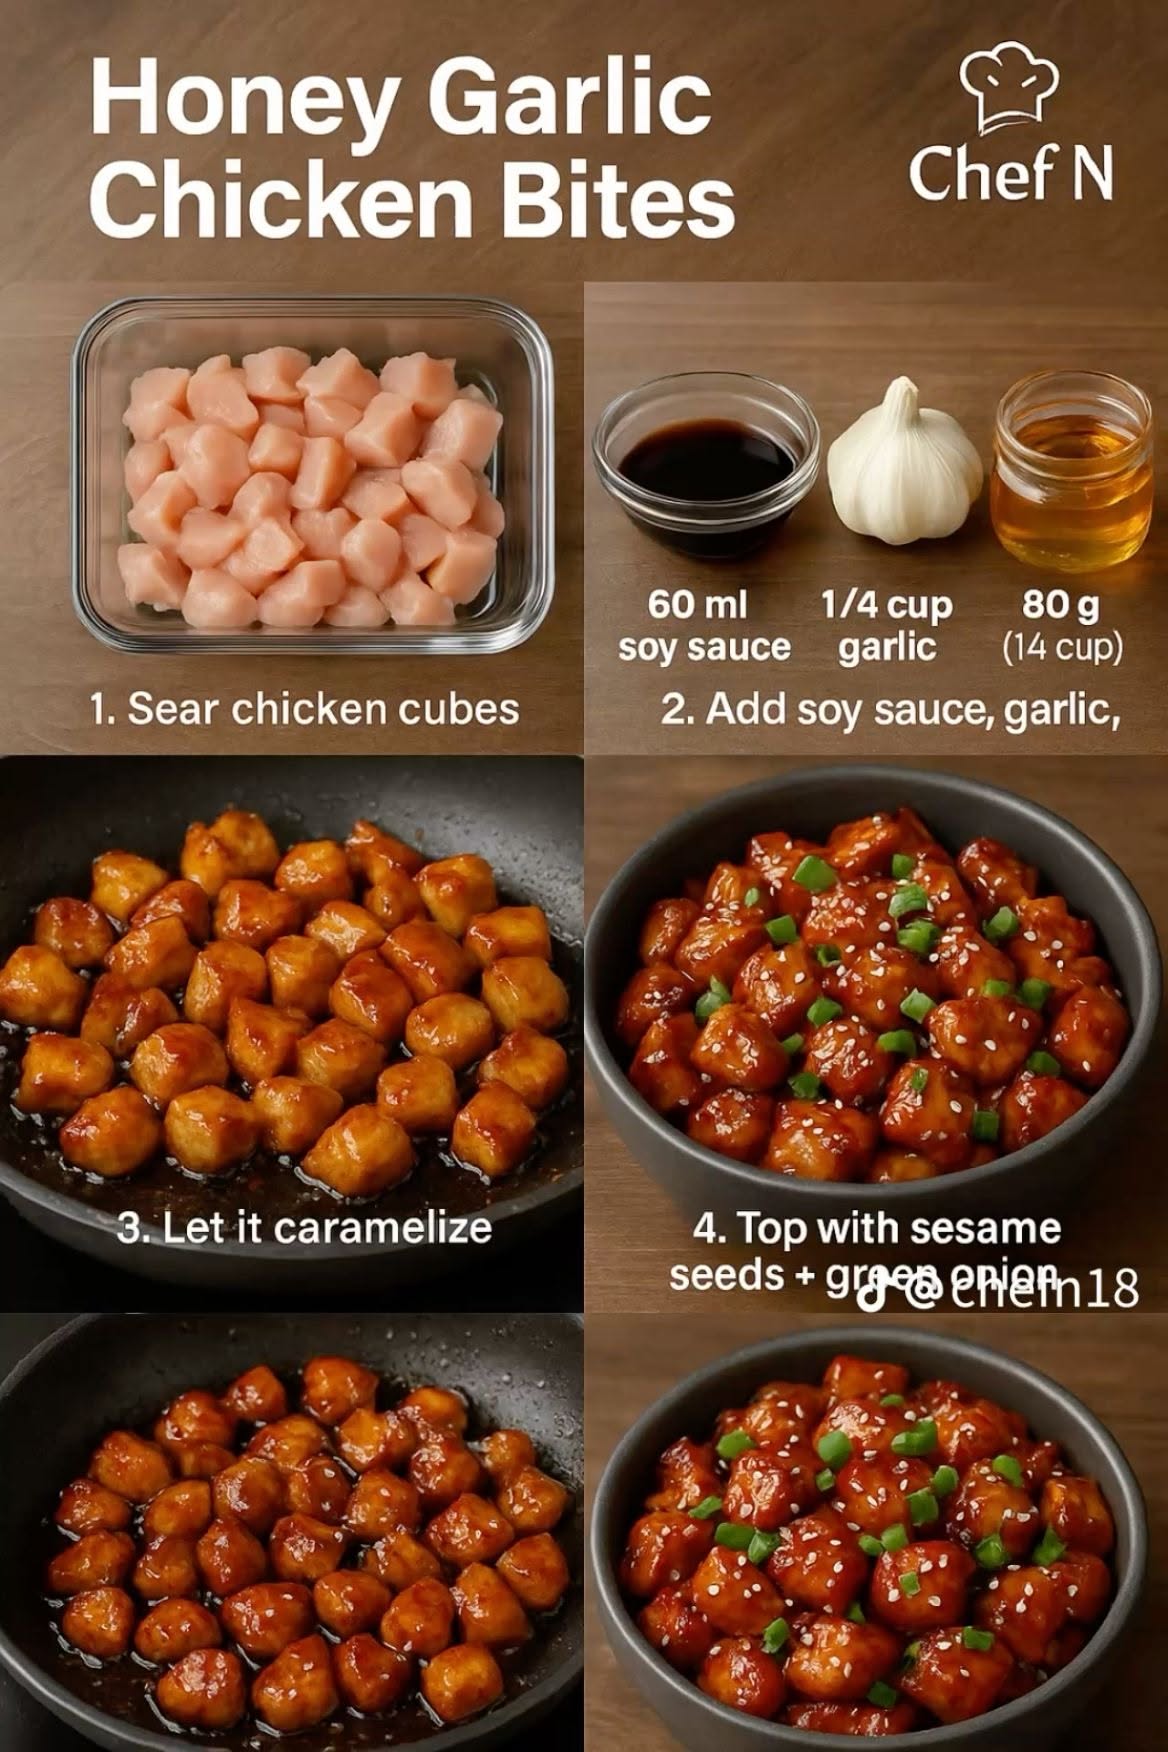
Honey Garlic Chicken Bites
Honey garlic chicken bites are sticky, golden, and ready in 30 minutes, with a glossy sauce that turns weeknight chicken into the dinner everyone fights over.
🧂 Ingredients
- 2 pounds (900g) boneless, skinless chicken thighs, cut into 1-inch pieces
- 3 tablespoons cornstarch
- 1 teaspoon kosher salt
- 3 tablespoons olive oil, divided
- 6 cloves garlic, finely minced
- 1/3 cup (113g) honey
- 1/4 cup (60ml) low-sodium soy sauce
- 1 tablespoon rice vinegar
- 1 teaspoon toasted sesame oil
- 1/2 teaspoon red pepper flakes, plus more to taste
- 1 tablespoon toasted sesame seeds, for garnish
- 2 scallions, thinly sliced, for garnish
📋 Instructions
- 1Prep the chicken — Pat the chicken pieces bone dry with paper towels, then toss them in a bowl with the cornstarch and salt until every piece wears a thin white coat. Let them sit for 5 minutes while you whisk the sauce; the coating hydrates and clings better.
- 2Whisk the sauce — In a small bowl, stir together the honey, soy sauce, rice vinegar, sesame oil, and red pepper flakes until the honey dissolves completely. Set it beside the stove, because once the pan is hot you will not have time to measure.
- 3Sear the first batch — Heat 2 tablespoons of olive oil in a large skillet over medium-high heat, about 375F (190C), until it shimmers. Add half the chicken in a single layer and cook for 4 to 5 minutes per side, until deeply golden brown and the internal temperature reads 165F (74C).
- 4Sear the second batch — Move the first batch to a plate and add the remaining oil and chicken. Cook the same way, 4 to 5 minutes per side, until golden and crisp at the edges. Listen for a steady sizzle; a quiet pan means the heat is too low.
- 5Bloom the garlic — Lower the heat to medium and add the minced garlic to the empty pan. Stir constantly for 30 to 45 seconds, just until it smells fragrant and turns pale gold, not brown. This is the moment your kitchen starts to smell like the best takeout spot in town.
- 6Build the glaze — Pour in the whisked sauce and let it bubble for 1 to 2 minutes, stirring, until it thickens enough to coat the back of a spoon. It should look glossy and syrupy, with bubbles forming at the edges of the pan.
- 7Toss and coat — Return all the chicken and any resting juices to the pan and toss for 1 to 2 minutes over medium-low heat until every bite is slicked with glaze. The sauce should cling, not pool, at the bottom of the skillet.
- 8Garnish and serve — Scatter the sesame seeds and scallions over the top and serve immediately over steamed rice or tucked into warm tortillas. The glaze tightens as it cools, so bring it to the table while it is still sticky.

Priya writes about South Indian home cooking and the improvisation that happens in real kitchens, from quick weekday tiffins to slow weekend spreads. She is interested in how a single tempering of spices changes a dish and in adapting familiar recipes to what a cook has on hand. Her angle is playful, sensory recipe writing that treats cooking as something to tinker with.