

Honey garlic chicken earns its spot in the weekly rotation because it tastes like takeout but takes less time than delivery, and the sauce is made from things you already have in the pantry. It is the kind of dinner that makes you look like you tried, without actually trying.
The trick is simple: sear the chicken until deeply golden, then let the honey, garlic, and soy reduce into a syrup that clings to every piece. You want it glossy and bubbling at the edges, not watery, and that is the whole game.
I keep this one in my back pocket for the nights when everyone is hungry and nobody has ideas. Serve it over rice and you have dinner in about half an hour.
Why You'll Love This Recipe
About the Ingredients
2 lb (900g) boneless, skinless chicken thighs
Thighs stay juicy and forgiving, but boneless breasts work too, just cut them in half horizontally so they cook evenly. Look for thighs that are similar in size so they brown at the same rate.
1 tsp kosher salt
Kosher salt seasons gently and evenly; if you only have fine table salt, use about 3/4 teaspoon. Salt the chicken a few minutes before cooking so it sticks to the surface.
1/2 tsp black pepper
Freshly cracked is best for flavor, but pre-ground is fine. Skip white pepper here, it gets lost in the honey.
2 tbsp olive oil
Any neutral high-heat oil works, like avocado or canola. Save your good finishing olive oil for salads and use the everyday bottle here.
5 cloves garlic, minced (about 1 1/2 tbsp)
Fresh garlic is the star, so do not swap in garlic powder; jarred minced garlic is a fine shortcut on a rushed night. Mince it finely so it melts into the sauce instead of burning.
1/3 cup (113g) honey
Clover or wildflower honey both work; darker honey gives a deeper flavor. If your honey has crystallized, set the jar in warm water for a few minutes to loosen it.
3 tbsp low-sodium soy sauce
Tamari is a great gluten-free swap, and coconut aminos work if you need to cut sodium further. Low-sodium matters because the sauce reduces and concentrates.
1 tbsp rice vinegar
Apple cider vinegar or white wine vinegar are easy substitutes. The acid keeps the honey from tasting flat and cloying.
1/2 tsp red pepper flakes (optional)
Leave them out for a kid-friendly version, or use a pinch of cayenne for a different kind of heat. Add them with the garlic so they bloom in the oil.
1 tbsp cornstarch mixed with 2 tbsp cold water
This slurry is what makes the sauce cling; arrowroot starch works the same way. Mix it fresh, because it settles fast.
2 scallions, thinly sliced
Chives or a sprinkle of sesame seeds make a fine stand-in. Slice on the bias for a prettier finish.
Tips & Tricks
Do not crowd the pan
Give the chicken room so it sears instead of steams; cook in two batches if your skillet is small.
Watch the garlic
Add it after the chicken is seared and keep the heat moderate, because burnt garlic turns the whole sauce bitter.
Let the sauce bubble
Reduce it until it coats the back of a spoon, about 2 to 3 minutes, so it clings instead of pooling on the plate.
Pro Tips
Step-by-Step Instructions
1. Pat the chicken dry
Blot the thighs thoroughly with paper towels and season both sides with the salt and pepper. Dry surfaces brown better, and browning is where the flavor starts.
2. Sear the chicken
Heat the olive oil in a large skillet over medium-high heat (about 375°F / 190°C) until it shimmers. Add the chicken and cook 5 to 6 minutes per side, until golden brown and the internal temperature reaches 165°F (74°C); work in batches if needed.
3. Lower the heat
Reduce the heat to medium (about 300°F / 150°C) and push the chicken to one side of the pan. If there is a lot of rendered fat, spoon off all but about 1 tablespoon.
4. Bloom the garlic
Add the garlic and optional red pepper flakes to the open side of the pan and stir for 30 to 45 seconds, just until fragrant. Do not let it brown.
5. Build the sauce
Pour in the honey, soy sauce, and rice vinegar, stirring to scrape up the browned bits. Let it come to a gentle bubble and cook 2 minutes, until it starts to thicken.
6. Thicken to a glaze
Stir the cornstarch slurry once more, then drizzle it in while stirring. Simmer 1 to 2 minutes, until the sauce coats the chicken and bubbles thickly at the edges.
7. Coat and rest
Turn the chicken in the glaze to coat every piece, then take the pan off the heat and let it rest 5 minutes. This settles the juices and lets the sauce cling.
8. Finish and serve
Scatter the sliced scallions over the top and serve right away over rice or noodles, spooning the extra sauce from the pan over each portion.
Delicious Variations
Spicy Honey Garlic
Add 1 tablespoon of sriracha or chili crisp with the honey for a sweet-heat version that is great over rice.
Honey Garlic Chicken Bites
Cut the thighs into 1-inch pieces, sear 3 to 4 minutes total, and the sauce coats every bite for a faster, kid-friendly plate.
Lemon Honey Garlic
Swap the rice vinegar for fresh lemon juice and add a teaspoon of zest at the end for a brighter, springier sauce.
How to Store Honey Garlic Chicken
Refrigerator
Store leftovers in an airtight container in the refrigerator for up to 4 days; keep the sauce with the chicken so it stays moist.
Freezer
Freeze in a freezer-safe container for up to 3 months, leaving a little headspace; thaw overnight in the refrigerator before reheating.
Reheating
Reheat gently in a covered skillet over low heat (about 250°F / 120°C) with a splash of water for 5 to 7 minutes, or microwave in 30-second bursts until hot.
Frequently Asked Questions
Q: Can I make honey garlic chicken ahead of time?
Yes, cook it fully and refrigerate for up to 4 days, then reheat gently with a splash of water so the glaze loosens. The flavor actually deepens overnight, which makes it a good make-ahead dinner.
If you make this honey garlic chicken, I would love to hear how your family liked it and what you served alongside. Cook it your way, and tell me how it went.
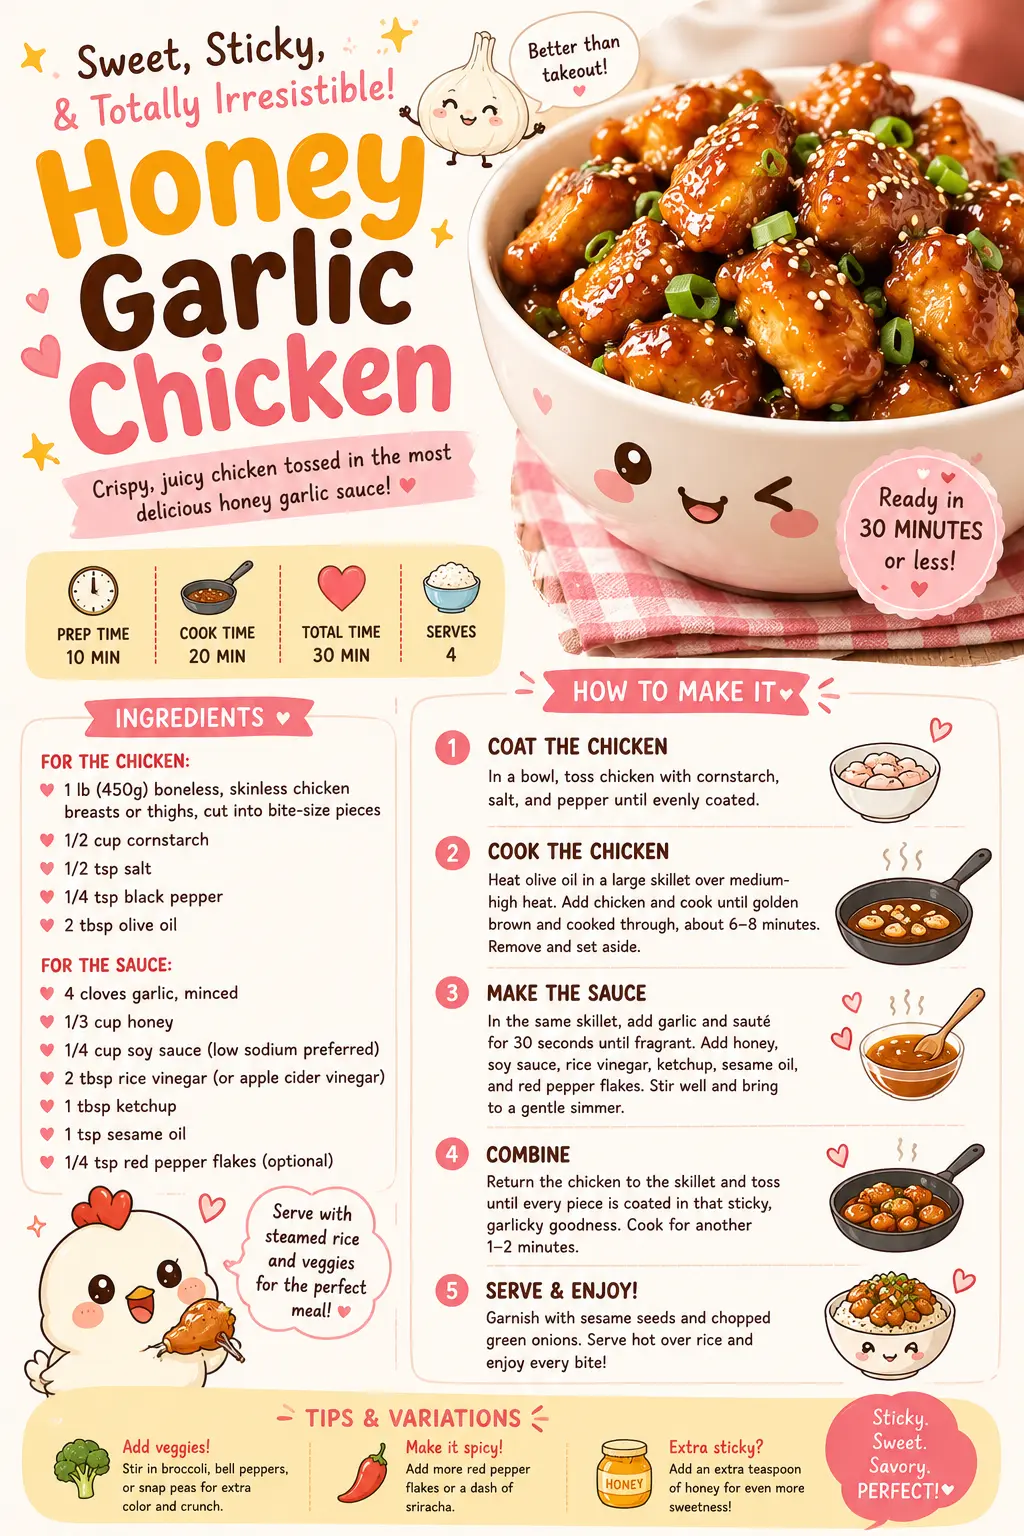
Honey Garlic Chicken
Honey garlic chicken is sticky, savory-sweet pan-seared chicken in a glossy 5-ingredient sauce that comes together in one skillet on a busy night.
🧂 Ingredients
- 2 lb (900g) boneless, skinless chicken thighs
- 1 tsp kosher salt
- 1/2 tsp black pepper
- 2 tbsp olive oil
- 5 cloves garlic, minced (about 1 1/2 tbsp)
- 1/3 cup (113g) honey
- 3 tbsp low-sodium soy sauce
- 1 tbsp rice vinegar
- 1/2 tsp red pepper flakes (optional)
- 1 tbsp cornstarch mixed with 2 tbsp cold water
- 2 scallions, thinly sliced
📋 Instructions
- 1Pat the chicken dry — Blot the thighs thoroughly with paper towels and season both sides with the salt and pepper. Dry surfaces brown better, and browning is where the flavor starts.
- 2Sear the chicken — Heat the olive oil in a large skillet over medium-high heat (about 375°F / 190°C) until it shimmers. Add the chicken and cook 5 to 6 minutes per side, until golden brown and the internal temperature reaches 165°F (74°C); work in batches if needed.
- 3Lower the heat — Reduce the heat to medium (about 300°F / 150°C) and push the chicken to one side of the pan. If there is a lot of rendered fat, spoon off all but about 1 tablespoon.
- 4Bloom the garlic — Add the garlic and optional red pepper flakes to the open side of the pan and stir for 30 to 45 seconds, just until fragrant. Do not let it brown.
- 5Build the sauce — Pour in the honey, soy sauce, and rice vinegar, stirring to scrape up the browned bits. Let it come to a gentle bubble and cook 2 minutes, until it starts to thicken.
- 6Thicken to a glaze — Stir the cornstarch slurry once more, then drizzle it in while stirring. Simmer 1 to 2 minutes, until the sauce coats the chicken and bubbles thickly at the edges.
- 7Coat and rest — Turn the chicken in the glaze to coat every piece, then take the pan off the heat and let it rest 5 minutes. This settles the juices and lets the sauce cling.
- 8Finish and serve — Scatter the sliced scallions over the top and serve right away over rice or noodles, spooning the extra sauce from the pan over each portion.

Mireille writes about weeknight cooking built around what is already in the pantry, with a focus on Haitian and Caribbean home dishes made simpler for busy kitchens. She favors short ingredient lists, honest substitutions, and recipes that forgive a missed step. Her angle is feeding a household well without a second trip to the store.