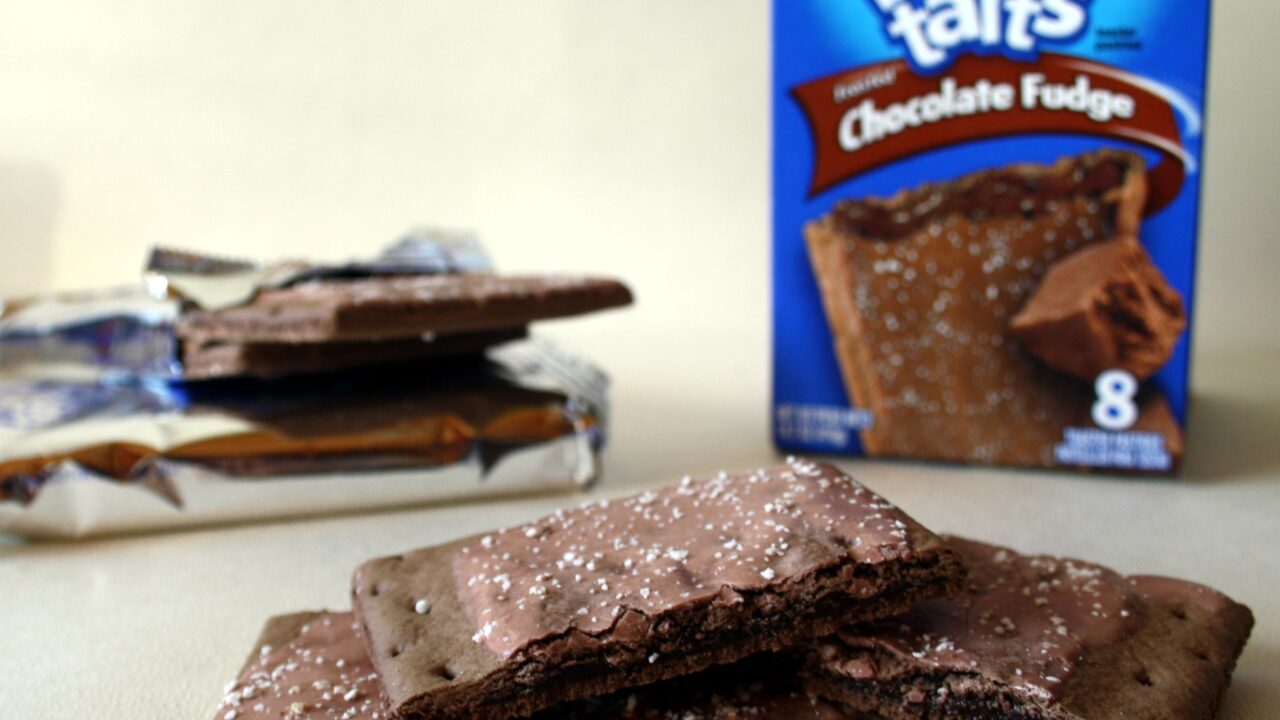
The moment the toaster clicks down, your kitchen fills with the smell of warm butter and melting chocolate, and everyone drifts toward the counter like they were summoned. That is the magic of a homemade Frosted Chocolate Fudge Pop Tart: crisp, tender pastry cradling a soft fudge center under a shiny chocolate cap.
You will make these with a simple food-processor dough and a fudge filling that firms up just enough to stay put. The pastry bakes to a deep golden brown while the icing sets to a glassy sheen, and the whole tray disappears before it cools completely.
There is no toaster required and no foil pouch in sight, just real butter, real cocoa, and a little patience with the rolling pin. Roll them thin, seal them well, and you will get that unmistakable crackle when you bite in.
Why You'll Love This Recipe
About the Ingredients
2 1/2 cups (313g) all-purpose flour, plus extra for dusting
All-purpose flour gives the right tender-but-sturdy crust. For a more tender crumb, swap 1/2 cup for cake flour, or use a 1:1 gluten-free blend with 1/2 teaspoon xanthan gum.
1 cup (227g) cold unsalted butter, cubed
Keep the butter genuinely cold so it stays in visible flecks, which creates flaky layers. Frozen butter grated on a box grater works even better; salted butter works too, just skip the added salt.
1/2 teaspoon fine sea salt
Salt sharpens the chocolate and keeps the crust from tasting flat. If you only have kosher salt, use a slightly heaped 1/2 teaspoon.
1/3 cup (80ml) ice-cold water, plus more as needed
Add it a tablespoon at a time; you want a dough that just holds together. Cold milk can replace the water for a slightly richer, browner crust.
6 ounces (170g) dark chocolate, 60 to 70 percent, chopped
Look for a bar you would happily eat on its own, since the filling is mostly chocolate. Chocolate chips work in a pinch but set firmer, so add an extra tablespoon of cream.
1/3 cup (80ml) heavy cream
Cream makes the fudge filling glossy and spoonable. Full-fat coconut milk is the best dairy-free substitute and sets just as well.
1 tablespoon (14g) unsalted butter, for the filling
A little butter rounds out the fudge and keeps it soft at room temperature. Use the same amount of coconut oil for a dairy-free version.
1 cup (120g) powdered sugar, sifted
Sifted sugar gives you a lump-free, glassy icing. If it is humid, add an extra tablespoon to keep the glaze from running.
3 tablespoons (15g) unsweetened cocoa powder
Dutch-process cocoa tastes smoother and darker; natural cocoa is sharper and more intense. Either works, so use what is in your pantry.
2 to 3 tablespoons (30 to 45ml) whole milk, for the icing
Add milk a teaspoon at a time until the glaze ribbons off the spoon. Oat milk or water thins it just as well.
2 tablespoons rainbow sprinkles
Sprinkles add that classic pop-tart crunch and color. Crushed freeze-dried raspberries or flaky salt are a grown-up swap.
1 large egg, beaten with 1 tablespoon water, for egg wash
The egg wash is what gives you that burnished golden crust. Brush with milk instead if you are avoiding egg, though the shine will be softer.
Tips & Tricks
Keep Everything Cold
Warm butter makes the dough greasy and tough, so chill your bowl, your flour, and your hands before you start rolling.
Seal the Edges Twice
Press the border with your fingertips, then crimp with a fork; a loose seal means fudge leaking onto the baking sheet.
Do Not Overfill
Two level tablespoons of fudge per tart is the sweet spot, because more filling blows out the seams during baking.
Let the Icing Set Fully
Give the glazed tarts 20 minutes at room temperature so the glaze firms into that crackly shell before you stack or wrap them.
Pro Tips
Step-by-Step Instructions
1. Make the Pastry Dough
Pulse the flour and salt in a food processor, add the cold butter, and pulse 8 to 10 times until the mixture looks like coarse crumbs with pea-size butter pieces. Drizzle in the ice water and pulse until the dough just clumps when you squeeze it.
2. Chill the Dough
Divide the dough into two discs, wrap each in plastic, and refrigerate for at least 45 minutes until firm but still pliable. Cold dough rolls without sticking and bakes up flakier.
3. Cook the Fudge Filling
Warm the cream in a small saucepan over medium-low heat until it steams and tiny bubbles ring the edge, about 2 to 3 minutes, then pour it over the chopped chocolate and butter in a bowl. Let it sit 2 minutes, stir until glossy and smooth, then cool 20 minutes until thick like warm pudding.
4. Roll and Cut Rectangles
On a floured surface, roll one disc to 1/8 inch (3mm) thick and cut into six 3 by 4 inch rectangles, re-rolling scraps once. Repeat with the second disc so you have 12 rectangles total.
5. Fill and Seal the Tarts
Spoon 2 level tablespoons of fudge onto six rectangles, leaving a 1/2 inch border, brush the border with egg wash, and top with the remaining rectangles. Press the edges closed, crimp with a fork, and prick the tops twice.
6. Chill Before Baking
Place the tarts on a parchment-lined baking sheet and freeze for 15 minutes while you heat the oven to 375F (190C). This quick chill keeps the seams sealed and the pastry crisp.
7. Bake Until Golden
Bake for 22 to 26 minutes, until the edges are deep golden brown and the surface looks dry and set. Listen for a gentle sizzle from the butter and check that the pastry feels firm at the center, then cool completely on the sheet, about 20 minutes.
8. Whisk the Chocolate Icing
Sift the powdered sugar and cocoa together, then whisk in milk one teaspoon at a time until the glaze coats the back of a spoon and drips slowly. It should ribbon off the whisk and settle back into itself within 3 seconds.
9. Glaze and Sprinkle
Spread a generous tablespoon of icing over each cooled tart, letting it pool slightly at the edges, then scatter with sprinkles while the glaze is still wet. Let them set at room temperature for 20 minutes until the icing is dry to the touch.
Delicious Variations
S'mores Style
Swap half the fudge for marshmallow creme and press graham crumbs into the icing for a campfire twist.
Raspberry Fudge
Spread a thin layer of seedless raspberry jam under the fudge so each bite gets a tart little surprise.
Salted Caramel Fudge
Stir 2 tablespoons of thick caramel sauce and a pinch of flaky salt into the filling for a chewier, deeper center.
How to Store Pop Tarts – Frosted Chocolate Fudge
Refrigerator
Store in an airtight container at room temperature for up to 4 days, or refrigerate for up to 1 week; bring to room temperature before eating so the fudge softens.
Freezer
Wrap each unglazed tart tightly in plastic, then freeze in a bag for up to 2 months; glaze after thawing for the best shine.
Reheating
Toast on a low setting or warm in a 350F (175C) oven for 4 to 5 minutes until the filling is soft and the icing just glistens.
Frequently Asked Questions
Q: Can I make Frosted Chocolate Fudge Pop Tarts without a food processor?
Yes, you can cut the cold butter into the flour with a pastry blender or two knives until you get coarse crumbs. Work quickly with your fingertips so the butter stays cold, then add the ice water and bring the dough together with a fork.
Q: Why did my pop tarts leak filling in the oven?
The seams were not sealed tightly enough or the tarts went in warm. Press the border firmly, crimp with a fork, and freeze the assembled tarts for 15 minutes before baking so the pastry sets before the fudge melts.
Q: How do I know when homemade pop tarts are fully baked?
The edges should be deep golden brown and the surface dry and firm to the touch, usually 22 to 26 minutes at 375F (190C). If the top still looks pale and soft, give it 3 more minutes.
Q: Can I use store-bought pie crust instead of making the dough?
Absolutely, and it is a great shortcut when you are short on time. Use two refrigerated pie crusts, roll them slightly thinner, and bake at 375F (190C) for 18 to 22 minutes since store-bought crust browns faster.
Q: Can I freeze these chocolate fudge pop tarts?
Yes, they freeze beautifully for up to 2 months when wrapped tightly and unglazed. Thaw at room temperature, glaze them fresh, and reheat in a toaster or a 350F (175C) oven for 4 to 5 minutes.
Grab your rolling pin, crank up the oven, and make a batch of these Frosted Chocolate Fudge Pop Tarts this weekend. Snap a photo of that crackly icing before anyone steals the last one, and tell me which variation you tried first. Taste as you go, then taste again.
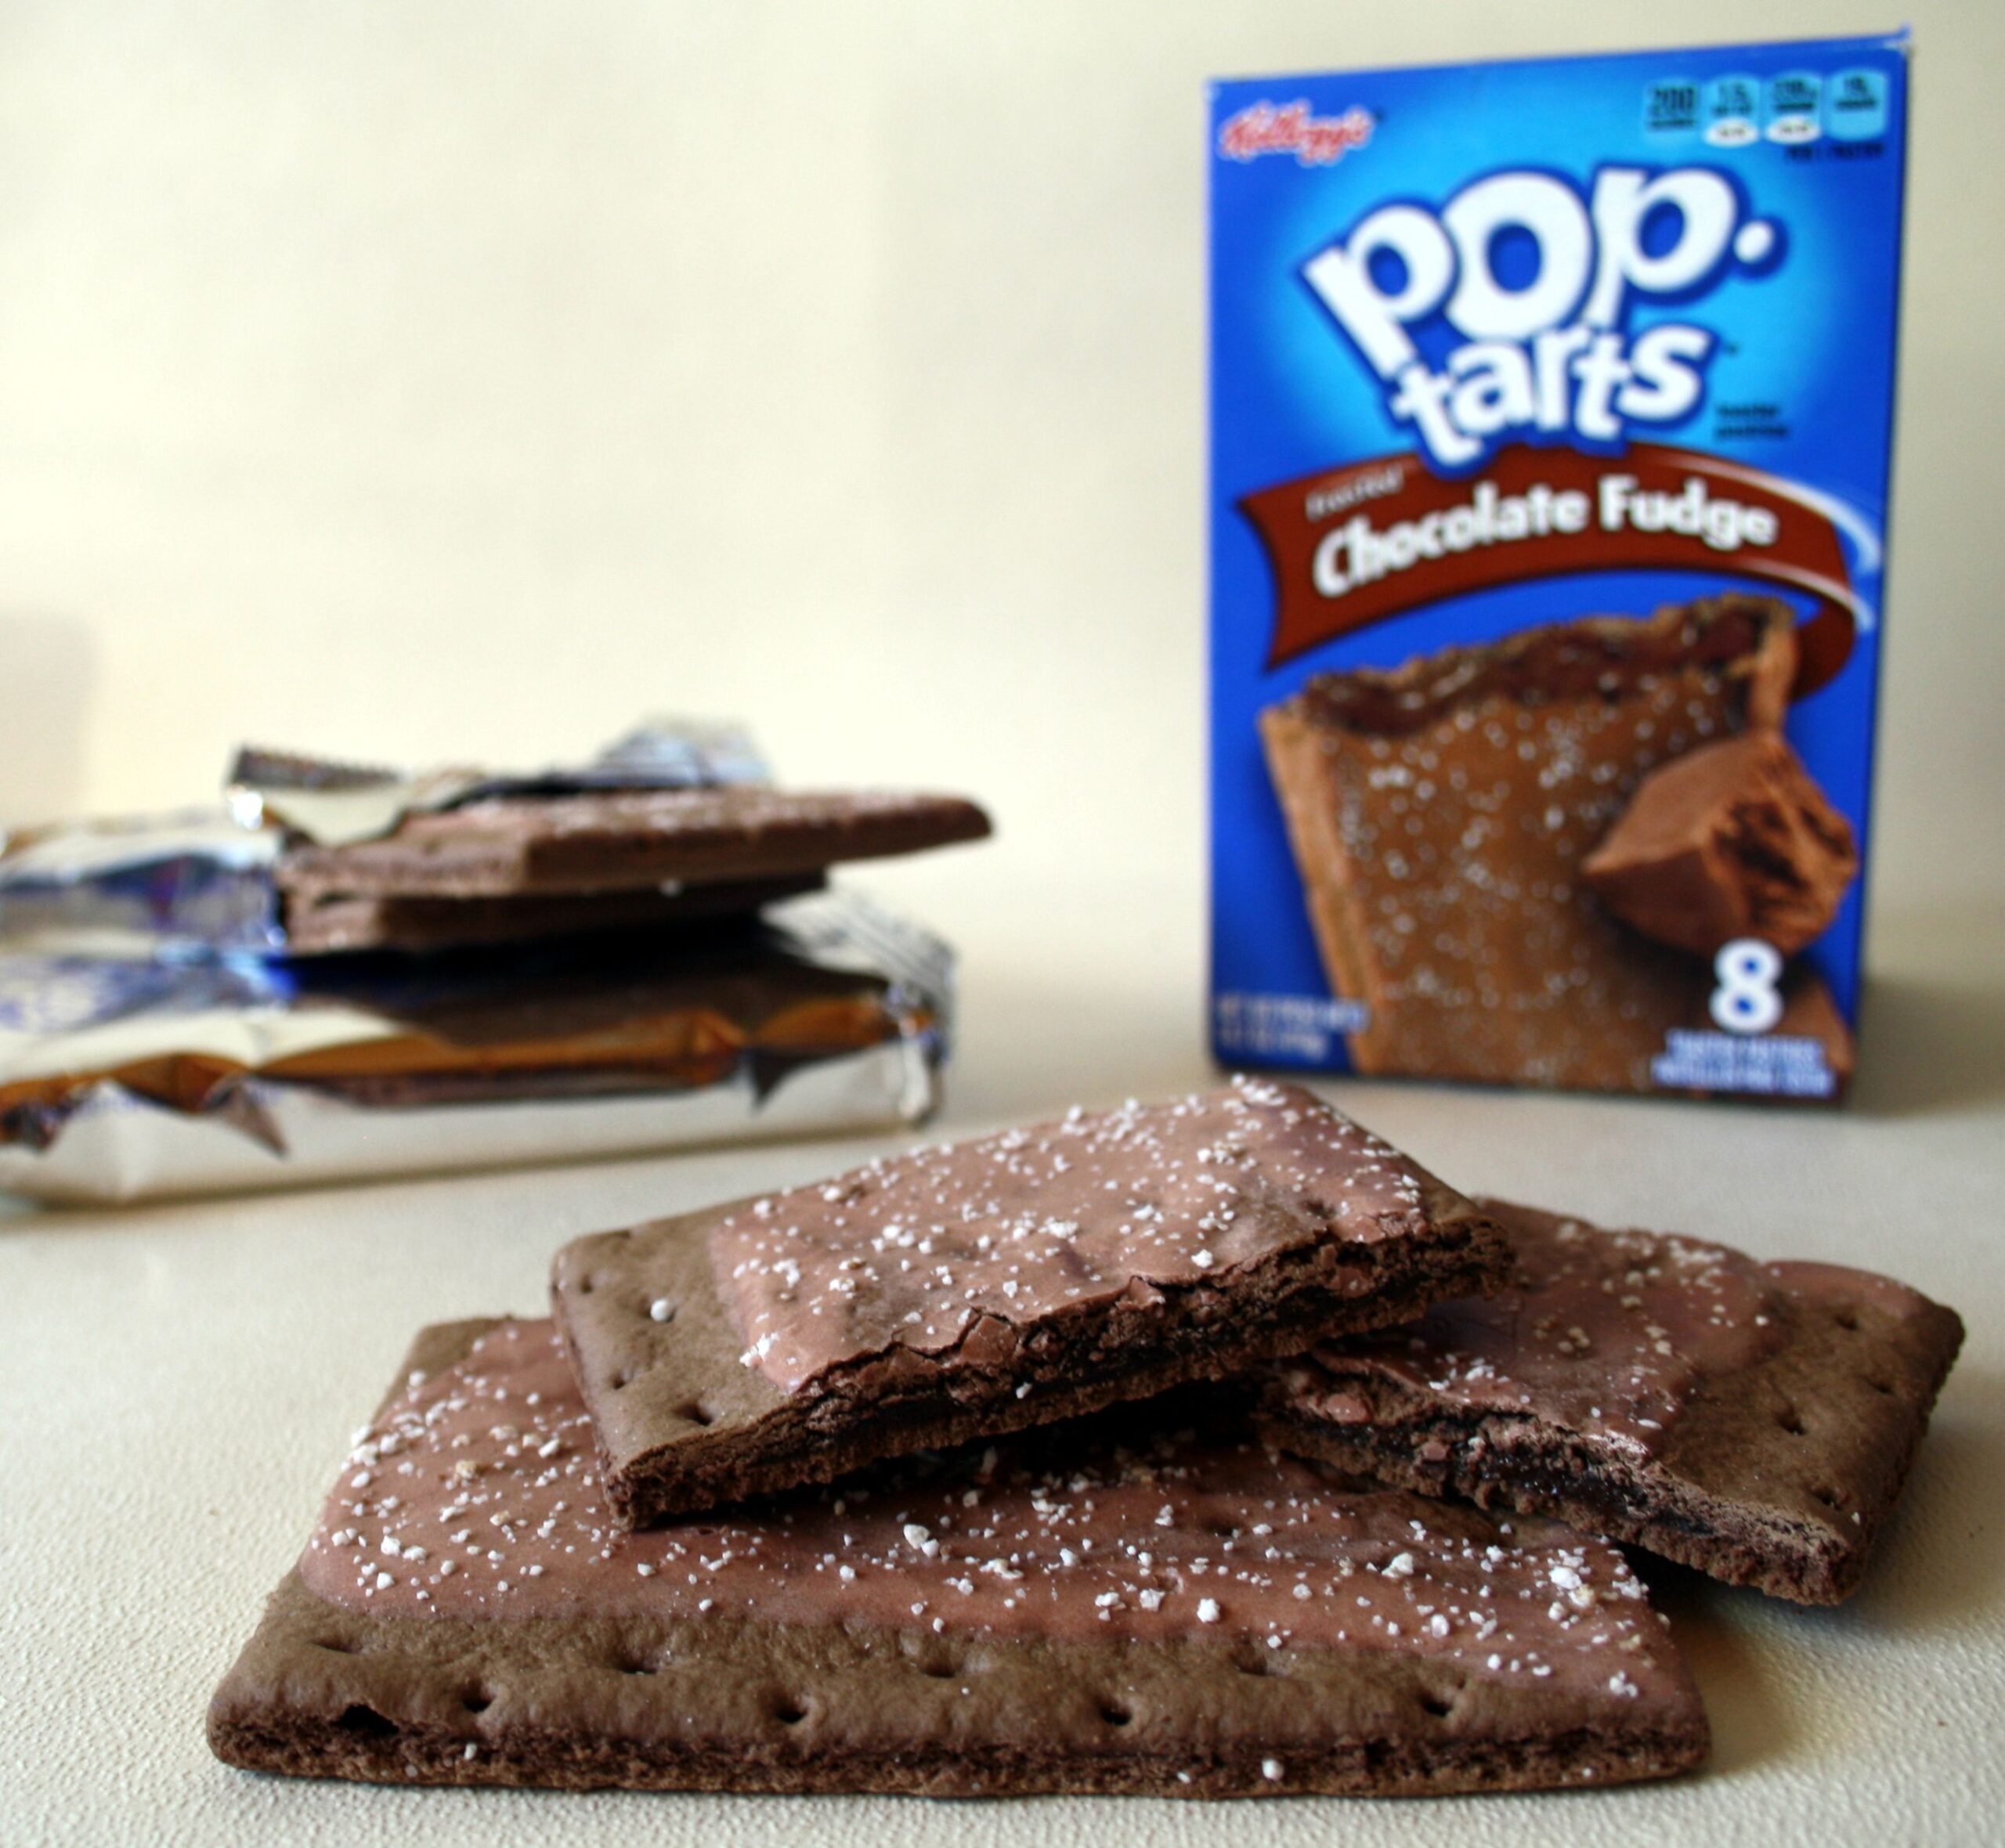
Pop Tarts – Frosted Chocolate Fudge
Make Frosted Chocolate Fudge Pop Tarts at home: flaky golden pastry stuffed with silky fudge and topped with glossy chocolate icing and sprinkles.
🧂 Ingredients
- 2 1/2 cups (313g) all-purpose flour, plus extra for dusting
- 1 cup (227g) cold unsalted butter, cubed
- 1/2 teaspoon fine sea salt
- 1/3 cup (80ml) ice-cold water, plus more as needed
- 6 ounces (170g) dark chocolate, 60 to 70 percent, chopped
- 1/3 cup (80ml) heavy cream
- 1 tablespoon (14g) unsalted butter, for the filling
- 1 cup (120g) powdered sugar, sifted
- 3 tablespoons (15g) unsweetened cocoa powder
- 2 to 3 tablespoons (30 to 45ml) whole milk, for the icing
- 2 tablespoons rainbow sprinkles
- 1 large egg, beaten with 1 tablespoon water, for egg wash
📋 Instructions
- 1Make the Pastry Dough — Pulse the flour and salt in a food processor, add the cold butter, and pulse 8 to 10 times until the mixture looks like coarse crumbs with pea-size butter pieces. Drizzle in the ice water and pulse until the dough just clumps when you squeeze it.
- 2Chill the Dough — Divide the dough into two discs, wrap each in plastic, and refrigerate for at least 45 minutes until firm but still pliable. Cold dough rolls without sticking and bakes up flakier.
- 3Cook the Fudge Filling — Warm the cream in a small saucepan over medium-low heat until it steams and tiny bubbles ring the edge, about 2 to 3 minutes, then pour it over the chopped chocolate and butter in a bowl. Let it sit 2 minutes, stir until glossy and smooth, then cool 20 minutes until thick like warm pudding.
- 4Roll and Cut Rectangles — On a floured surface, roll one disc to 1/8 inch (3mm) thick and cut into six 3 by 4 inch rectangles, re-rolling scraps once. Repeat with the second disc so you have 12 rectangles total.
- 5Fill and Seal the Tarts — Spoon 2 level tablespoons of fudge onto six rectangles, leaving a 1/2 inch border, brush the border with egg wash, and top with the remaining rectangles. Press the edges closed, crimp with a fork, and prick the tops twice.
- 6Chill Before Baking — Place the tarts on a parchment-lined baking sheet and freeze for 15 minutes while you heat the oven to 375F (190C). This quick chill keeps the seams sealed and the pastry crisp.
- 7Bake Until Golden — Bake for 22 to 26 minutes, until the edges are deep golden brown and the surface looks dry and set. Listen for a gentle sizzle from the butter and check that the pastry feels firm at the center, then cool completely on the sheet, about 20 minutes.
- 8Whisk the Chocolate Icing — Sift the powdered sugar and cocoa together, then whisk in milk one teaspoon at a time until the glaze coats the back of a spoon and drips slowly. It should ribbon off the whisk and settle back into itself within 3 seconds.
- 9Glaze and Sprinkle — Spread a generous tablespoon of icing over each cooled tart, letting it pool slightly at the edges, then scatter with sprinkles while the glaze is still wet. Let them set at room temperature for 20 minutes until the icing is dry to the touch.

Priya writes about South Indian home cooking and the improvisation that happens in real kitchens, from quick weekday tiffins to slow weekend spreads. She is interested in how a single tempering of spices changes a dish and in adapting familiar recipes to what a cook has on hand. Her angle is playful, sensory recipe writing that treats cooking as something to tinker with.