The first nugget hits the oil and the kitchen fills with that salty, buttery sizzle you remember from the best drive-thru – except this time you made it. Your kids will appear at the counter before you even call them.
These nuggies get a quick buttermilk soak, a double dip in seasoned flour, and a hot-oil bath that leaves them shatteringly crisp outside and pillow-soft inside. They are on the table in about half an hour, start to finish.
No mystery ingredients, no freezer bag – just chicken, buttermilk, flour, and a spice blend you probably already own. Try this next time: swap half the flour for crushed cornflakes and watch the crunch go to eleven.
Why You'll Love This Recipe
About the Ingredients
1 1/2 pounds (680g) boneless skinless chicken breasts, cut into 1 1/2-inch nuggets
Cut them roughly the same size so they cook evenly. Chicken thighs work beautifully here too – they stay extra juicy and are a little cheaper.
1 cup (240ml) buttermilk
The acid tenderizes and helps the flour cling. No buttermilk? Stir 1 tablespoon lemon juice into 1 cup whole milk and let it sit 5 minutes.
1 1/2 cups (190g) all-purpose flour
Standard flour gives the classic craggy crust. For a gluten-free version, use a 1-to-1 baking blend and expect a slightly softer coating.
1 teaspoon garlic powder
Granulated garlic melts into the flour evenly. Onion powder makes a fine swap if that is what is in your cabinet.
1 teaspoon smoked paprika
Adds warm color and a whisper of smoke. Sweet paprika works, but you will lose that toasty depth.
1 teaspoon fine sea salt, plus more for finishing
Fine salt dissolves into the dredge. If using kosher, use 1 1/2 teaspoons since the crystals are larger.
1/2 teaspoon freshly ground black pepper
Fresh-cracked is worth it here. White pepper gives a sharper, more classic fast-food bite.
4 cups (960ml) neutral oil, such as canola or peanut, for frying
Peanut oil fries hottest and cleanest. Canola is the budget-friendly workhorse – just make sure it is fresh, not reused.
Tips & Tricks
Keep the oil steady at 350F (175C)
Too hot and the crust burns before the chicken cooks; too cool and the nuggets turn greasy. Clip a thermometer to the pot and adjust the flame as you go.
Do not crowd the pot
Fry in batches of 6 to 8 nuggets so the oil temperature does not crash. Crowding is the number one reason homemade nuggets come out soggy.
Press the flour on firmly
Really pack the dredge onto the chicken with your fingertips – those craggy ridges are what make the crust shatter instead of slide off.
Rest on a rack, not paper towels
A wire rack lets steam escape so the bottom stays crisp. Paper towels trap moisture and soften the crust within minutes.
Pro Tips
Step-by-Step Instructions
1. Cut and soak the chicken
Cut the chicken into 1 1/2-inch nuggets and toss them with the buttermilk in a bowl. Let them sit 10 minutes while you set up the dredge – the acid tenderizes the meat and helps the flour stick.
2. Mix the seasoned flour
Whisk the flour, garlic powder, smoked paprika, salt, and pepper in a shallow dish until evenly combined. It should smell warm and garlicky right away.
3. Heat the oil to 350F (175C)
Pour 2 inches of oil into a heavy pot and heat over medium until a thermometer reads 350F (175C). A pinch of flour should sizzle and dance the moment it hits the surface.
4. Dredge the nuggets
Lift each nugget from the buttermilk, let the excess drip off, and press it firmly into the flour on all sides. Set the coated pieces on a rack and let them rest 5 minutes so the coating hydrates and grips.
5. Fry the first batch
Lower 6 to 8 nuggets gently into the oil and fry 4 to 5 minutes, turning once, until deep golden brown and the bubbling at the edges slows. The internal temperature should read 165F (74C) on an instant-read thermometer.
6. Drain and salt
Lift the nuggets with a slotted spoon or spider onto a wire rack and sprinkle immediately with sea salt. The hot crust grabs the salt – this is the moment that makes them taste like the good stuff.
7. Fry the rest and serve
Fry the remaining nuggets in batches, letting the oil return to 350F (175C) between batches. Pile them on a platter and serve hot with dipping sauces.
Delicious Variations
Buffalo Blitz
Toss the finished nuggets in a 1/2 cup of melted butter whisked with 1/2 cup hot sauce for a sticky, spicy coating.
Parmesan Herb Crunch
Add 1/3 cup grated Parmesan and 1 teaspoon dried oregano to the flour for a savory, golden crust.
Cornflake Crunch
Pulse 2 cups cornflakes into coarse crumbs and use half crumbs, half flour for an extra shattery, cereal-crusted bite.
How to Store Crispy Buttermilk Chicken Nuggies
Refrigerator
Store cooled nuggets in an airtight container in the fridge for up to 3 days. Keep them in a single layer or separated by parchment so they do not steam each other.
Freezer
Freeze fully cooled nuggets on a sheet pan, then transfer to a zip-top bag for up to 2 months. Reheat straight from frozen – no thawing needed.
Reheating
Reheat in a 400F (200C) oven or air fryer for 8 to 10 minutes until crisp and hot. Skip the microwave unless you like soft crust.
Frequently Asked Questions
Q: Why did my chicken nuggets turn out soggy?
Soggy nuggets almost always mean the oil was too cool or the pot was crowded. Keep the oil at 350F (175C) and fry in small batches, and always drain on a wire rack instead of paper towels.
Q: Can I make these chicken nuggets in an air fryer?
Yes – air fry them at 400F (200C) for 10 to 12 minutes, flipping halfway, until golden and 165F (74C) inside. Spray the basket and the nuggets lightly with oil so the flour coating crisps instead of staying powdery.
Q: Can I use chicken thighs instead of breasts?
Absolutely, and many people prefer them because they stay juicier. Trim them well and cut into the same 1 1/2-inch pieces, and add about 1 minute to the fry time since thigh meat is slightly denser.
Q: How do I know when the chicken is fully cooked?
The only reliable test is an instant-read thermometer reading 165F (74C) in the thickest part. Visually, the nuggets should be deep golden brown with the oil bubbling gently rather than furiously around them.
Q: Can I prep these nuggets ahead of time?
Yes – dredge them up to 4 hours ahead and keep them covered in the fridge on a rack. You can also freeze them breaded and raw, then fry from frozen, adding 1 to 2 minutes to the cook time.
Make a double batch, because the first one disappears before it hits the table. Serve them with honey mustard, ranch, or a squeeze of lemon and watch the plate go clean. Taste as you go, then taste again.
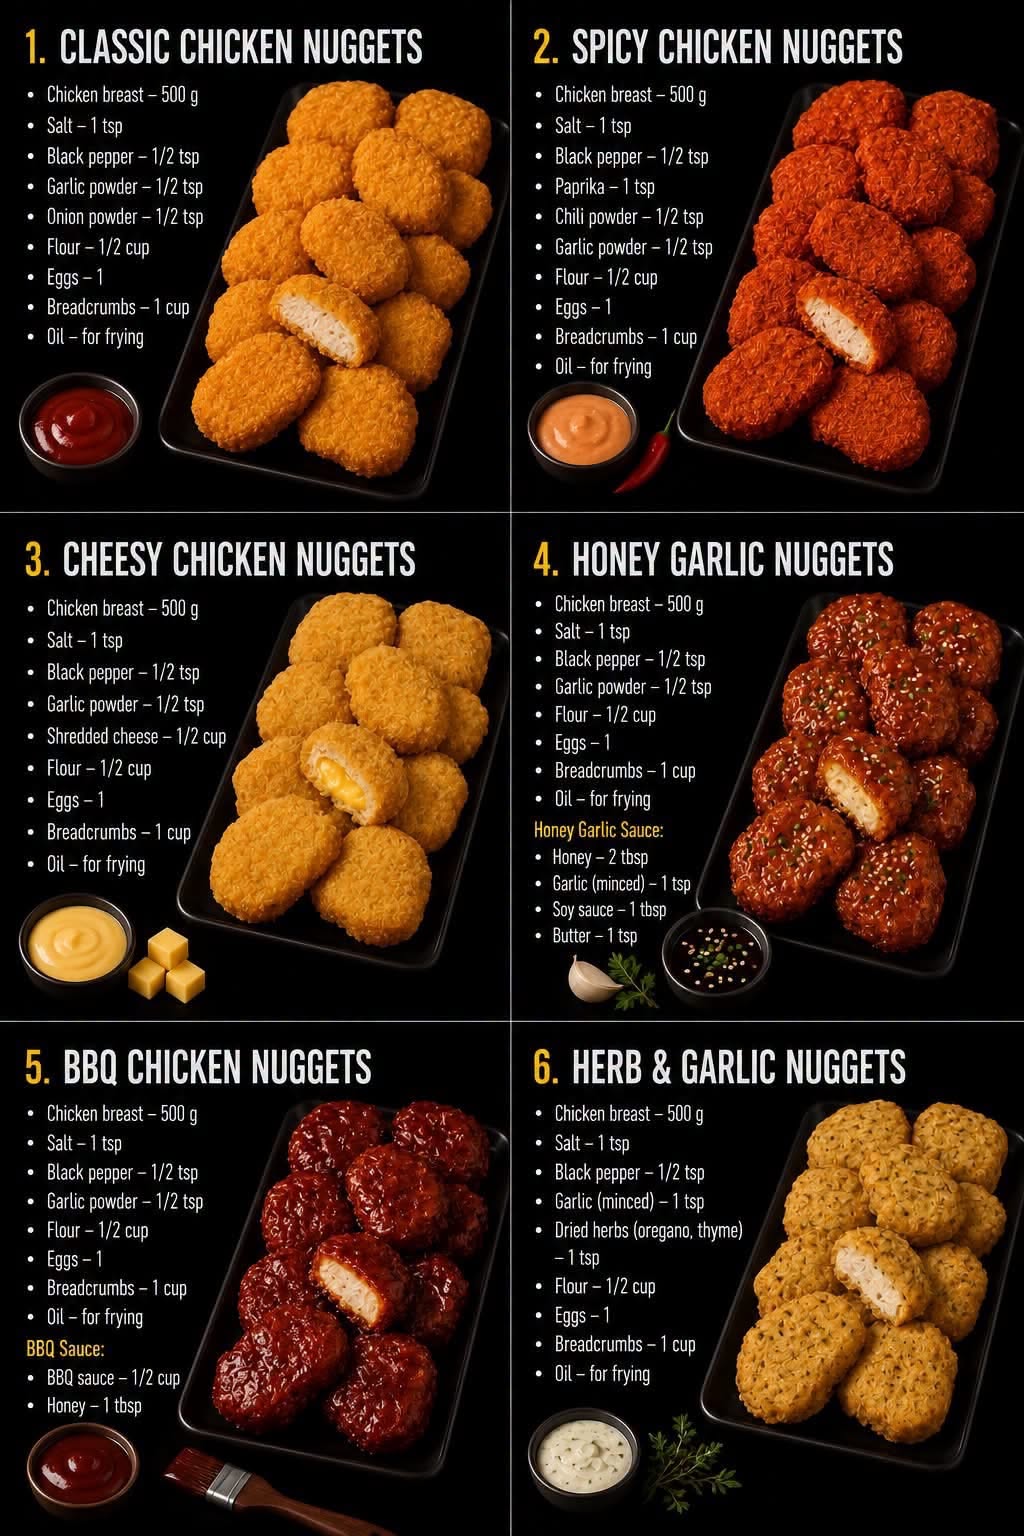
Crispy Buttermilk Chicken Nuggies
Crispy buttermilk chicken nuggies with a golden, craggy crust and juicy centers – a 30-minute homemade upgrade your family will cheer for.
🧂 Ingredients
- 1 1/2 pounds (680g) boneless skinless chicken breasts, cut into 1 1/2-inch nuggets
- 1 cup (240ml) buttermilk
- 1 1/2 cups (190g) all-purpose flour
- 1 teaspoon garlic powder
- 1 teaspoon smoked paprika
- 1 teaspoon fine sea salt, plus more for finishing
- 1/2 teaspoon freshly ground black pepper
- 4 cups (960ml) neutral oil, such as canola or peanut, for frying
📋 Instructions
- 1Cut and soak the chicken — Cut the chicken into 1 1/2-inch nuggets and toss them with the buttermilk in a bowl. Let them sit 10 minutes while you set up the dredge – the acid tenderizes the meat and helps the flour stick.
- 2Mix the seasoned flour — Whisk the flour, garlic powder, smoked paprika, salt, and pepper in a shallow dish until evenly combined. It should smell warm and garlicky right away.
- 3Heat the oil to 350F (175C) — Pour 2 inches of oil into a heavy pot and heat over medium until a thermometer reads 350F (175C). A pinch of flour should sizzle and dance the moment it hits the surface.
- 4Dredge the nuggets — Lift each nugget from the buttermilk, let the excess drip off, and press it firmly into the flour on all sides. Set the coated pieces on a rack and let them rest 5 minutes so the coating hydrates and grips.
- 5Fry the first batch — Lower 6 to 8 nuggets gently into the oil and fry 4 to 5 minutes, turning once, until deep golden brown and the bubbling at the edges slows. The internal temperature should read 165F (74C) on an instant-read thermometer.
- 6Drain and salt — Lift the nuggets with a slotted spoon or spider onto a wire rack and sprinkle immediately with sea salt. The hot crust grabs the salt – this is the moment that makes them taste like the good stuff.
- 7Fry the rest and serve — Fry the remaining nuggets in batches, letting the oil return to 350F (175C) between batches. Pile them on a platter and serve hot with dipping sauces.

Priya writes about South Indian home cooking and the improvisation that happens in real kitchens, from quick weekday tiffins to slow weekend spreads. She is interested in how a single tempering of spices changes a dish and in adapting familiar recipes to what a cook has on hand. Her angle is playful, sensory recipe writing that treats cooking as something to tinker with.