Your kitchen starts to smell like cinnamon and butter the second these hit the oven, and suddenly everyone wanders in asking what's baking. That's the moment you realize homemade apple pop tarts are a whole different creature from the foil-wrapped kind.
You're making a buttery pie dough, tucking a jammy apple filling inside, and brushing the tops with maple glaze until they shine. The crust crackles when you bite in, and the filling stays warm and spoonable at the center.
This is a weekend project that feels like a treat and takes less time than you think. Grab a couple of apples and let's fold some pastry.
Why You'll Love This Recipe
About the Ingredients
2 1/2 cups (313g) all-purpose flour
Chill it in the freezer for 10 minutes before mixing for an extra-flaky crust. For a gluten-free version, swap in a 1:1 baking blend plus 1/2 teaspoon xanthan gum.
1 cup (227g) cold unsalted butter, cubed
Keep it genuinely cold, straight from the fridge, and cube it small so it cuts into the flour evenly. Salted butter works too; just skip the added salt below.
1/2 teaspoon fine sea salt
Fine sea salt dissolves more evenly than coarse flakes in dough. If you only have kosher salt, use 3/4 teaspoon.
6 tablespoons (90ml) ice-cold water
Add it one tablespoon at a time; you may not need all of it depending on humidity. A splash of cold apple cider works beautifully in place of the last tablespoon.
2 medium Honeycrisp apples (about 300g), peeled and finely diced
Honeycrisp holds its shape and stays sweet-tart; Granny Smith gives a sharper bite. Fuji is a great swap if you like a softer, sweeter filling.
1/4 cup (50g) packed light brown sugar
Dark brown sugar deepens the caramel flavor if you have it. Coconut sugar is a fine one-to-one substitute.
1 teaspoon ground cinnamon
Freshly grated cinnamon is worth the extra minute here. Pumpkin pie spice makes a cozy swap if you want a warmer profile.
1 tablespoon cornstarch
This thickens the apple juices so the filling doesn't leak out. Arrowroot powder works as a 1:1 substitute.
1 large egg, beaten with 1 tablespoon water
This egg wash is your glue and your shine. For an egg-free version, brush with 2 tablespoons of milk instead.
3/4 cup (90g) powdered sugar
Sift it first so the glaze stays lump-free. For a maple version, replace 1 tablespoon of water with pure maple syrup.
2 tablespoons whole milk, plus 1/4 teaspoon vanilla extract
Whole milk gives the creamiest glaze; oat milk works fine. Add the liquid a teaspoon at a time until it ribbons off the spoon.
Tips & Tricks
Keep Everything Cold
Warm butter melts into the flour and gives you a tough, greasy crust, so chill your bowl and work quickly.
Don't Overfill
A heaping tablespoon of filling per tart is plenty; too much bursts the seams in the oven.
Seal With a Fork
Press the edges firmly with the tines of a fork, then prick the top twice so steam can escape.
Chill Before Baking
Ten minutes in the freezer firms the pastry so it puffs and layers instead of spreading.
Pro Tips
Step-by-Step Instructions
1. Make the Dough
Whisk the flour and salt, then cut in the cold butter with a pastry cutter until pea-sized lumps remain. Drizzle in the ice water one tablespoon at a time and squeeze a handful; if it holds together, you're done.
2. Chill the Pastry
Flatten the dough into two discs, wrap them, and refrigerate for 30 minutes until firm but still pliable. Cold dough rolls without sticking and bakes up flakier.
3. Cook the Filling
Simmer the apples, brown sugar, cinnamon, and cornstarch in a small saucepan over medium heat for 6 to 8 minutes, until the apples soften and the juices bubble and thicken. You'll hear a slow, sticky plop rather than a watery simmer; scrape it onto a plate to cool completely.
4. Roll and Cut
Roll each disc to 1/8 inch (3mm) on a floured surface and cut into 3×4-inch rectangles, re-rolling scraps once. You should get 12 rectangles total.
5. Fill and Seal
Spoon 1 heaping tablespoon of cooled filling onto 6 rectangles, leaving a 1/2-inch border. Top with the remaining rectangles, press the edges closed, and crimp with a fork; brush with egg wash and prick the tops twice.
6. Chill the Tarts
Freeze the assembled tarts on a lined tray for 10 minutes while the oven heats. This firming step is what keeps the seams sealed.
7. Bake Until Golden
Bake at 375°F (190°C) for 22 to 25 minutes, until deep golden brown at the edges and the filling bubbles at the vents. The pastry should sound hollow when tapped and read 200°F (93°C) at the center.
8. Glaze and Set
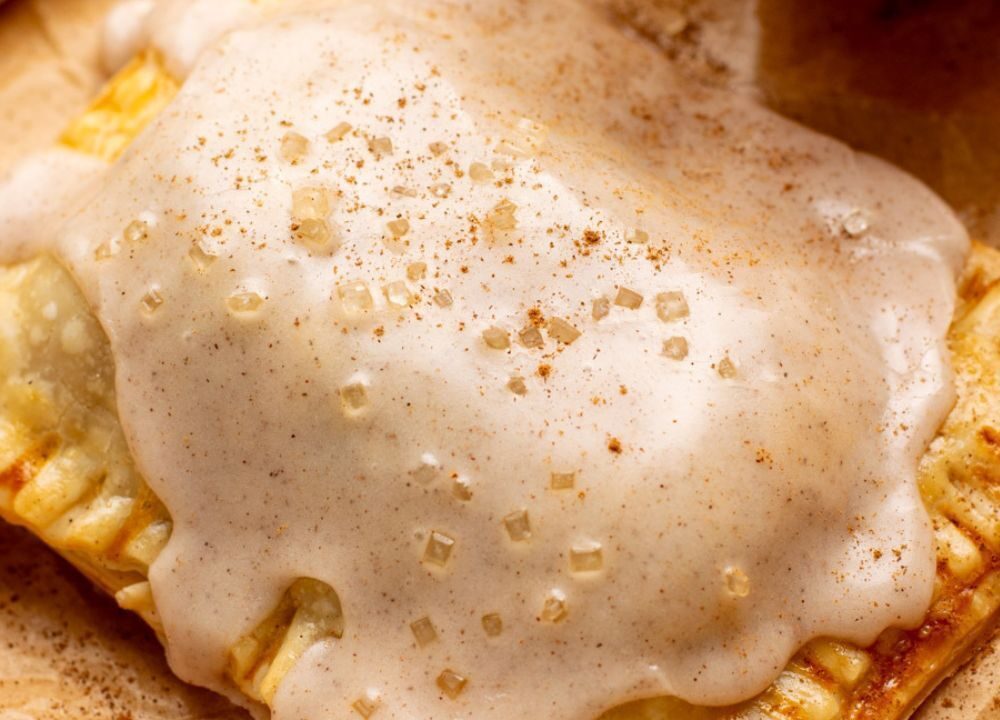
Whisk the powdered sugar, milk, and vanilla until smooth, then spread over the tarts once they've cooled for 10 minutes. Let the glaze set for 15 minutes before serving; it should look glossy, not runny.
Delicious Variations
Caramel Apple
Stir 2 tablespoons of thick caramel sauce into the cooled filling for a gooier center.
Cheddar Crust
Add 1/2 cup of finely shredded sharp cheddar to the dry ingredients for a savory-sweet twist.
Apple Cranberry
Swap 1/4 cup of the diced apple for dried cranberries soaked in warm cider for 5 minutes.
How to Store Apple Pop Tarts – Olivia's Kitchen
Refrigerator
Store in an airtight container at room temperature for 2 days or refrigerated for up to 5 days; reheat briefly to soften the crust.
Freezer
Freeze unbaked, sealed tarts on a tray, then bag them for up to 2 months; bake from frozen at 375°F (190°C) for 28 to 30 minutes.
Reheating
Warm in a 350°F (175°C) oven for 5 to 6 minutes, or microwave for 20 seconds, until the filling is steamy again.
Frequently Asked Questions
Q: Why did my pop tarts leak filling in the oven?
The seams weren't sealed tightly enough or the filling was too wet. Press the edges with a fork, prick only the top, and make sure the apple mixture is thick and cooled before filling.
Q: Can I make these apple pop tarts ahead of time?
Absolutely; assemble them up to 2 days ahead and keep them covered in the fridge, or freeze them unbaked for up to 2 months. Bake straight from frozen, adding about 5 minutes to the time.
Q: Are these apple pop tarts gluten-free?
Not as written, but a 1:1 gluten-free flour blend plus 1/2 teaspoon xanthan gum works well. The dough will be slightly more delicate, so handle it gently when sealing.
Grab your apples, crank up the oven, and make a batch of these glossy little pockets this weekend. Taste as you go, then taste again.
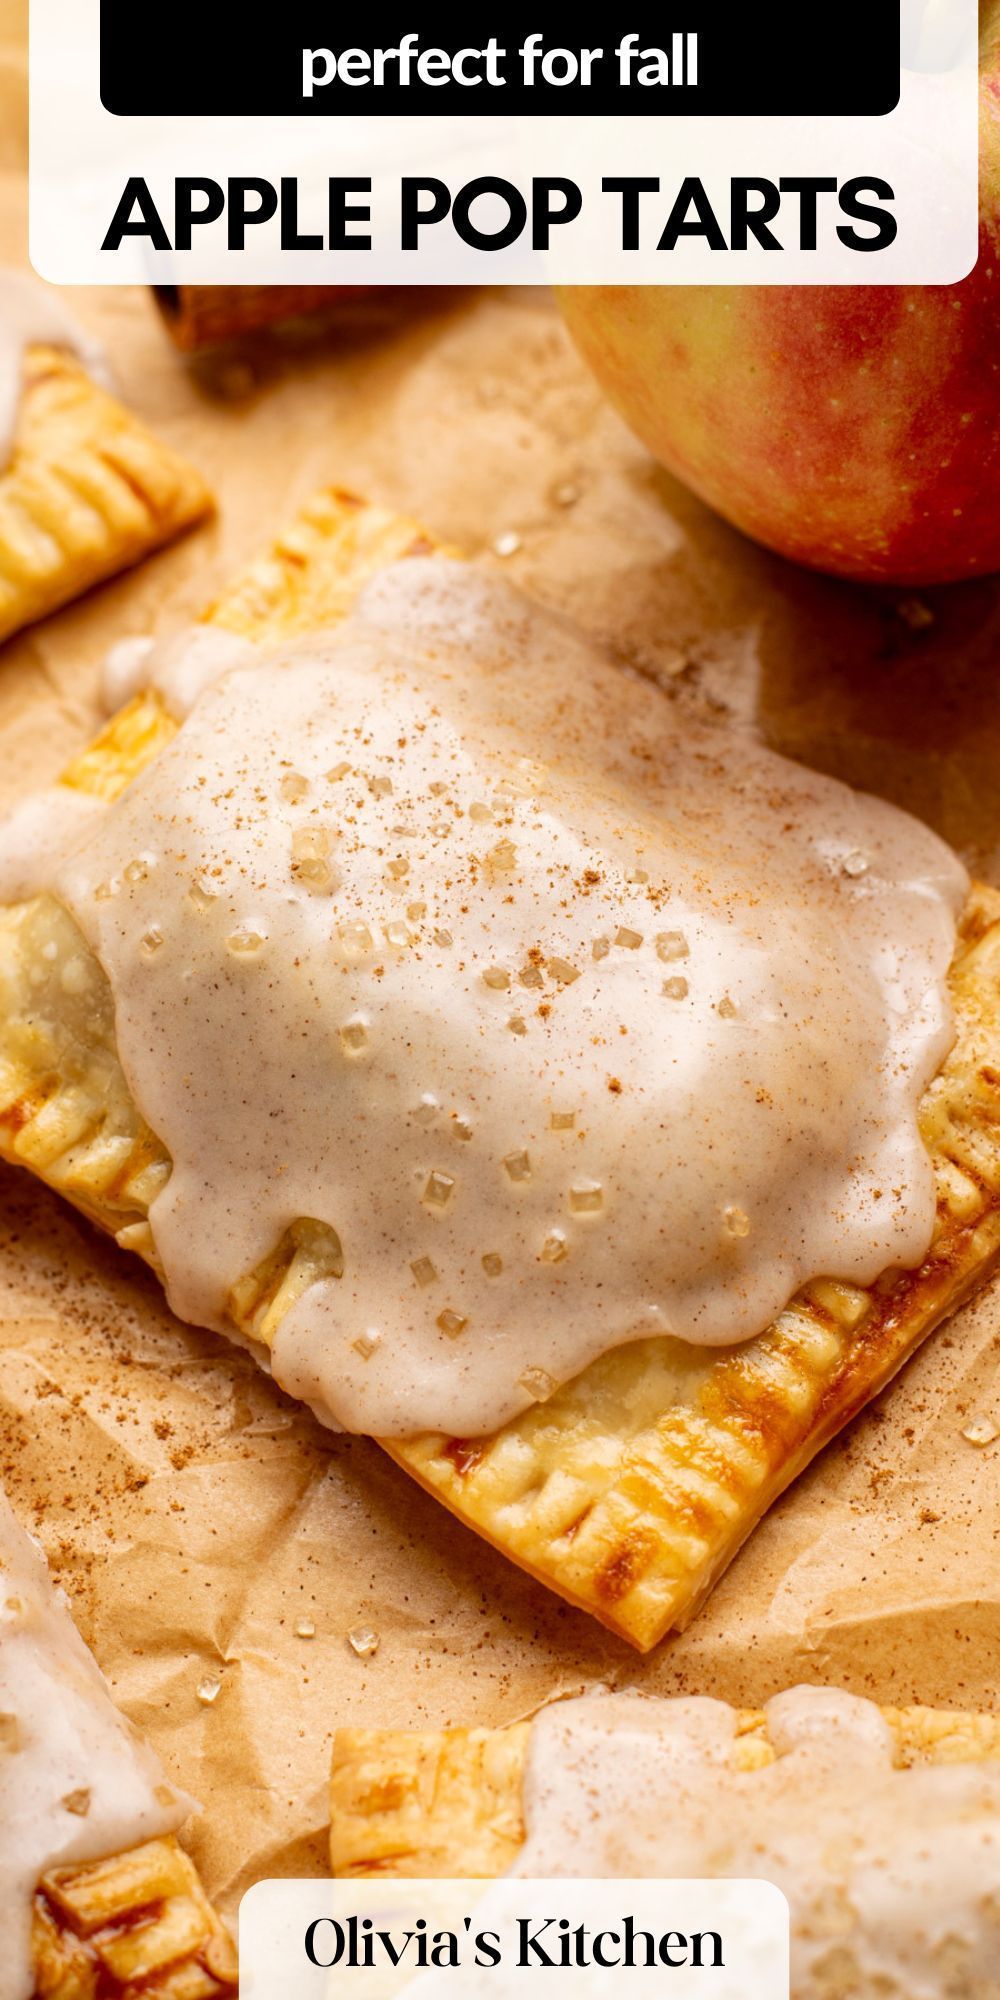
Apple Pop Tarts – Olivia's Kitchen
Apple Pop Tarts – Olivia's Kitchen: flaky cinnamon-spiced apple pockets with a glossy maple glaze that bake up golden in 45 minutes flat.
🧂 Ingredients
- 2 1/2 cups (313g) all-purpose flour
- 1 cup (227g) cold unsalted butter, cubed
- 1/2 teaspoon fine sea salt
- 6 tablespoons (90ml) ice-cold water
- 2 medium Honeycrisp apples (about 300g), peeled and finely diced
- 1/4 cup (50g) packed light brown sugar
- 1 teaspoon ground cinnamon
- 1 tablespoon cornstarch
- 1 large egg, beaten with 1 tablespoon water
- 3/4 cup (90g) powdered sugar
- 2 tablespoons whole milk, plus 1/4 teaspoon vanilla extract
📋 Instructions
- 1Make the Dough — Whisk the flour and salt, then cut in the cold butter with a pastry cutter until pea-sized lumps remain. Drizzle in the ice water one tablespoon at a time and squeeze a handful; if it holds together, you're done.
- 2Chill the Pastry — Flatten the dough into two discs, wrap them, and refrigerate for 30 minutes until firm but still pliable. Cold dough rolls without sticking and bakes up flakier.
- 3Cook the Filling — Simmer the apples, brown sugar, cinnamon, and cornstarch in a small saucepan over medium heat for 6 to 8 minutes, until the apples soften and the juices bubble and thicken. You'll hear a slow, sticky plop rather than a watery simmer; scrape it onto a plate to cool completely.
- 4Roll and Cut — Roll each disc to 1/8 inch (3mm) on a floured surface and cut into 3×4-inch rectangles, re-rolling scraps once. You should get 12 rectangles total.
- 5Fill and Seal — Spoon 1 heaping tablespoon of cooled filling onto 6 rectangles, leaving a 1/2-inch border. Top with the remaining rectangles, press the edges closed, and crimp with a fork; brush with egg wash and prick the tops twice.
- 6Chill the Tarts — Freeze the assembled tarts on a lined tray for 10 minutes while the oven heats. This firming step is what keeps the seams sealed.
- 7Bake Until Golden — Bake at 375°F (190°C) for 22 to 25 minutes, until deep golden brown at the edges and the filling bubbles at the vents. The pastry should sound hollow when tapped and read 200°F (93°C) at the center.
- 8Glaze and Set — Whisk the powdered sugar, milk, and vanilla until smooth, then spread over the tarts once they've cooled for 10 minutes. Let the glaze set for 15 minutes before serving; it should look glossy, not runny.

Priya writes about South Indian home cooking and the improvisation that happens in real kitchens, from quick weekday tiffins to slow weekend spreads. She is interested in how a single tempering of spices changes a dish and in adapting familiar recipes to what a cook has on hand. Her angle is playful, sensory recipe writing that treats cooking as something to tinker with.