The first thing you'll notice is the sound: a crackly, sugar-glazed crunch right before your teeth sink into warm, cinnamon-steeped apple. Your kitchen will smell like a bakery met an orchard, and honestly, that's the whole point.
These apple chompers are basically what happens when a churro and a baked apple have a very happy accident. You coat tart apple wedges in a light batter, roll them in cinnamon sugar, and bake them until the edges caramelize and the fruit goes soft and jammy.
No deep fryer, no fuss – just a sheet pan, a bowl, and about 50 minutes from start to sticky fingers. Let's make the snack that disappears before it even cools.
Why You'll Love This Recipe
About the Ingredients
3 large firm-tart apples (about 1.5 lb / 680g), such as Honeycrisp or Granny Smith
Firm apples hold their shape and stay tangy after baking. If you only have softer apples like Gala, cut them thicker so they don't turn to mush.
1 cup (125g) all-purpose flour
This is the base of your light batter. For a gluten-free version, swap in a 1:1 gluten-free baking blend plus 1/2 teaspoon xanthan gum.
2 tablespoons (25g) granulated sugar
A little sugar in the batter helps it brown. Coconut sugar works too and adds a deeper caramel note.
1 teaspoon baking powder
This gives the coating its lift and airy crunch. Check the date on your can – expired baking powder won't puff.
1 teaspoon ground cinnamon, divided
Use fresh, fragrant cinnamon for the best aroma. Ceylon cinnamon is milder and sweeter than cassia if you're sensitive to spice.
1/2 teaspoon fine sea salt
Salt keeps the sweetness from becoming cloying. Kosher salt works – just use a slightly rounded 1/2 teaspoon.
2/3 cup (160ml) cold whole milk
Cold milk keeps the batter thick and clingy. Swap in oat milk or buttermilk for a tangier, thicker coat.
1/3 cup (67g) granulated sugar, for coating
Turbinado sugar gives an even bigger crunch. Don't reduce this – the coating is the whole point.
2 tablespoons (28g) melted unsalted butter, for brushing
Brushing butter helps the cinnamon sugar stick and promotes browning. Melted coconut oil is a fine dairy-free substitute.
Tips & Tricks
Dry the apples well
Pat the wedges completely dry with paper towels before battering – wet fruit makes the coating slide off and steam instead of crisp.
Don't overmix the batter
Stir just until the flour disappears; lumps are fine. Overmixing develops gluten and gives you a chewy, bready shell instead of a crunchy one.
Leave space on the pan
Crowding traps steam and turns your chompers soggy. Use two sheet pans if you need to – the browning is worth the extra dish.
Pro Tips
Step-by-Step Instructions
1. Heat the oven
Preheat your oven to 425F (220C) and line a large sheet pan with parchment paper. A hot oven is what gives these their golden, caramelized edges.
2. Cut the apples
Core the apples and cut them into 1/2-inch thick wedges, leaving the skin on for texture and color. Pat them very dry with paper towels – this is the step most people skip and regret.
3. Whisk the batter
In a wide bowl, whisk the flour, 2 tablespoons sugar, baking powder, 1/2 teaspoon cinnamon, and salt. Pour in the cold milk and stir just until combined – a few lumps are your friend.
4. Toss in cinnamon sugar
In a shallow dish, mix the 1/3 cup sugar with the remaining 1/2 teaspoon cinnamon. Set it next to your batter bowl so you can work in one motion.
5. Dip the wedges
Working with a few apple wedges at a time, drop them into the batter and turn to coat completely, letting the excess drip back into the bowl. Lay them on the prepared pan with an inch of space between each.
6. Brush and bake
Brush the tops lightly with melted butter, then bake at 425F (220C) for 18 to 22 minutes. They're done when the edges are deep golden brown and you hear a faint sizzle – the internal apple should be tender when pierced with a knife.
7. Coat while hot
Let the wedges cool on the pan for 2 minutes, then roll each one in the cinnamon sugar until fully coated. The sugar will cling and gloss over as it hits the warm surface.
8. Serve warm
Pile them onto a plate and serve immediately, while the shell is still crackly and the apple center is molten-soft. Try this next time: add a pinch of cardamom to the coating sugar for a chai-like twist.
Delicious Variations
Caramel Apple Chompers
Drizzle the finished bites with warm salted caramel and a flurry of flaky salt.
Savory Cheddar Chompers
Skip the cinnamon sugar and fold 1/2 cup shredded sharp cheddar into the batter for a game-day snack.
Pumpkin Spice Chompers
Swap the cinnamon coating for pumpkin pie spice and add 1 tablespoon maple syrup to the batter.
How to Store Apple Chompers
Refrigerator
Store cooled chompers in an airtight container in the fridge for up to 3 days. The coating softens, so re-crisp them before serving.
Freezer
Freeze baked, un-sugared wedges on a sheet pan, then transfer to a bag for up to 2 months. Coat in cinnamon sugar after reheating.
Reheating
Reheat at 375F (190C) for 6 to 8 minutes on a parchment-lined pan until the edges crisp again. Skip the microwave – it steams them into mush.
Frequently Asked Questions
Q: What kind of apples are best for apple chompers?
Firm, tart apples like Granny Smith, Honeycrisp, or Braeburn work best because they hold their shape and balance the sweet coating. Avoid soft varieties like McIntosh, which break down too much in the oven.
Q: Can I make apple chompers without flour?
Yes – use a 1:1 gluten-free baking blend plus 1/2 teaspoon xanthan gum for a nearly identical crunch. Almond flour alone won't work because it lacks the structure to form a shell.
Q: Why did my coating fall off in the oven?
The apples were probably still wet when you battered them, or the batter was too thin. Pat the wedges bone-dry and use cold milk so the batter stays thick and clings.
Q: Can I air fry apple chompers instead of baking?
Absolutely – air fry at 400F (200C) for 10 to 12 minutes, shaking the basket halfway. Work in batches so the pieces aren't touching, and coat in cinnamon sugar right after they come out.
Q: How do I keep apple chompers crispy for later?
Store them uncovered at room temperature for a few hours rather than sealing them warm, which traps steam. For longer storage, refrigerate and re-crisp at 375F (190C) for 6 to 8 minutes.
Grab your firmest apples and get that oven roaring – these apple chompers are best eaten standing at the counter with cinnamon sugar on your fingers. Taste as you go, then taste again.
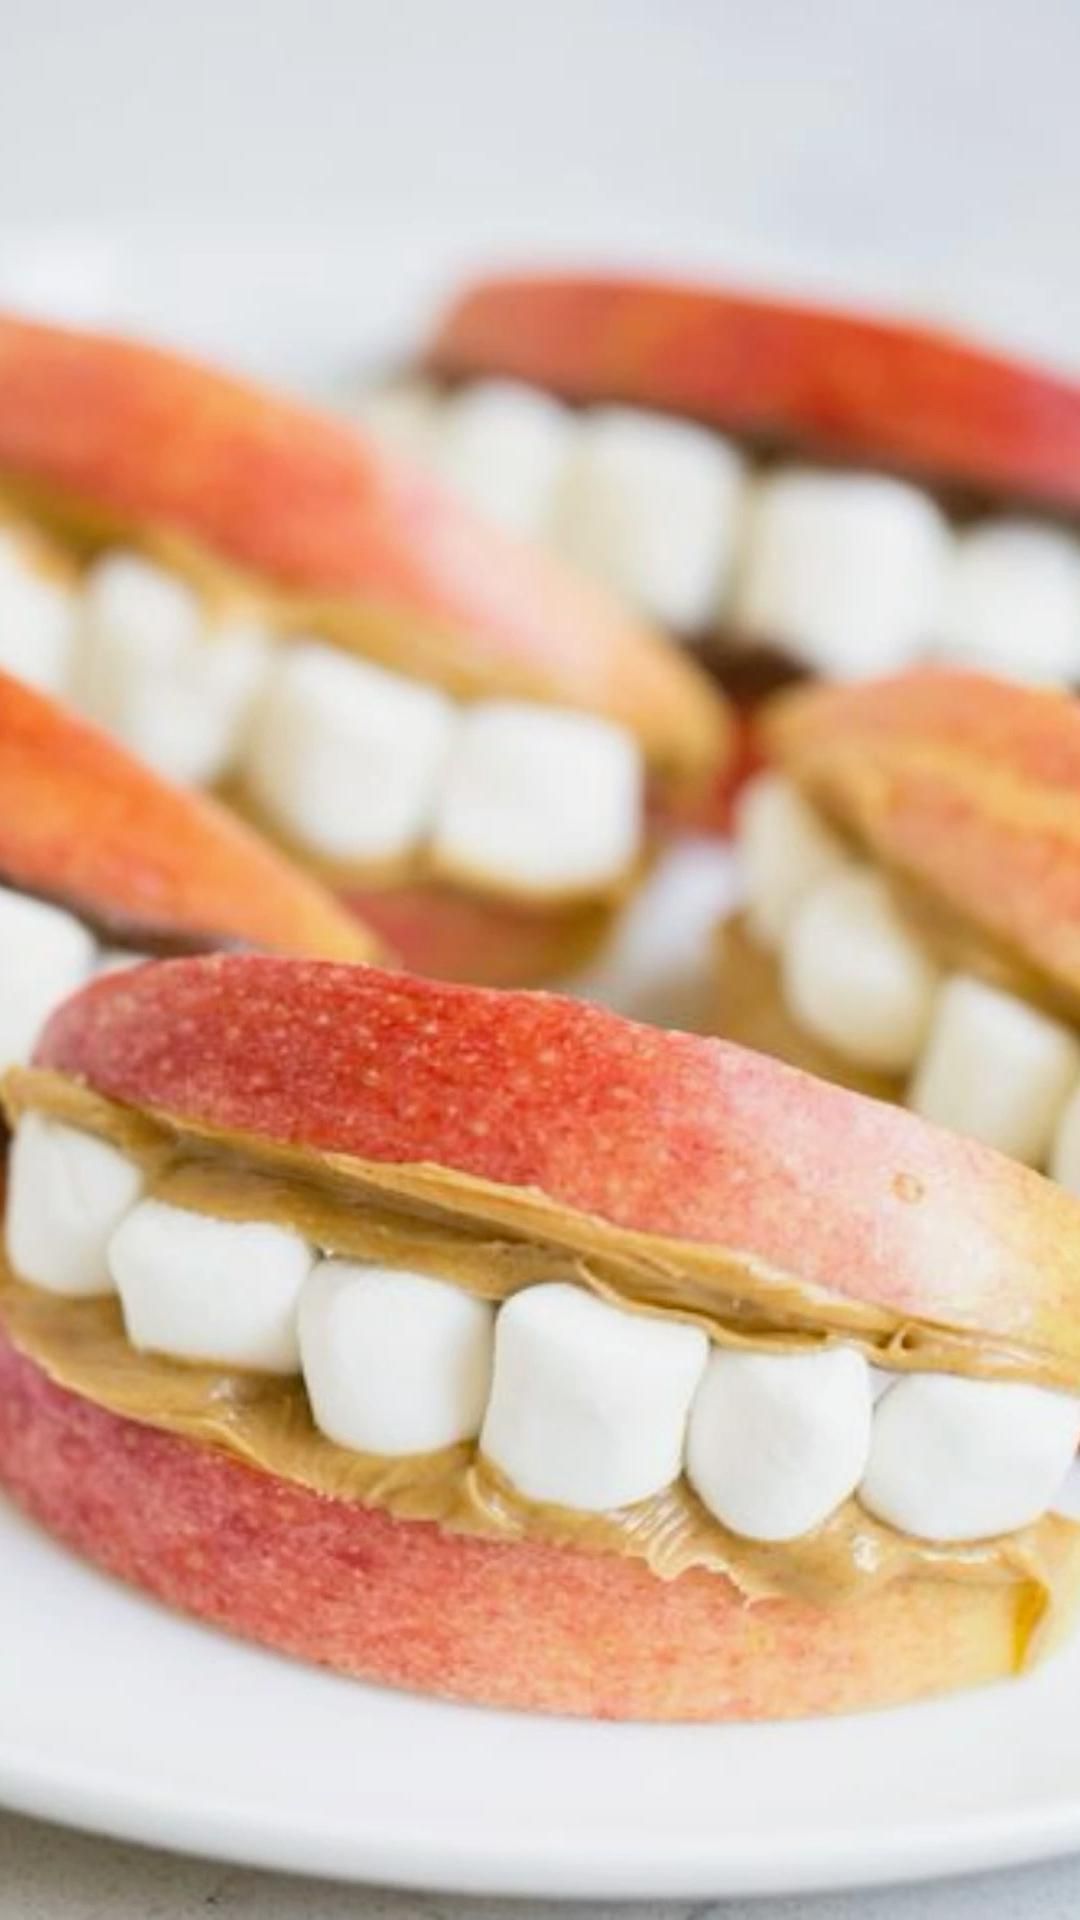
Apple Chompers
Apple chompers are crispy, cinnamon-sugar baked apple bites with a juicy center – a 50-minute snack your whole family will fight over.
🧂 Ingredients
- 3 large firm-tart apples (about 1.5 lb / 680g), such as Honeycrisp or Granny Smith
- 1 cup (125g) all-purpose flour
- 2 tablespoons (25g) granulated sugar
- 1 teaspoon baking powder
- 1 teaspoon ground cinnamon, divided
- 1/2 teaspoon fine sea salt
- 2/3 cup (160ml) cold whole milk
- 1/3 cup (67g) granulated sugar, for coating
- 2 tablespoons (28g) melted unsalted butter, for brushing
📋 Instructions
- 1Heat the oven — Preheat your oven to 425F (220C) and line a large sheet pan with parchment paper. A hot oven is what gives these their golden, caramelized edges.
- 2Cut the apples — Core the apples and cut them into 1/2-inch thick wedges, leaving the skin on for texture and color. Pat them very dry with paper towels – this is the step most people skip and regret.
- 3Whisk the batter — In a wide bowl, whisk the flour, 2 tablespoons sugar, baking powder, 1/2 teaspoon cinnamon, and salt. Pour in the cold milk and stir just until combined – a few lumps are your friend.
- 4Toss in cinnamon sugar — In a shallow dish, mix the 1/3 cup sugar with the remaining 1/2 teaspoon cinnamon. Set it next to your batter bowl so you can work in one motion.
- 5Dip the wedges — Working with a few apple wedges at a time, drop them into the batter and turn to coat completely, letting the excess drip back into the bowl. Lay them on the prepared pan with an inch of space between each.
- 6Brush and bake — Brush the tops lightly with melted butter, then bake at 425F (220C) for 18 to 22 minutes. They're done when the edges are deep golden brown and you hear a faint sizzle – the internal apple should be tender when pierced with a knife.
- 7Coat while hot — Let the wedges cool on the pan for 2 minutes, then roll each one in the cinnamon sugar until fully coated. The sugar will cling and gloss over as it hits the warm surface.
- 8Serve warm — Pile them onto a plate and serve immediately, while the shell is still crackly and the apple center is molten-soft. Try this next time: add a pinch of cardamom to the coating sugar for a chai-like twist.

Priya writes about South Indian home cooking and the improvisation that happens in real kitchens, from quick weekday tiffins to slow weekend spreads. She is interested in how a single tempering of spices changes a dish and in adapting familiar recipes to what a cook has on hand. Her angle is playful, sensory recipe writing that treats cooking as something to tinker with.