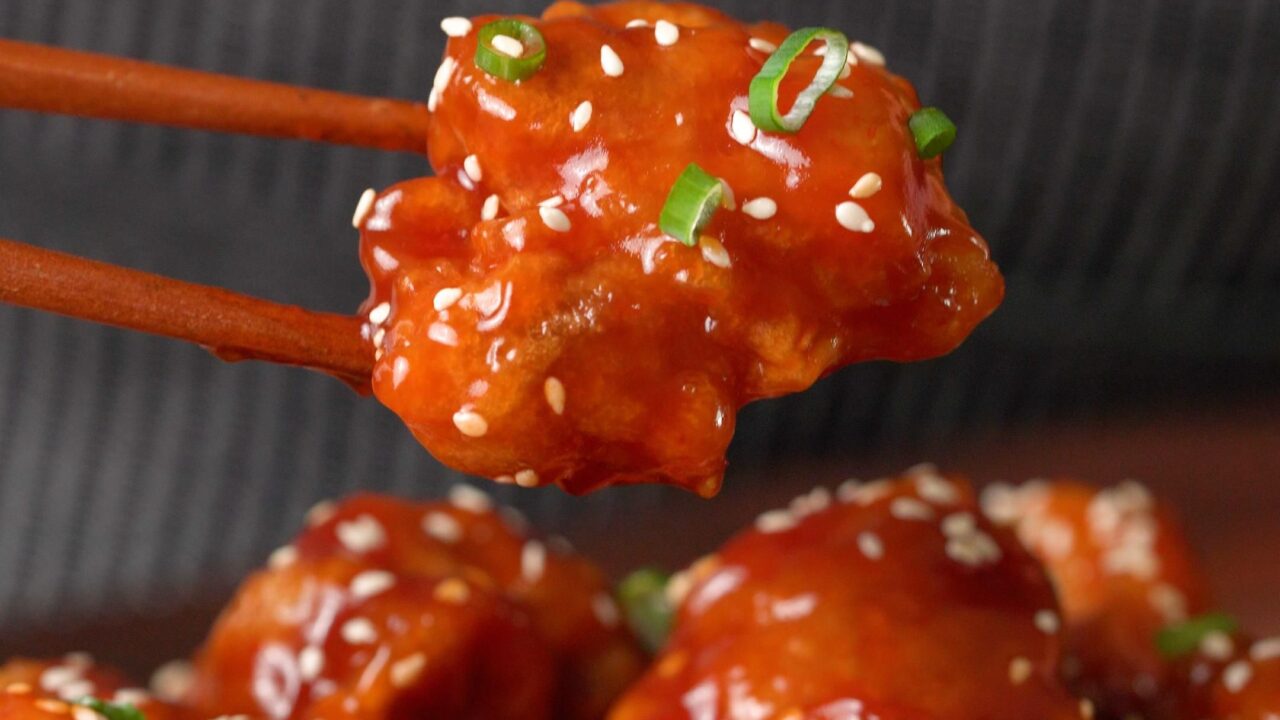
Craving that classic takeout sesame chicken but want to skip the delivery fee and extra grease? Our homemade version delivers all the crispy, sticky, sweet-savory goodness right from your own kitchen. With a golden, crunchy coating and a glossy sesame sauce, this dish is sure to become a family favorite.
We've perfected the technique to achieve that signature crunch without deep-frying – just a simple pan-fry with a clever cornstarch coating. The sauce is a perfect balance of soy sauce, honey, and ketchup, with a hint of garlic and ginger that will make your taste buds dance.
Ready in just 50 minutes, this recipe is perfect for a weeknight dinner that feels like a special occasion. Serve it over steamed rice with a sprinkle of sesame seeds and green onions for a complete, satisfying meal.
Why You'll Love This Recipe
About the Ingredients
1.5 lbs (680g) boneless, skinless chicken thighs, cut into 1-inch chunks
Chicken thighs stay juicier than breasts. You can substitute chicken breast, but reduce cooking time slightly to avoid drying out.
1/2 cup (60g) all-purpose flour
For dredging. You can use a gluten-free flour blend if needed.
1/2 cup (60g) cornstarch
Cornstarch creates that extra crispy coating. Potato starch works too.
1 teaspoon salt
Enhances flavor. Use kosher salt for better control.
1/2 teaspoon black pepper
Adds a subtle kick. Freshly ground is best.
2 large eggs, beaten
Helps the coating stick. If allergic, you can use buttermilk or a mixture of water and flour as a binder.
1/2 cup (120ml) vegetable oil, for frying
Use a neutral oil with high smoke point like canola or peanut oil.
1/2 cup (120ml) low-sodium soy sauce
Regular soy sauce works, but low-sodium prevents the dish from being too salty. Tamari for gluten-free.
1/2 cup (170g) honey
Honey gives the classic sweetness. Maple syrup or agave can be substituted.
2 tablespoons ketchup
Adds color and tang. You can use tomato paste mixed with a little water if out of ketchup.
2 cloves garlic, minced
Fresh garlic is best. You can use 1/2 teaspoon garlic powder in a pinch.
1 teaspoon grated fresh ginger
Fresh ginger adds brightness. Ground ginger (1/2 tsp) can be used in a pinch.
1 tablespoon cornstarch mixed with 2 tablespoons water (slurry)
Thickens the sauce. Use arrowroot powder if preferred.
2 tablespoons sesame seeds, for garnish
Toasted sesame seeds add nutty flavor. You can toast them in a dry pan for 2 minutes.
2 green onions, sliced, for garnish
Adds freshness. Chives work too.
Tips & Tricks
Don't skip the cornstarch coating
It's the secret to that crispy texture. Double-coating with egg and cornstarch ensures a thick, shatteringly crisp crust.
Maintain oil temperature
If the oil isn't hot enough (around 350°F/175°C), the chicken will absorb oil and become greasy. Use a thermometer and fry in batches to keep the temperature steady.
- Toss chicken in sauce just before serving: If you toss too early, the coating will soften. Keep the sauce warm and toss right before plating for maximum crunch.
Pro Tips
Step-by-Step Instructions
1. Prepare the coating
In a shallow dish, whisk together flour, cornstarch, salt, and pepper. In a separate bowl, beat the eggs.
2. Coat the chicken
Dip each chicken chunk into the egg, then dredge in the flour mixture, pressing to coat evenly. Set aside on a plate.
3. Heat the oil
In a large skillet or wok, heat the vegetable oil over medium-high heat until it reaches 350°F (175°C). To test, a drop of batter should sizzle immediately.
4. Fry the chicken
Working in batches, carefully add chicken pieces to the hot oil in a single layer. Fry for 3-4 minutes per side, or until golden brown and internal temperature reaches 165°F (74°C). Use a slotted spoon to transfer to a paper towel-lined plate.
5. Make the sauce
In a small saucepan, combine soy sauce, honey, ketchup, garlic, and ginger. Bring to a simmer over medium heat, stirring occasionally.
6. Thicken the sauce
Whisk in the cornstarch slurry and continue to simmer for 1-2 minutes, until the sauce thickens and coats the back of a spoon. Remove from heat.
7. Toss and serve
Place the fried chicken in a large bowl. Pour the sauce over the chicken and toss gently to coat evenly. Garnish with sesame seeds and green onions. Serve immediately over rice.
Delicious Variations
Spicy Sesame Chicken
Add 1-2 teaspoons of sriracha or red pepper flakes to the sauce for a kick.
Orange Chicken
Replace the honey with orange marmalade and add a splash of orange juice and zest for a citrusy twist.
Gluten-Free
Use gluten-free flour and tamari instead of soy sauce. Ensure cornstarch is certified gluten-free.
How to Store Chinese Takeout Sesame Chicken
Refrigerator
Store in an airtight container for up to 3 days. The coating will soften, so for best texture, reheat in an oven or air fryer.
Freezer
Freeze the fried chicken (without sauce) in a single layer on a baking sheet, then transfer to a freezer bag for up to 2 months. Thaw overnight and reheat in a 375°F (190°C) oven until hot.
Reheating
To reheat, place in a preheated 375°F (190°C) oven for 5-7 minutes, or until heated through. Alternatively, air fry at 350°F (175°C) for 3-4 minutes to restore crispiness.
Frequently Asked Questions
Q: Can I use chicken breast instead of thighs?
Yes, you can use chicken breast, but it will be less juicy. Cut into similar-sized pieces and reduce the cooking time by 1-2 minutes to prevent drying out.
Q: How do I make the chicken extra crispy?
Ensure the oil is at the correct temperature (350°F/175°C) and not overcrowd the pan. Also, double-coating the chicken in the egg and flour mixture creates a thicker, crispier crust.
Q: Can I bake the chicken instead of frying?
Yes, you can bake the coated chicken on a wire rack over a sheet pan at 400°F (200°C) for 20-25 minutes, flipping halfway, until golden and cooked through. It won't be as crispy as frying, but it's a healthier option.
Q: What can I use instead of honey?
You can substitute maple syrup or agave nectar for honey. For a less sweet option, use brown sugar dissolved in a little water, adjusting the quantity to taste.
Q: Is this recipe gluten-free?
As written, it contains all-purpose flour and soy sauce, which have gluten. To make it gluten-free, use a gluten-free flour blend and tamari or coconut aminos instead of soy sauce.
I hope you love this homemade sesame chicken as much as we do! If you try it, let me know how it turns out in the comments below. Don't forget to share your delicious creations on social media and tag me – I'd love to see them!
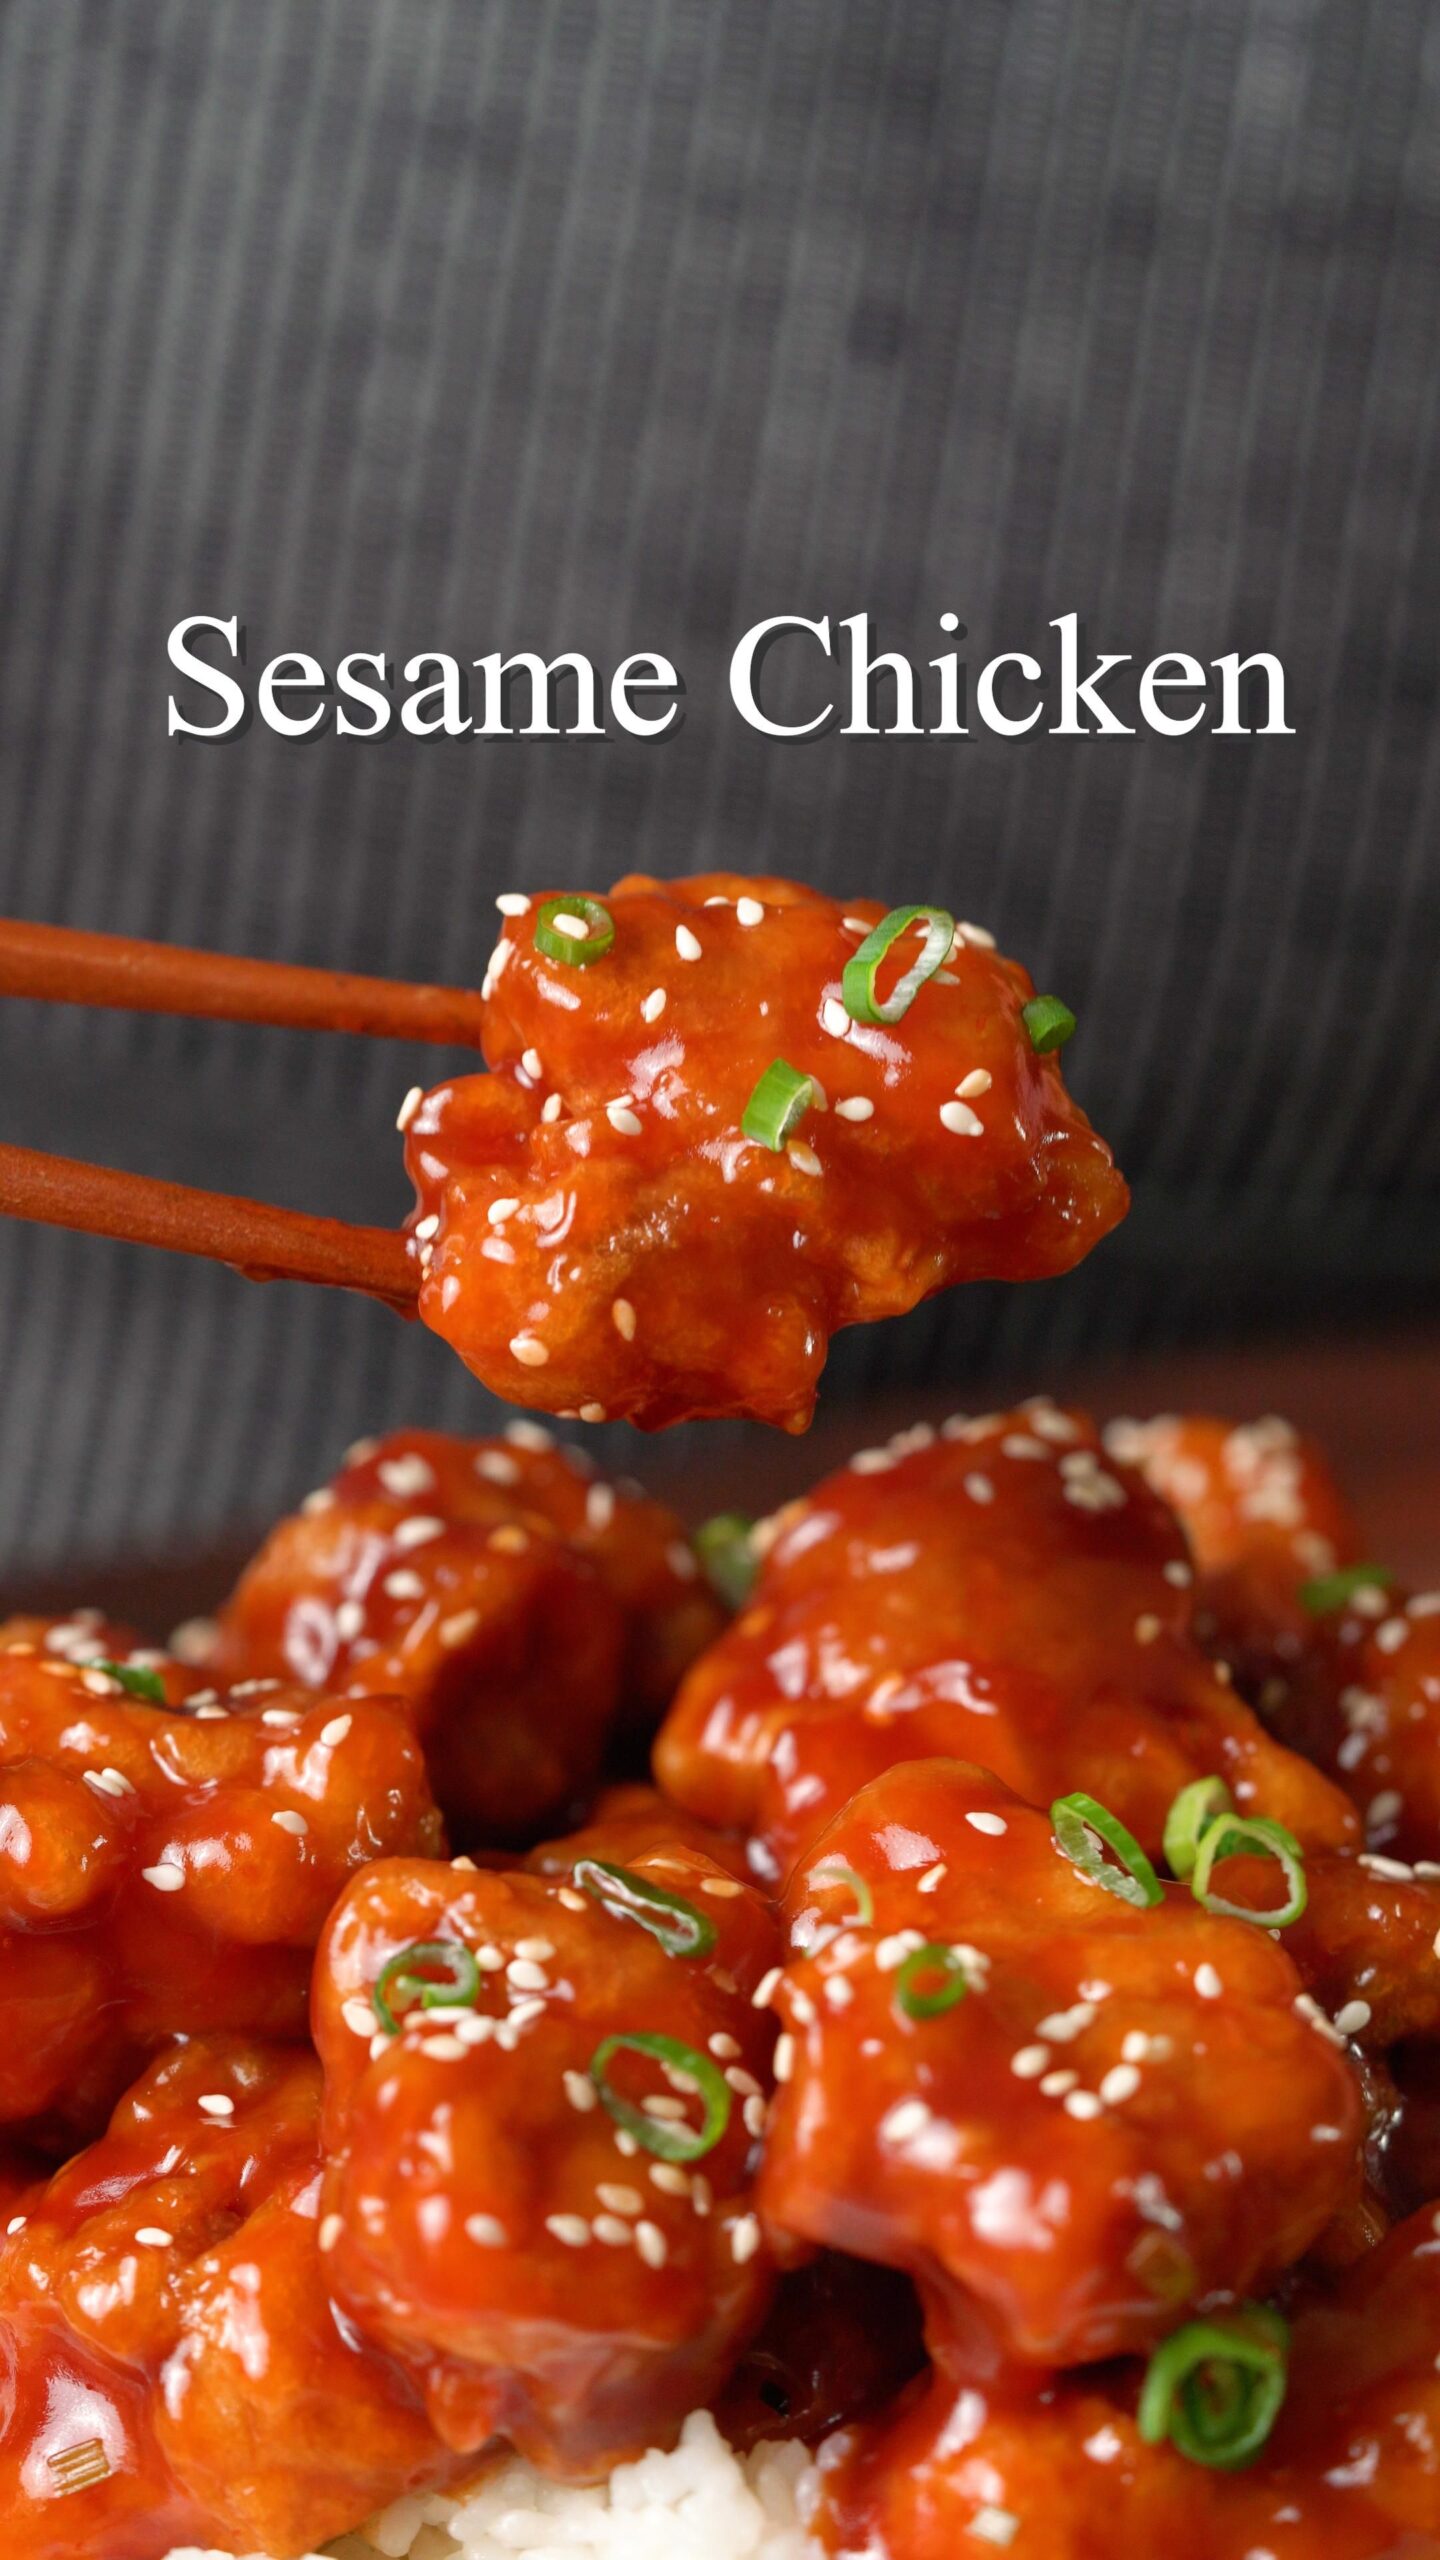
Chinese Takeout Sesame Chicken
Make crispy, sticky sesame chicken at home in 50 minutes – healthier, budget-friendly, and bursting with sweet-savory flavor.
🧂 Ingredients
- 1.5 lbs (680g) boneless, skinless chicken thighs, cut into 1-inch chunks
- 1/2 cup (60g) all-purpose flour
- 1/2 cup (60g) cornstarch
- 1 teaspoon salt
- 1/2 teaspoon black pepper
- 2 large eggs, beaten
- 1/2 cup (120ml) vegetable oil, for frying
- 1/2 cup (120ml) low-sodium soy sauce
- 1/2 cup (170g) honey
- 2 tablespoons ketchup
- 2 cloves garlic, minced
- 1 teaspoon grated fresh ginger
- 1 tablespoon cornstarch mixed with 2 tablespoons water (slurry)
- 2 tablespoons sesame seeds, for garnish
- 2 green onions, sliced, for garnish
📋 Instructions
- 1Prepare the coating — In a shallow dish, whisk together flour, cornstarch, salt, and pepper. In a separate bowl, beat the eggs.
- 2Coat the chicken — Dip each chicken chunk into the egg, then dredge in the flour mixture, pressing to coat evenly. Set aside on a plate.
- 3Heat the oil — In a large skillet or wok, heat the vegetable oil over medium-high heat until it reaches 350°F (175°C). To test, a drop of batter should sizzle immediately.
- 4Fry the chicken — Working in batches, carefully add chicken pieces to the hot oil in a single layer. Fry for 3-4 minutes per side, or until golden brown and internal temperature reaches 165°F (74°C). Use a slotted spoon to transfer to a paper towel-lined plate.
- 5Make the sauce — In a small saucepan, combine soy sauce, honey, ketchup, garlic, and ginger. Bring to a simmer over medium heat, stirring occasionally.
- 6Thicken the sauce — Whisk in the cornstarch slurry and continue to simmer for 1-2 minutes, until the sauce thickens and coats the back of a spoon. Remove from heat.
- 7Toss and serve — Place the fried chicken in a large bowl. Pour the sauce over the chicken and toss gently to coat evenly. Garnish with sesame seeds and green onions. Serve immediately over rice.