
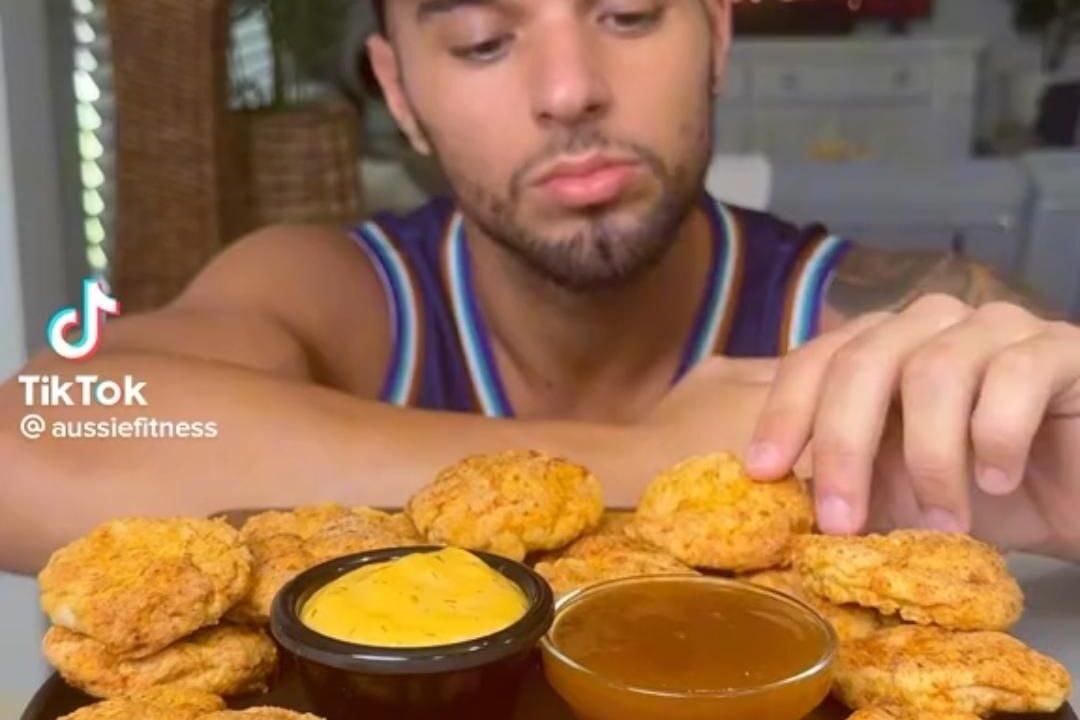
The oven door opens and a warm cloud of toasted panko and garlic rolls out, and suddenly the whole kitchen smells like the best kind of after-school afternoon. You hear the crust crackle faintly as the tray hits the counter, and you know you nailed it.
These nuggets are for the nights when you want something golden and crunchy without a vat of oil or a drive-thru bag. You dice chicken thighs small, dredge them in a seasoned flour-egg-panko chain, and let a hot oven do the rest.
The trick is keeping the pieces bite-sized and giving them a little space on the pan, so every edge crisps instead of steaming. Serve them with honey mustard, ketchup, or whatever your heart says.
Why You'll Love This Recipe
About the Ingredients
1 lb (450 g) boneless skinless chicken thighs
Thighs stay juicier than breast; if you only have chicken breast, pound it to an even 1/2-inch thickness and shave 2 minutes off the bake.
1/2 cup (65 g) all-purpose flour
Flour gives the egg something to grip; swap in cornstarch for an even crispier, gluten-free-friendly crust.
2 large eggs
Beat them until fully uniform so the coating clings evenly; buttermilk works as a tangy substitute if you are out of eggs.
1 1/2 cups (90 g) panko breadcrumbs
Look for coarse Japanese-style panko, not fine dry crumbs, for maximum crunch; crush them slightly if the pieces are very large.
1/2 cup (50 g) finely grated Parmesan
Parmesan adds a savory edge and helps browning; nutritional yeast is a good nutty swap if you are avoiding dairy.
1 tsp garlic powder
Granulated garlic blends more evenly than fresh here; onion powder can stand in for half of it.
1 tsp smoked paprika
Smoked paprika brings a warm campfire note; sweet paprika or a pinch of chili powder works if that is what you have.
3/4 tsp fine sea salt
Season every layer, not just the breadcrumbs; kosher salt is fine, just use a slightly heaped 3/4 teaspoon.
1/2 tsp black pepper
Fresh-cracked is best; white pepper gives a milder, more kid-friendly heat.
3 tbsp olive oil or melted butter
Drizzling fat over the crumbs is the secret to browning without frying; avocado oil handles high heat nicely too.
Cooking spray, for the pan
A quick coat prevents sticking and helps the underside crisp; parchment paper is a fine alternative.
Tips & Tricks
Keep pieces uniform
Cut every nugget to roughly 1 1/2 inches so they finish baking at the same time instead of some drying out.
Do not crowd the pan
Leave an inch between nuggets; steam trapped between pieces is the number one cause of soggy crust.
Press the panko on
Gently press crumbs into each piece with your fingers so the coating stays put through baking and dipping.
Season the meat, not just the crust
A pinch of salt directly on the chicken before dredging makes the inside taste seasoned, not blank.
Pro Tips
Step-by-Step Instructions
1. Heat the oven
Preheat your oven to 425°F (220°C) and set a rack in the upper-middle position. Line a sheet pan with parchment and coat it lightly with cooking spray.
2. Cut the chicken
Pat the thighs dry and cut them into 1 1/2-inch pieces, keeping them as even as possible. Toss the pieces with a pinch of the salt and set aside.
3. Set up the dredge
Set out three shallow bowls: flour in the first, beaten eggs in the second, and panko mixed with Parmesan, garlic powder, smoked paprika, pepper, and remaining salt in the third.
4. Bread each piece
Roll each piece in flour, shake off the excess, dip it in egg, then press firmly into the panko mixture until fully coated. Place on the prepared pan with space between each nugget.
5. Drizzle and bake
Drizzle the olive oil evenly over the nuggets, then bake at 425°F (220°C) for 16 to 18 minutes. They are done when the crust is deep golden brown and an instant-read thermometer in the thickest piece reads 165°F (74°C).
6. Check the crunch
Listen for a dry, crackly tap when you nudge a nugget with a spatula; a soft thud means they need 2 more minutes. Let them rest on the pan for 3 minutes before serving.
7. Warm the dip
While they rest, stir together 1/4 cup mayonnaise, 2 tablespoons Dijon mustard, and 1 tablespoon honey for a quick honey mustard. Serve the nuggets hot with the dip alongside.
Delicious Variations
Buffalo Blitz
Toss the baked nuggets in a mix of 1/3 cup hot sauce and 2 tablespoons melted butter right before serving for a spicy, glossy coating.
Parmesan-Herb Crunch
Add 1 teaspoon dried oregano and 1/4 teaspoon lemon zest to the panko for a bright, Italian-leaning version.
Coconut Curry Crunch
Swap half the panko for unsweetened shredded coconut and add 1/2 teaspoon curry powder for a tropical twist.
How to Store Crispy Baked Chicken Nuggets for One (or Two)
Refrigerator
Store cooled nuggets in an airtight container in the refrigerator for up to 3 days. Keep the dip separate so the crust stays crisp.
Freezer
Freeze baked, cooled nuggets on a tray for 30 minutes, then transfer to a freezer bag for up to 2 months. Raw breaded nuggets also freeze well before baking.
Reheating
Reheat in a 400°F (200°C) oven or air fryer for 5 to 7 minutes until the crust re-crisps and the center is hot. Skip the microwave, which steams the coating soft.
Frequently Asked Questions
Q: Can I make these chicken nuggets in an air fryer?
Yes, air fry them at 400°F (200°C) for 10 to 12 minutes, shaking the basket halfway through. Work in batches so the pieces are not touching, and check that the internal temperature hits 165°F (74°C).
Q: Why are my baked chicken nuggets soggy?
Soggy nuggets usually come from crowding the pan or skipping the oil drizzle. Give each piece an inch of space and coat the crumbs lightly with fat so they brown instead of steam.
Q: Can I use chicken breast instead of thighs?
Yes, chicken breast works fine, but cut it into even 1 1/2-inch pieces and pull the tray 1 to 2 minutes early. Breast dries out faster, so watch for the golden-brown cue rather than relying only on the clock.
Q: Are these chicken nuggets gluten-free?
They can be if you use a gluten-free all-purpose flour blend and gluten-free panko. Check that your breadcrumbs are certified gluten-free, since standard panko contains wheat.
Q: How do I get the coating to stick to the chicken?
Press the panko firmly onto each egg-coated piece and let the tray sit for 5 minutes before baking. A dry pat on the chicken before flouring also helps the coating adhere.
Grab a sheet pan, crank the oven, and make a batch tonight. Taste as you go, then taste again.

Crispy Baked Chicken Nuggets for One (or Two)
Crispy baked chicken nuggets with a golden panko crust and juicy garlicky chicken inside, ready in under an hour with no deep fryer needed.
🧂 Ingredients
- 1 lb (450 g) boneless skinless chicken thighs
- 1/2 cup (65 g) all-purpose flour
- 2 large eggs
- 1 1/2 cups (90 g) panko breadcrumbs
- 1/2 cup (50 g) finely grated Parmesan
- 1 tsp garlic powder
- 1 tsp smoked paprika
- 3/4 tsp fine sea salt
- 1/2 tsp black pepper
- 3 tbsp olive oil or melted butter
- Cooking spray, for the pan
📋 Instructions
- 1Heat the oven — Preheat your oven to 425°F (220°C) and set a rack in the upper-middle position. Line a sheet pan with parchment and coat it lightly with cooking spray.
- 2Cut the chicken — Pat the thighs dry and cut them into 1 1/2-inch pieces, keeping them as even as possible. Toss the pieces with a pinch of the salt and set aside.
- 3Set up the dredge — Set out three shallow bowls: flour in the first, beaten eggs in the second, and panko mixed with Parmesan, garlic powder, smoked paprika, pepper, and remaining salt in the third.
- 4Bread each piece — Roll each piece in flour, shake off the excess, dip it in egg, then press firmly into the panko mixture until fully coated. Place on the prepared pan with space between each nugget.
- 5Drizzle and bake — Drizzle the olive oil evenly over the nuggets, then bake at 425°F (220°C) for 16 to 18 minutes. They are done when the crust is deep golden brown and an instant-read thermometer in the thickest piece reads 165°F (74°C).
- 6Check the crunch — Listen for a dry, crackly tap when you nudge a nugget with a spatula; a soft thud means they need 2 more minutes. Let them rest on the pan for 3 minutes before serving.
- 7Warm the dip — While they rest, stir together 1/4 cup mayonnaise, 2 tablespoons Dijon mustard, and 1 tablespoon honey for a quick honey mustard. Serve the nuggets hot with the dip alongside.

Priya writes about South Indian home cooking and the improvisation that happens in real kitchens, from quick weekday tiffins to slow weekend spreads. She is interested in how a single tempering of spices changes a dish and in adapting familiar recipes to what a cook has on hand. Her angle is playful, sensory recipe writing that treats cooking as something to tinker with.