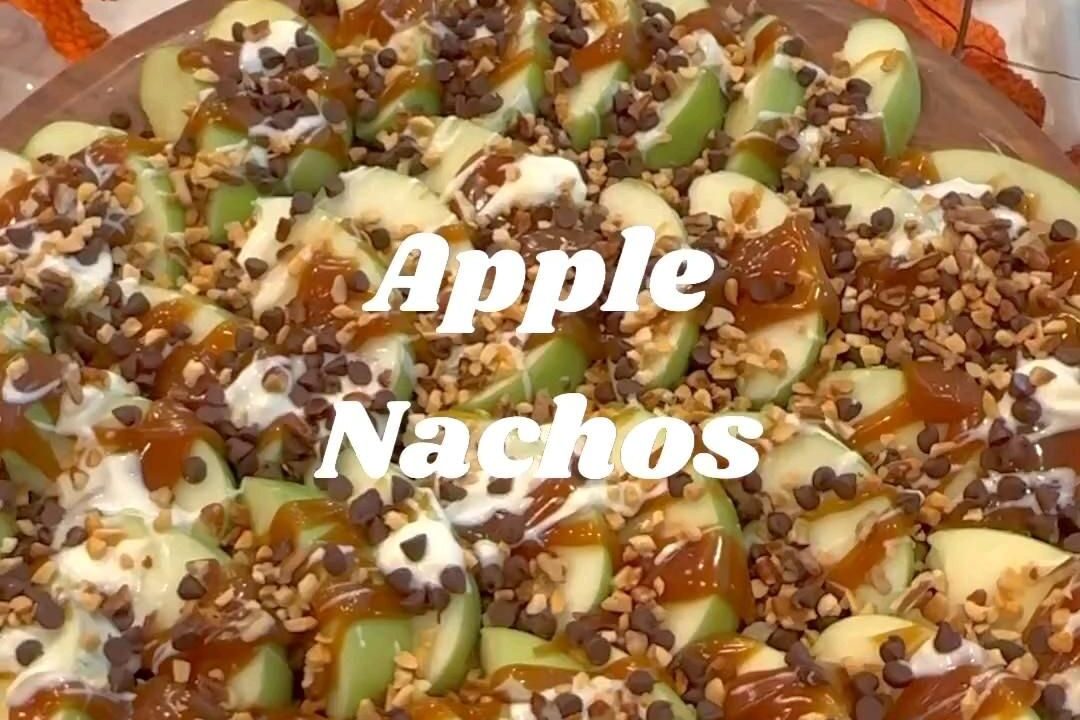
You hear it before you see it: the sharp, sweet crack of a knife through a Honeycrisp, then the low hiss of walnuts toasting in a dry skillet. That nutty smell curling up from the pan is your first clue these apple nachos are about to disappear.
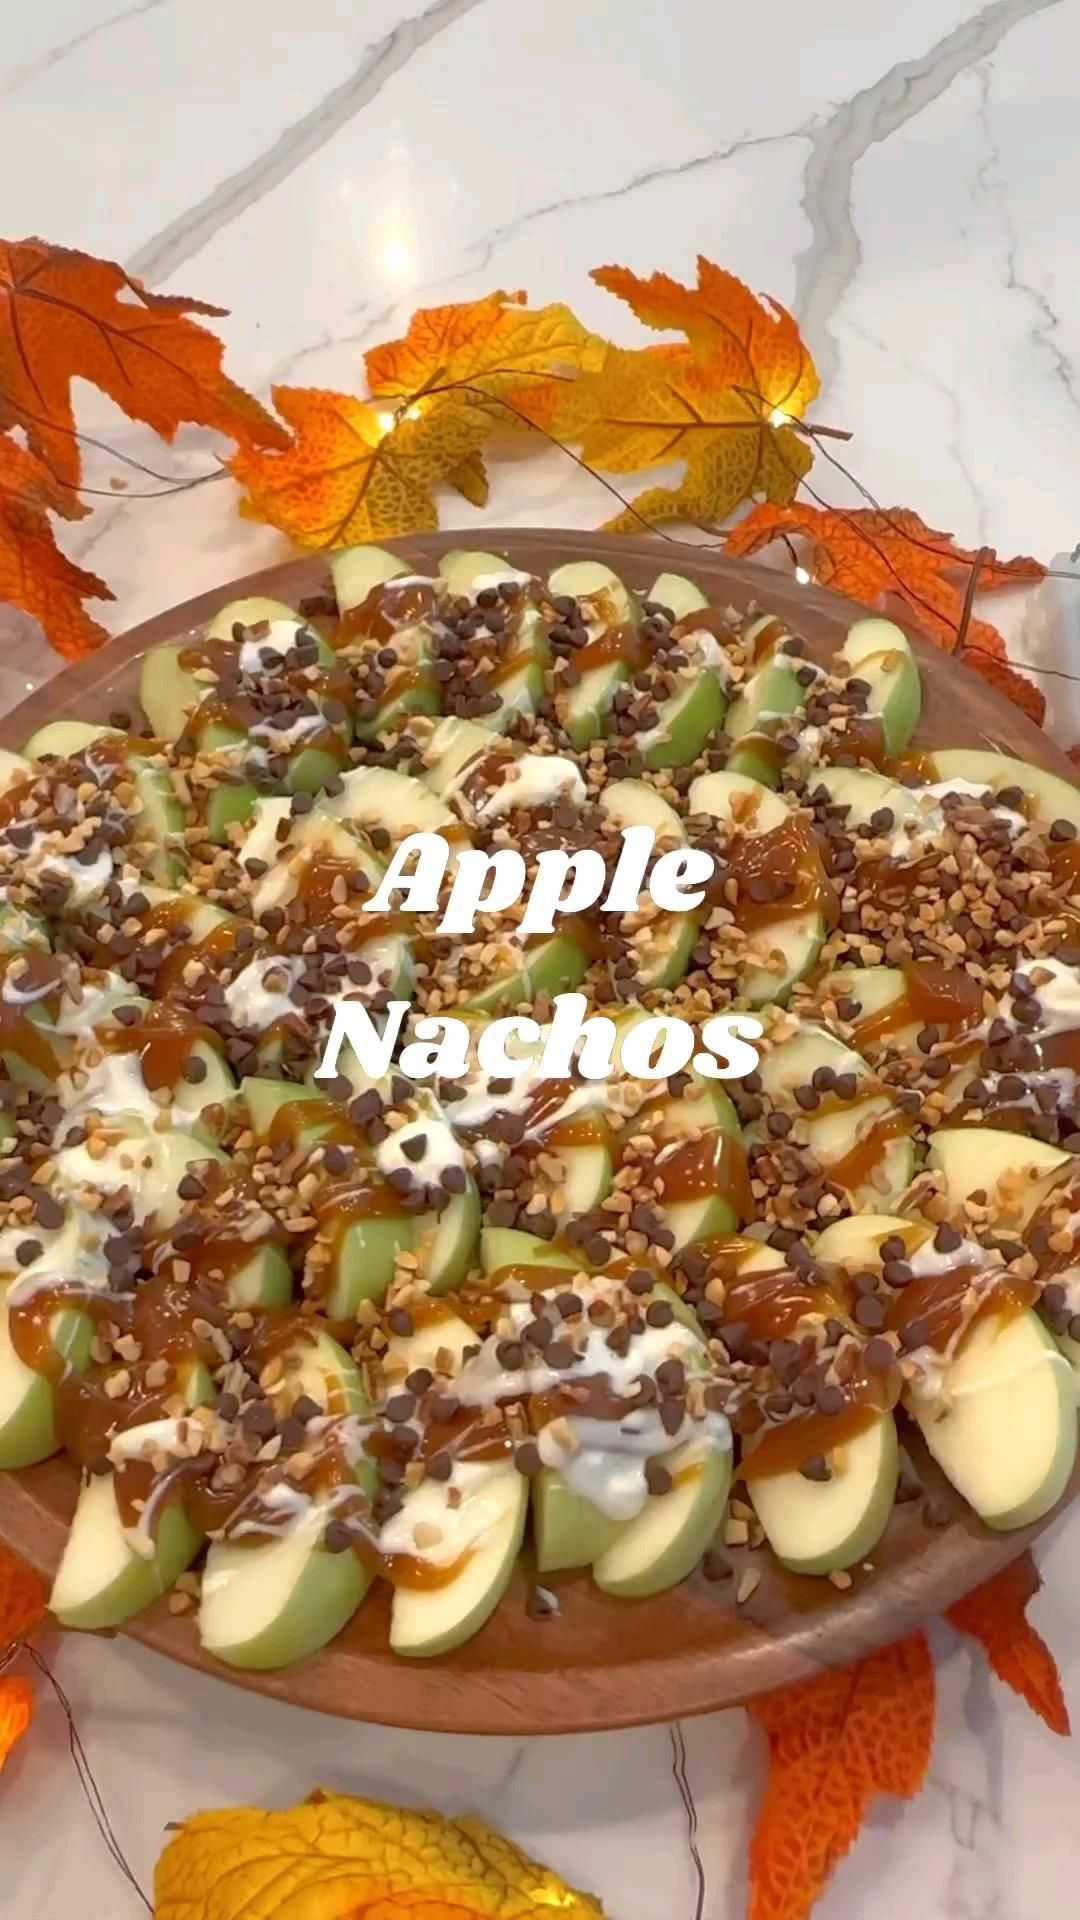
This is the plate I bring out when the leaves start turning and everyone claims they're too full for dessert. Apple slices stand in for chips, whipped cream swoops on like frosting, and a scatter of toasted nuts and cinnamon makes it feel like a caramel apple you can eat with your fingers.
No oven, no fuss, one cutting board, and a skillet you barely need to watch. Set it in the middle of the table surrounded by a ring of fall leaves and watch your people build their own little piles.
Why You'll Love This Recipe
About the Ingredients
4 large crisp apples (about 2 lb / 900g), such as Honeycrisp or Fuji
Honeycrisp gives you the loudest crunch and sweetest juice. If they're out of season, Pink Lady or Braeburn hold their shape and won't brown as fast once sliced.
1 cup (100g) walnut halves
Toast them yourself for a deeper flavor than the pre-chopped bag. Pecans or whole almonds swap in beautifully if walnuts aren't your thing.
1/2 cup (60g) pecan halves
Buy halves rather than pieces so you get big, buttery bites. Hazelnuts, roughly chopped, are a lovely swap if you want a more autumnal flavor.
1/3 cup (45g) sliced almonds
These toast in seconds, so keep an eye on them. Slivered almonds work the same way, just give them a slightly shorter toast.
1 cup (240ml) heavy whipping cream, cold
Cold cream whips fastest, so pull it straight from the fridge. For a lighter version, use 1 cup (240ml) full-fat Greek yogurt whisked with 1 tablespoon maple syrup.
2 tablespoons pure maple syrup, plus more for drizzling
Grade A dark amber gives you the strongest maple punch. Honey thinned with a splash of water is a fine substitute.
1 teaspoon vanilla extract
Real vanilla, not imitation, makes the cream taste homemade. Try a half teaspoon of maple extract for an even more autumnal note.
1/2 teaspoon ground cinnamon
Fresh cinnamon smells sweeter and more floral than the dusty jar in the back of the pantry. Pumpkin pie spice is a delicious stand-in.
1 tablespoon fresh lemon juice
A quick toss keeps the apple slices from browning. Lime juice or a splash of orange juice works just as well.
Pinch of flaky sea salt
Just a few flakes make the maple and cream taste sweeter. Skip it if you're using salted nuts.
Tips & Tricks
Slice Apples Last
Cut your apples right before assembling and toss them in lemon juice so they stay bright and crisp instead of turning brown.
Toast Nuts in a Dry Pan
A dry skillet over medium heat gives you more control than the oven, and you can smell exactly when they're ready.
Whip Cream to Soft Peaks
Stop whipping when the cream just holds a gentle curl on the whisk, because stiff cream turns grainy and won't swoop.
Build in Layers
Spread half the apples, add cream and nuts, then repeat so every single bite gets a little of everything.
Pro Tips
Step-by-Step Instructions
1. Toast the Nuts
Warm a large dry skillet over medium heat, about 350°F (175°C), and add the walnuts, pecans, and almonds. Toast for 4 to 5 minutes, stirring often, until they smell nutty and turn a shade deeper golden brown, then tip them onto a plate to cool.
2. Whip the Cream
Pour the cold heavy cream into a chilled bowl with the vanilla and 1 tablespoon of the maple syrup. Whip for 2 to 3 minutes until soft peaks form, meaning the whisk leaves a gentle curl that slowly slumps back.
3. Slice the Apples
Core the apples and cut them into 1/4-inch slices, leaving the skin on for color and crunch. Toss them in a bowl with the lemon juice and cinnamon so every slice is lightly coated.
4. Arrange the Base
Spread the apple slices in a single overlapping layer on a large board or platter lined with fall leaves. Leave a little border so the leaves peek out around the edges.
5. Add the Cream
Dollop the whipped cream over the apples in generous swoops, or spoon it into a zip-top bag, snip the corner, and pipe little clouds across the top.
6. Scatter the Nuts
Sprinkle the cooled toasted nuts over the cream, letting some fall onto the apples for texture. Finish with a drizzle of maple syrup and a pinch of flaky sea salt.
7. Serve Immediately
Bring the platter straight to the table and let everyone build their own pile. The apples are at their crispest in the first 20 minutes, so dig in while the cream is still cold.
Delicious Variations
Caramel Apple Nachos
Swap the maple drizzle for warm store-bought caramel sauce and add a handful of mini chocolate chips.
Peanut Butter Crunch
Thin 1/3 cup peanut butter with 2 tablespoons warm water and drizzle it over the cream, then top with granola.
Yogurt-Berry Version
Use the Greek yogurt cream instead of whipped cream and scatter pomegranate seeds for a tart, jewel-like finish.
How to Store Fall Harvest Apple Nachos with Nuts and Cream
Refrigerator
Store assembled nachos in an airtight container in the fridge for up to 1 day, though the apples soften; keep components separate for best texture.
Freezer
Freezing is not recommended, as the apples turn mushy and the cream separates once thawed.
Reheating
No reheating needed; serve cold. If you must, re-crisp nothing but the nuts in a dry skillet for 2 minutes.
Frequently Asked Questions
Q: How do you keep apple nachos from turning brown?
Toss the sliced apples in lemon juice right after cutting to slow browning for several hours. Keeping them chilled also helps, and assembling just before serving is the surest fix.
Q: Can I make apple nachos ahead of time?
You can prep the components up to a day ahead and assemble in minutes. Slice apples and toss with lemon juice, toast the nuts, and whip the cream, then store each separately in the fridge.
Q: What are the best apples for apple nachos?
Firm, crisp, sweet-tart apples like Honeycrisp, Fuji, or Pink Lady work best because they hold up under toppings. Avoid soft varieties like McIntosh, which turn mealy.
Q: Are apple nachos healthy?
They land somewhere between a snack and a dessert, with fresh fruit and nuts doing most of the work. Swapping whipped cream for Greek yogurt and skipping the extra drizzle lightens them up considerably.
Q: How do I stop whipped cream from deflating?
Start with a cold bowl, cold cream, and whip only to soft peaks, then assemble right away. A tablespoon of powdered sugar or a teaspoon of cornstarch helps stabilize it if you need to hold it longer.
Grab your crispest apples, toast those nuts until the kitchen smells like autumn, and build a platter worth gathering around. Taste as you go, then taste again.
Fall Harvest Apple Nachos with Nuts and Cream
Crisp apple slices piled high with toasted nuts, silky whipped cream, and a maple drizzle, these fall apple nachos are a no-bake treat everyone devours.
🧂 Ingredients
- 4 large crisp apples (about 2 lb / 900g), such as Honeycrisp or Fuji
- 1 cup (100g) walnut halves
- 1/2 cup (60g) pecan halves
- 1/3 cup (45g) sliced almonds
- 1 cup (240ml) heavy whipping cream, cold
- 2 tablespoons pure maple syrup, plus more for drizzling
- 1 teaspoon vanilla extract
- 1/2 teaspoon ground cinnamon
- 1 tablespoon fresh lemon juice
- Pinch of flaky sea salt
📋 Instructions
- 1Toast the Nuts — Warm a large dry skillet over medium heat, about 350°F (175°C), and add the walnuts, pecans, and almonds. Toast for 4 to 5 minutes, stirring often, until they smell nutty and turn a shade deeper golden brown, then tip them onto a plate to cool.
- 2Whip the Cream — Pour the cold heavy cream into a chilled bowl with the vanilla and 1 tablespoon of the maple syrup. Whip for 2 to 3 minutes until soft peaks form, meaning the whisk leaves a gentle curl that slowly slumps back.
- 3Slice the Apples — Core the apples and cut them into 1/4-inch slices, leaving the skin on for color and crunch. Toss them in a bowl with the lemon juice and cinnamon so every slice is lightly coated.
- 4Arrange the Base — Spread the apple slices in a single overlapping layer on a large board or platter lined with fall leaves. Leave a little border so the leaves peek out around the edges.
- 5Add the Cream — Dollop the whipped cream over the apples in generous swoops, or spoon it into a zip-top bag, snip the corner, and pipe little clouds across the top.
- 6Scatter the Nuts — Sprinkle the cooled toasted nuts over the cream, letting some fall onto the apples for texture. Finish with a drizzle of maple syrup and a pinch of flaky sea salt.
- 7Serve Immediately — Bring the platter straight to the table and let everyone build their own pile. The apples are at their crispest in the first 20 minutes, so dig in while the cream is still cold.

Priya writes about South Indian home cooking and the improvisation that happens in real kitchens, from quick weekday tiffins to slow weekend spreads. She is interested in how a single tempering of spices changes a dish and in adapting familiar recipes to what a cook has on hand. Her angle is playful, sensory recipe writing that treats cooking as something to tinker with.